
How to Make Slime at Home: The Ultimate Guide

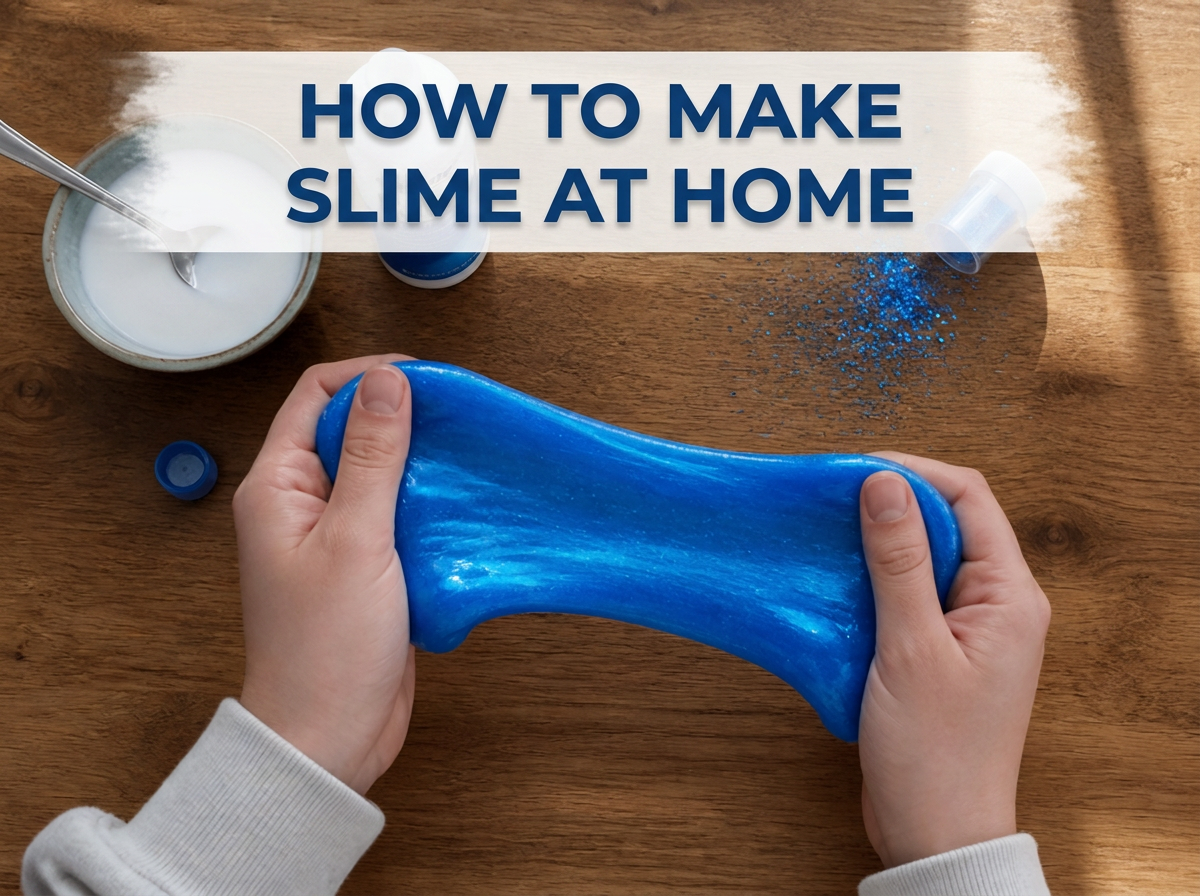
Slime is one of those weekend projects that sounds simple until your first batch turns into a sticky mess on the kitchen counter. Somewhere between the glue bottle and the mixing bowl, things go wrong, and you end up with something that’s either too runny to hold its shape or so hard it won’t move at all. The good news is that once you understand what actually makes slime stretchy, instead of just tossing ingredients together and hoping, you can make a perfect batch every single time, with almost no waste and almost no mess left behind.
This guide covers seven tested slime recipes, from the classic version every kid recognizes to no-glue alternatives for sensitive skin, plus the science behind why it works, the exact ratios that hold up under real play, storage advice that actually keeps slime fresh, and fixes for the most common batches gone wrong.
The easiest way to make slime is to mix half a cup of white school glue with half a teaspoon of baking soda, then slowly stir in one tablespoon of saline solution, which is contact lens solution containing boric acid, until the mixture pulls away from the bowl. Knead by hand for two to three minutes until smooth and stretchy.
THE SCIENCE BEHIND SLIME (WHY IT ACTUALLY WORKS)
Understanding the chemistry makes troubleshooting a lot easier later on, so it’s worth a short detour before jumping into recipes.
School glue is made mostly of a polymer called polyvinyl acetate, which is a long chain of molecules that slide past each other freely in liquid form. That’s why glue pours and drips instead of holding a shape. When you add an activator, something containing borate ions, like the boric acid in contact lens solution or the sodium borate in borax, those ions link the long polymer chains together into a loose network. The glue stops behaving like a liquid and starts behaving like a stretchy, semi-solid material called a non-Newtonian fluid, meaning its thickness changes depending on how much force you apply to it. Pull it slowly and it stretches. Hit it fast and it feels almost solid.
This is also why the amount of activator matters so much. Too little, and the chains stay loose, so the slime feels runny and sticky. Too much, and the chains lock together too tightly, so the slime turns stiff and rubbery. Getting a good batch is really just about finding the right balance for whatever glue and activator you’re using, which can vary slightly by brand.
WHAT YOU ACTUALLY NEED BEFORE YOU START
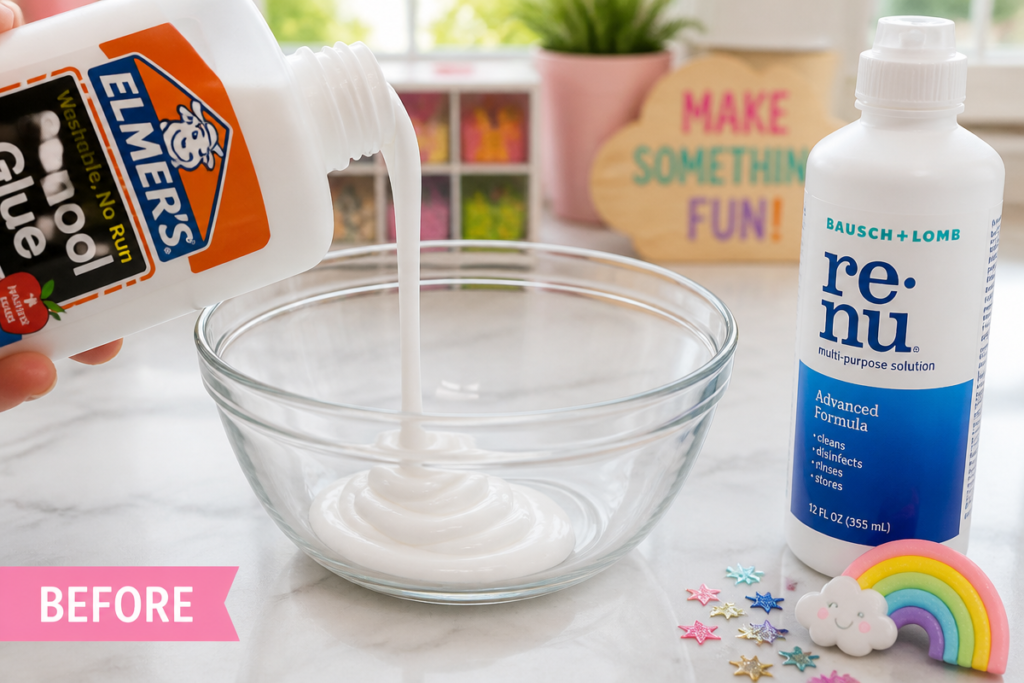
Every stretchy slime recipe relies on the same basic idea: a polymer, which is the glue, plus an activator that links the glue molecules together. Everything else, like glitter, color, and scent, is decoration on top of that base reaction.
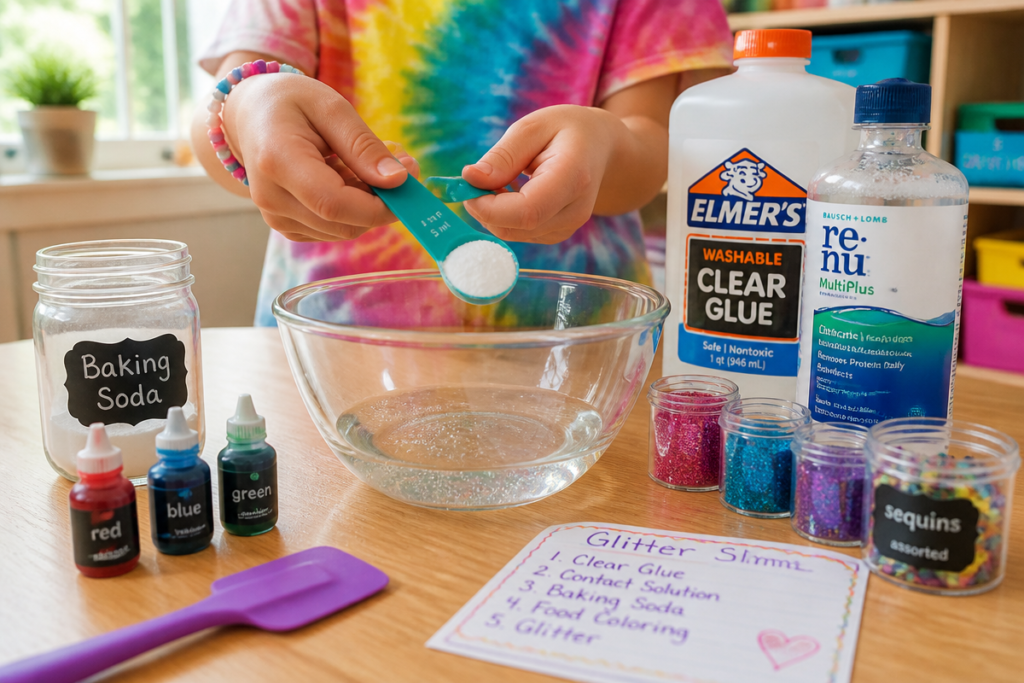
Core supplies for classic slime:
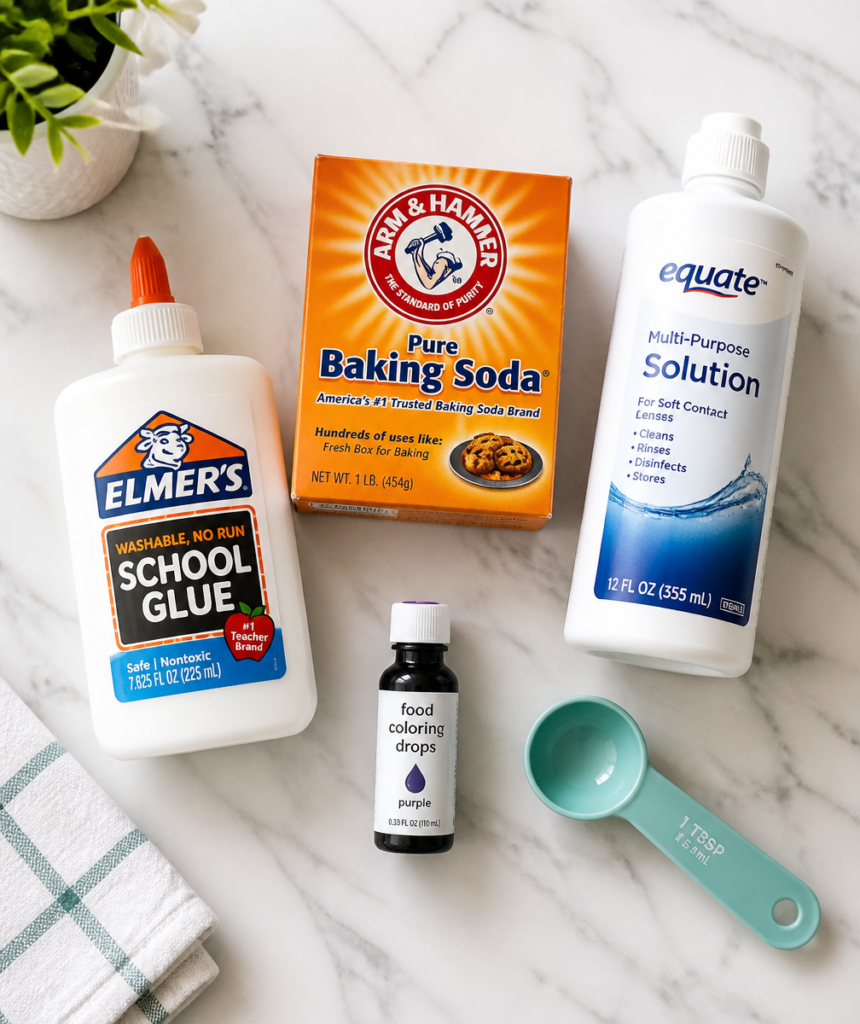
- White or clear PVA school glue, such as Elmer’s or a similar washable glue
- Baking soda
- Saline or contact lens solution, which must list boric acid or sodium borate on the label
- A mixing bowl and spoon
- Optional extras: liquid food coloring, glitter, foam beads, scented oils
A quick tip on ingredients: skip gel food coloring, since it tends to throw off the texture and make the slime harder to activate evenly. A couple of drops of liquid food coloring is plenty for a full batch. Cheap, thin glue also tends to work better than premium formulas, since some specialty glues have additives that interfere with the activator.
Where to shop: dollar stores and big-box discount stores usually carry everything on this list for a few dollars total, including travel-sized contact solution, which is the right amount for a single batch and cheaper than buying a full bottle.
1: CLASSIC STRETCHY SLIME (GLUE, BAKING SODA, SALINE SOLUTION)
This is the most reliable recipe and the one most first-timers should start with, since it’s forgiving and hard to mess up.
Ingredients:
- Half a cup white school glue
- Half a teaspoon baking soda
- One to two tablespoons saline solution
- Two to three drops food coloring, optional
Steps:
- Pour the glue into a bowl.
- Stir in the food coloring until the color looks even throughout.
- Add the baking soda and mix well so there are no dry clumps.
- Add one tablespoon of saline solution and stir. The mixture will start to clump together almost right away.
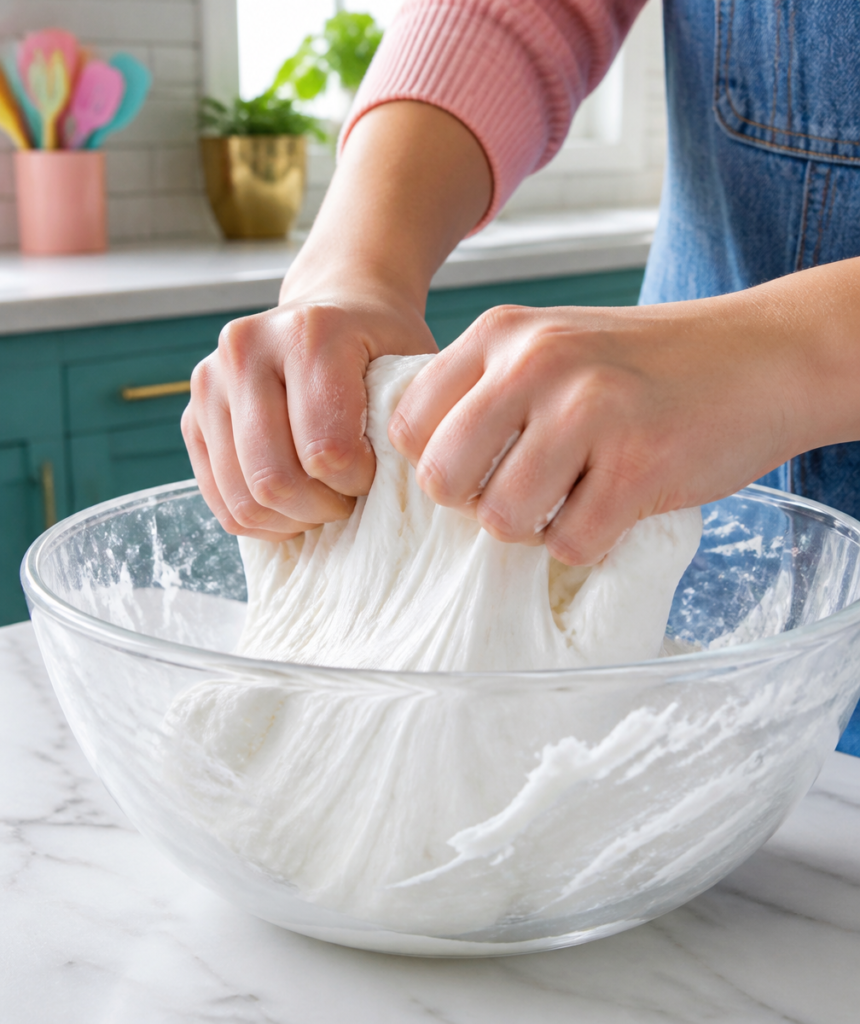
- Once it’s too thick to stir with a spoon, switch to using your hands. Knead for two to three minutes.
- If it’s still sticky at this point, wet your hands with a few drops of saline solution and keep kneading rather than pouring more solution straight into the bowl, since too much activator poured directly in can make the slime turn rubbery and hard.
This batch makes about a cup of slime and stores well in an airtight container for up to two weeks. Double or triple the recipe for a group of kids or a classroom activity.
2: SLIME WITHOUT GLUE (SHAMPOO AND CORNSTARCH)
For families avoiding glue-based slime, whether because of allergies, sensory concerns, or simply an empty glue bottle, this version uses two pantry staples instead.
Ingredients:
- Half a cup thick shampoo, a three-in-one formula works best for this
- Cornstarch, added gradually, roughly three quarters to one full cup
- Food coloring, optional
Steps:
- Pour the shampoo into a bowl and stir in coloring if you’re using it.
- Add cornstarch a little at a time, mixing thoroughly after each addition.
- Once it forms a crumbly paste, knead it by hand until smooth.
- If it feels too dry, work in a few drops of water. If it’s too wet, add a bit more cornstarch until it holds together.
This slime has a softer, less stretchy texture than glue-based versions but tends to be gentler on sensitive skin, since it skips the glue and activator combination entirely.
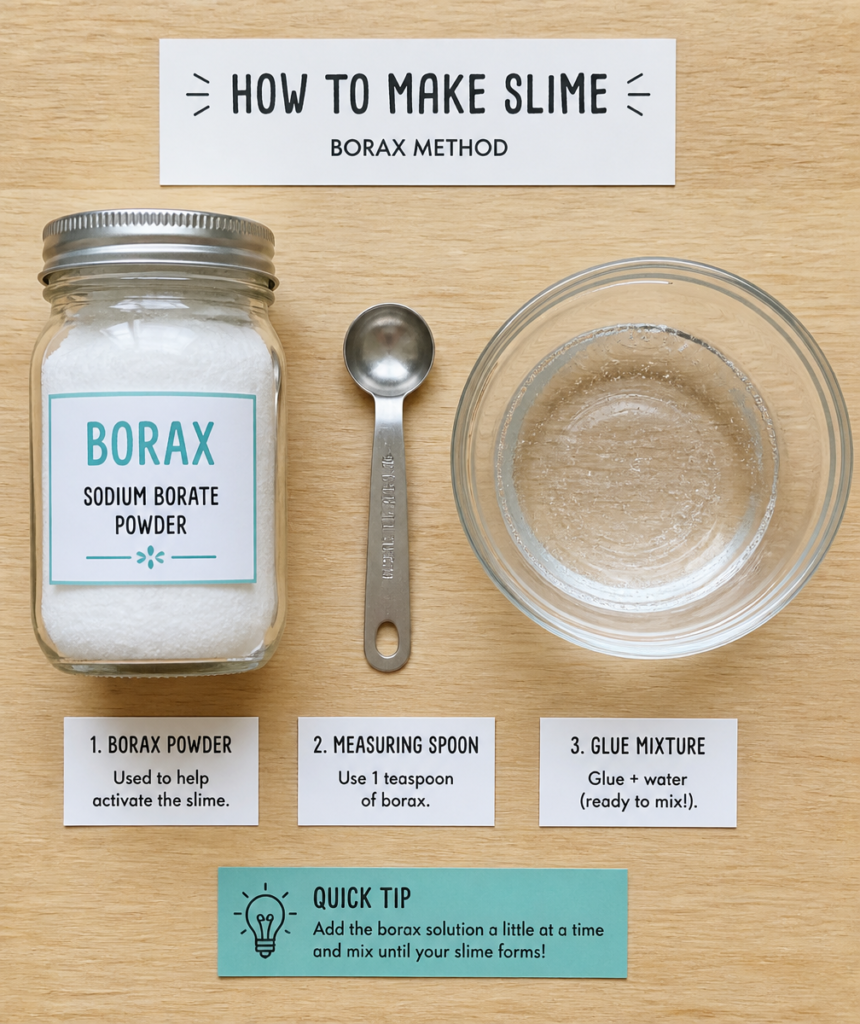
3: BORAX SLIME (TRADITIONAL METHOD)
Borax was the original slime activator, and it still works well, though many households now prefer saline solution instead since borax needs to be measured precisely and shouldn’t be handled without adult supervision.
Ingredients:
- One teaspoon borax powder
- One cup warm water, for the borax solution
- Half a cup white or clear glue
- Half a cup water, to mix with the glue
- Food coloring, optional
Steps:
- Dissolve the borax in one cup of warm water and set it aside.
- In a separate bowl, mix the glue with half a cup of water until smooth. Add coloring if you’d like.
- Slowly pour the borax solution into the glue mixture while stirring. You’ll see it thicken almost immediately.
- Once it’s too thick to stir, knead by hand until it’s no longer sticky.
- Store any leftover borax solution in a labeled, sealed container well out of reach of children.
Always supervise children when borax is involved, and make sure no one touches their face or mouth during play. Some parents prefer to skip borax entirely given ongoing questions about repeated skin exposure, which is part of why the saline-solution method in Recipe 1 has become more popular in recent years.
4: TWO-INGREDIENT SLIME (NO GLUE, NO BORAX)
This is the fastest option when you want something right now with almost nothing on hand.
Ingredients:
- Equal parts hair conditioner and cornstarch, start with a quarter cup of each
Steps:
- Combine the conditioner and cornstarch in a bowl.
- Mix until it comes together, adding a little more cornstarch if it feels too wet, or more conditioner if it feels too dry.
- Knead until smooth.
It won’t stretch as far as glue-based slime, but it’s soft, squishy, and ready to play with in under five minutes. A scented conditioner also gives the finished slime a pleasant smell without needing added fragrance oils.
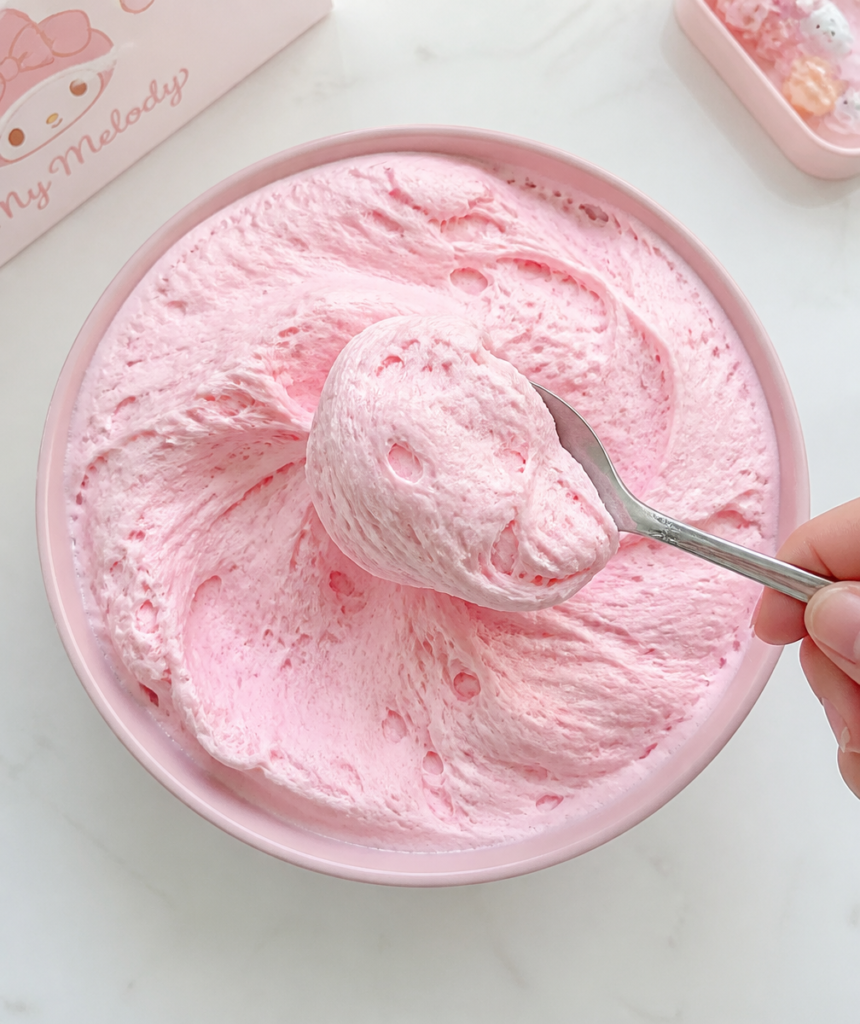
5: FLUFFY SLIME
Fluffy slime uses the classic glue-and-saline base but adds shaving cream for a light, whipped texture that kids tend to love.
Ingredients:
- Half a cup white glue
- One cup shaving cream
- Half a teaspoon baking soda
- One tablespoon saline solution
- Food coloring, optional
Steps:
- Mix the glue and shaving cream together until fluffy and smooth.
- Stir in the food coloring, then the baking soda.
- Add the saline solution gradually, stirring until the mixture starts pulling together.
- Knead by hand until it’s light, airy, and stretchy.
6: CLEAR SLIME
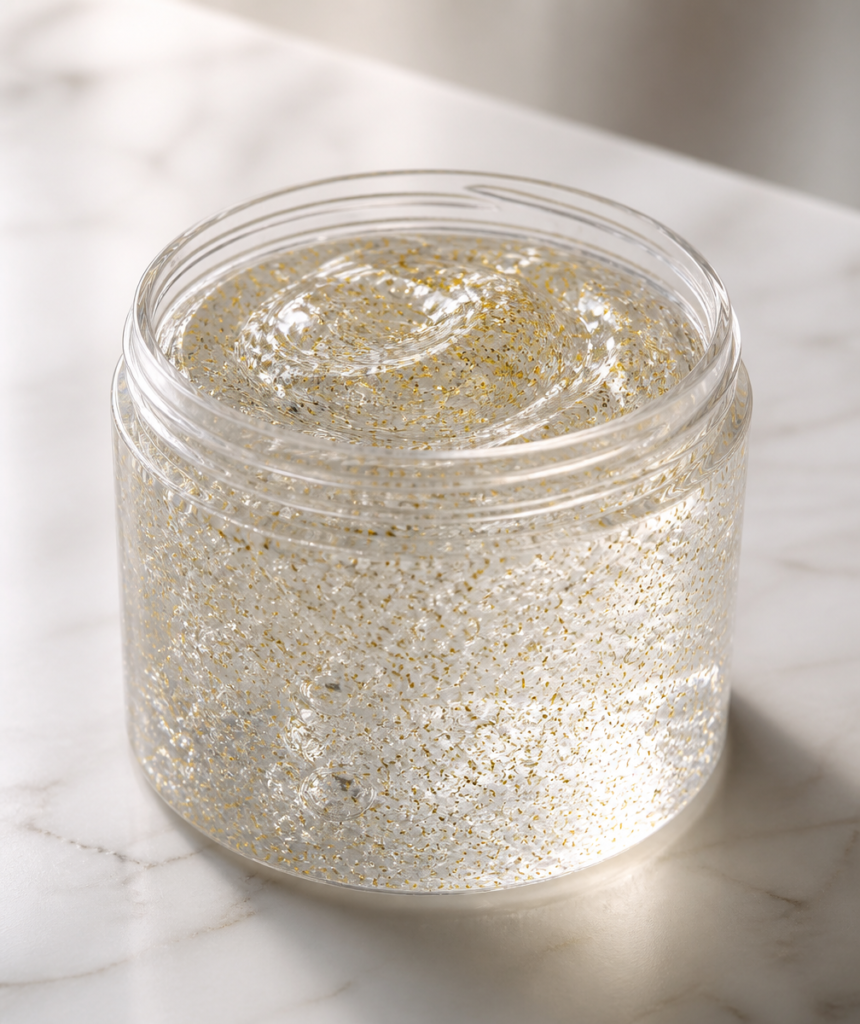
Clear slime looks completely different from the classic version and works best for anyone wanting a glossy, glass-like finish, especially nice for adding glitter or tiny beads that show through.
Ingredients:
- Half a cup clear PVA glue, not white glue
- One tablespoon saline solution
- Glitter, foam beads, or small charms, optional
Steps:
- Pour the clear glue into a bowl.
- Slowly add the saline solution while stirring gently, moving slowly to avoid trapping air bubbles.
- Once it starts to come together, knead by hand until smooth.
- Mix in glitter or beads if using.
Clear slime takes a bit more patience than the classic version, since stirring too fast introduces bubbles that make it look cloudy instead of glassy. Letting the finished batch rest overnight in a sealed container often clears up any remaining bubbles.
7: BUTTER SLIME
Butter slime has a soft, spreadable texture, similar to actual butter, and is a favorite for anyone who likes squishing and molding more than stretching.
Ingredients:
- One batch of classic slime, Recipe 1
- Two to three tablespoons modeling clay or “foam clay,” softened
- A pinch of cornstarch, if needed
Steps:
- Make a batch of classic slime first, following Recipe 1.
- Knead the softened modeling clay into the finished slime a little at a time.
- Continue kneading until the texture turns soft, matte, and spreadable rather than glossy and stretchy.
- Add a pinch of cornstarch if it feels too soft or sticky.
This version holds fingerprints and shapes nicely, which makes it popular for sensory play and slideshow-worthy Pinterest photos.
HOW TO STORE SLIME SO IT LASTS
Most homemade slime stays playable for one to two weeks when stored properly, and some batches last even longer with the right care.
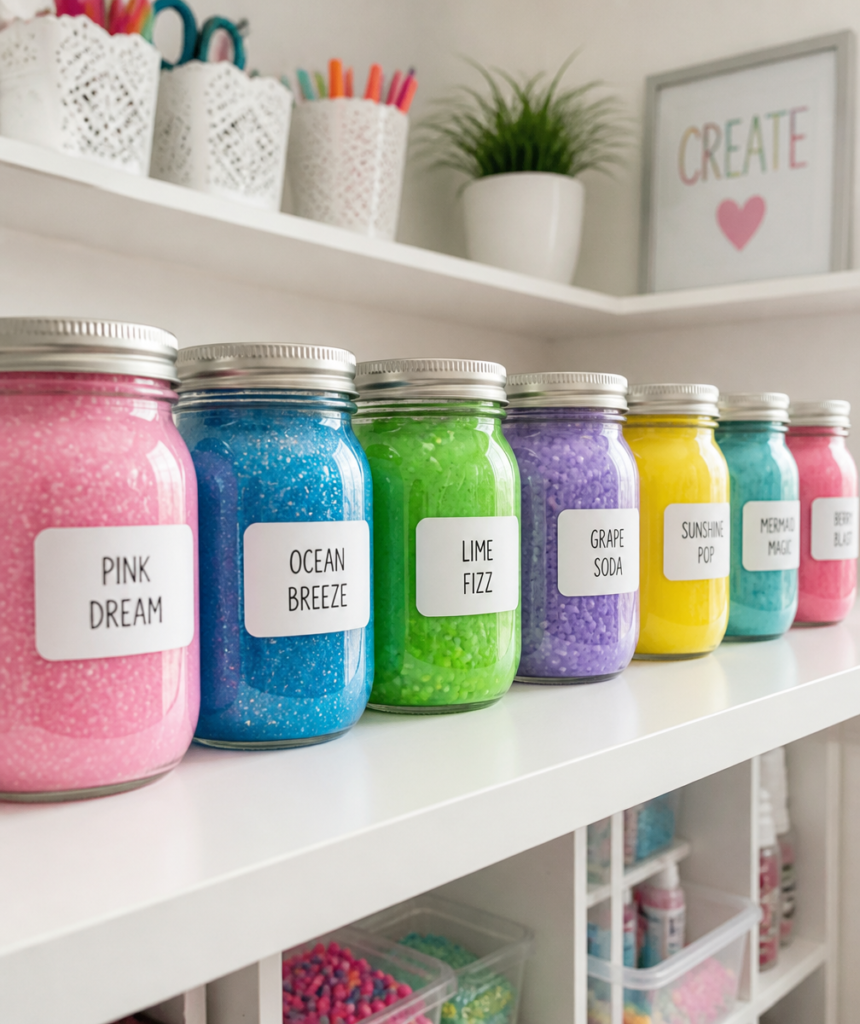
Keep it in an airtight container or a sealed zip-top bag, pressing out as much air as possible before sealing. Store it at room temperature in a spot away from direct sunlight or heat, since warmth speeds up drying and can make slime turn stiff. Avoid leaving slime out uncovered between play sessions, even for a short time, since exposure to air is the main reason slime dries out. If a batch starts to feel stiff after storage, knead in a few drops of water and let it rest for about an hour before playing again.
Some parents also store slime in the refrigerator for a firmer texture that some kids prefer, though it should come back to room temperature before playing to avoid it feeling too hard.
COMMON MISTAKES THAT RUIN A BATCH
Adding all the activator at once. This is the single biggest reason slime turns out too hard. Add it gradually and knead between additions instead of pouring the full amount in one go.
Using expired or watery glue. Old glue bottles sometimes separate or thin out, which throws off the ratio and can leave the slime permanently sticky no matter how much activator is added.
Skipping the kneading step. Slime often looks done long before it actually is. The kneading stage is what fully activates the mixture and smooths out the texture, so don’t stop stirring the moment it clumps.
Using gel-based food coloring. Gel colors are more concentrated than liquid and can interfere with how the activator distributes through the glue, leading to uneven texture.
Storing it uncovered. Even an hour of open-air exposure can start drying out a batch, especially in warm or dry climates.
FIXING COMMON SLIME PROBLEMS
Slime is too sticky: Add saline solution a few drops at a time while kneading. Don’t dump it all in at once, or the outside will set while the inside stays wet underneath.
Slime is too hard or rubbery: Add a small amount of warm water and knead it back in. This loosens the polymer bonds slightly and restores some stretch.
Slime won’t stop clinging to your hands: Coat your hands lightly with a few drops of saline solution or lotion before kneading, rather than adding more directly to the slime itself.
Slime has bubbles: This usually happens from stirring too quickly. Let it sit for a few minutes before playing, and mix more slowly on the next batch.
Slime dried out in storage: Knead in a few drops of water, cover it tightly, and let it rest for an hour before playing again.
Slime smells sour after a few days: This can happen in humid climates. Store it in the refrigerator instead of at room temperature, and discard it if the smell is strong or unusual.
SLIME SAFETY TIPS
- Slime is a craft material, not a toy for children under three, since small pieces can be a choking hazard.
- Always check that saline solution or contact lens solution contains boric acid or sodium borate, since plain saline spray won’t activate the slime.
- Wash hands before and after playing, and avoid touching eyes or mouth during the process.
- Keep borax and its solution stored well out of reach of young children when not in use.
- Cover work surfaces, since dried slime can be difficult to remove from fabric and wood. If slime does end up on fabric, soaking the spot in vinegar before washing normally often helps lift it out.
- Supervise slime play for kids with known sensitivities to glue, fragrance, or dye, and consider a patch test on the wrist before a full session for kids with sensitive skin.
SLIME AS A LEARNING ACTIVITY
Beyond the fun of squishing and stretching, making slime is a genuinely useful hands-on activity for practicing measuring, following steps in order, and observing a chemical reaction in real time. It works well as a rainy-day project, a birthday party activity, or a simple science lesson about polymers for elementary-age kids. Letting kids measure their own ingredients, within reason, adds a math component, while comparing different activators or ratios side by side turns a single afternoon into a small experiment about how texture changes with each variable.
FREQUENTLY ASKED QUESTIONS
Can I make slime without glue?
Yes. Shampoo and cornstarch, or conditioner and cornstarch, both produce a soft, moldable slime without any glue at all.
What can I use instead of contact solution?
Liquid starch or a diluted borax solution both work as activators if you don’t have saline solution on hand.
Why is my slime not stretchy?
It likely needs more kneading, or it has too much activator in it, which stiffens the texture. Add a small amount of water and knead again.
How long does homemade slime last?
Stored in an airtight container in a cool spot, most glue-based slime stays playable for one to two weeks.
Is slime safe for toddlers?
Slime is generally recommended for children ages three and up, with adult supervision, due to choking risk and skin sensitivity in younger kids.
Can I make slime edible?
True edible slime recipes exist using ingredients like marshmallows or pudding, but standard glue-based slime should never be eaten, since it isn’t formulated to be safe for consumption.
How do I get slime out of carpet or clothing?
Freeze the slime with an ice cube until it hardens, then scrape off as much as possible before treating the remaining spot with warm soapy water or a vinegar soak for fabric.
Why does my slime smell bad?
This usually means moisture got trapped during storage. Try storing future batches in the refrigerator, and discard any batch with a strong or unusual odor.
FINAL THOUGHTS
Slime doesn’t require anything exotic, just the right ratio of glue to activator and a little patience during the kneading stage. Start with the classic recipe if this is your first attempt, get comfortable with how the texture should feel at each stage, and branch out into the other variations once you’ve got the basics down. Once you know how the activator works, every other recipe on this list becomes a small variation on the same idea.