
How to Draw a Face
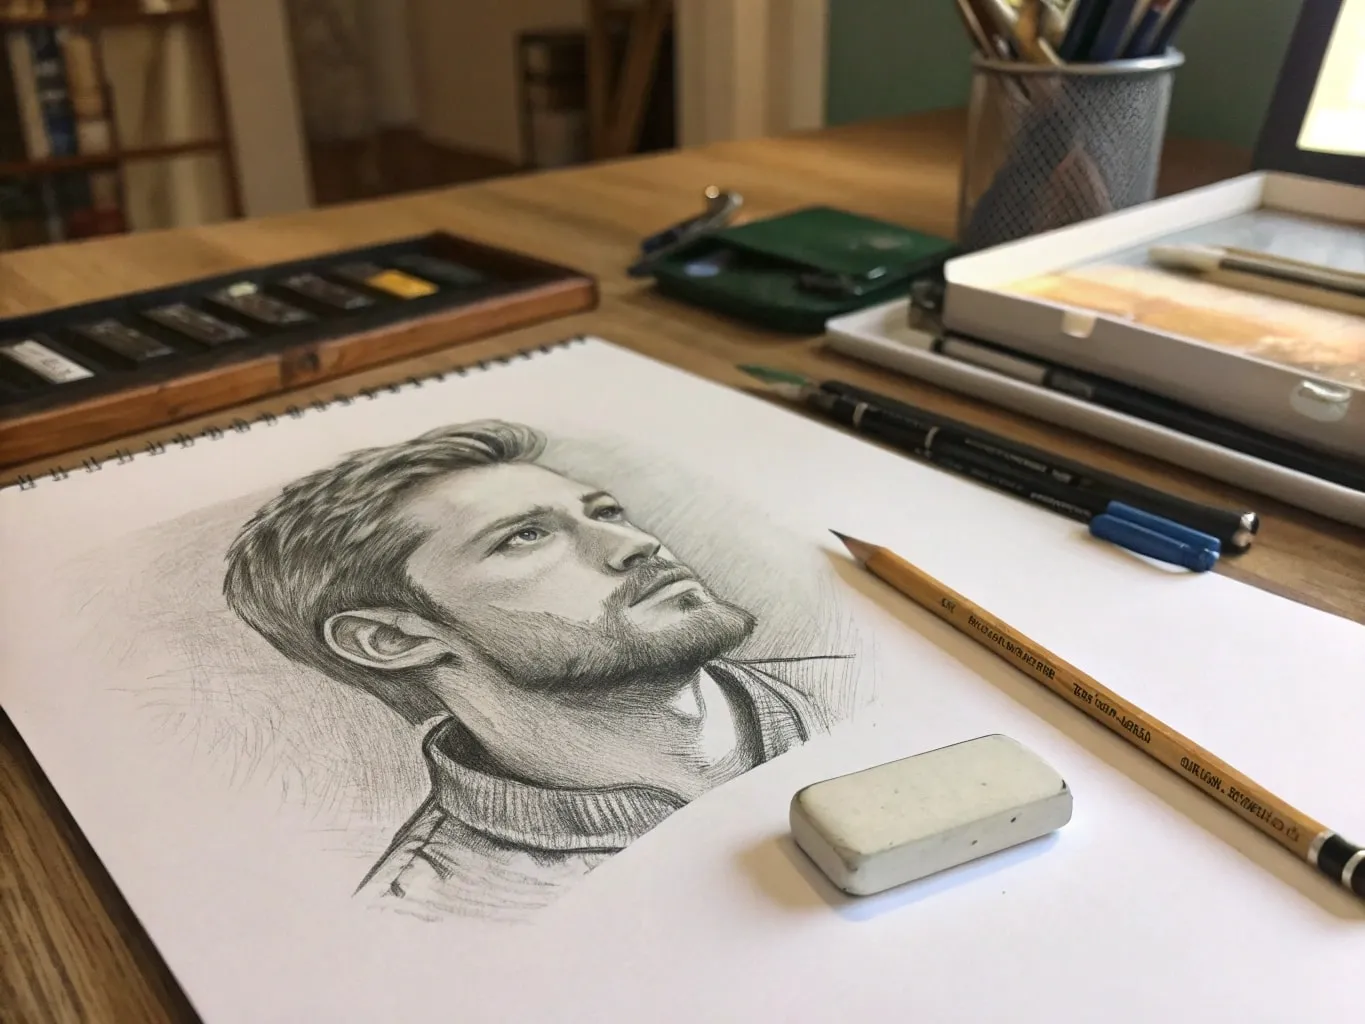
Have you ever tried to draw a face and ended up with something that looked more like a cartoon alien than a real person? Don’t worry you’re not alone! Drawing faces is one of the most challenging yet rewarding skills in art. Whether you’re sketching for fun, practicing portraiture, or aiming for realism, learning how to draw a face can boost your confidence and creativity.

Let’s break it down step-by-step so you’ll never have to dread sketching a face again.
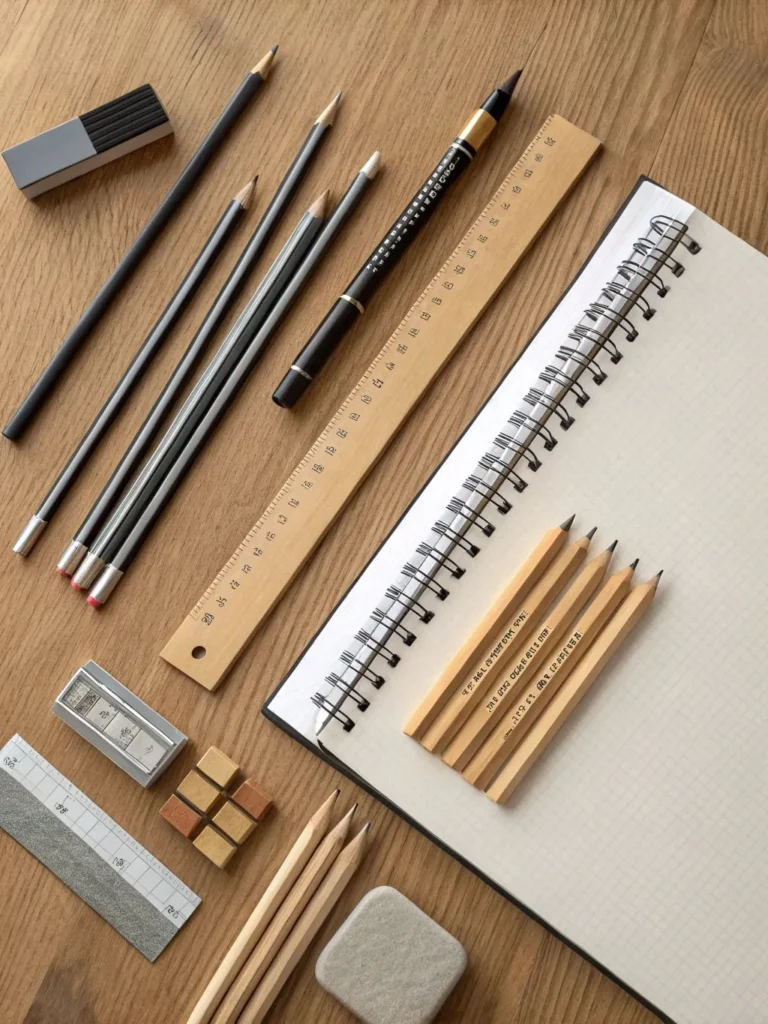
Supplies You’ll Need
Basic Drawing Tools
- Pencil (HB for sketching, 2B–4B for shading)
- Eraser (preferably kneaded)
- Drawing paper or sketchbook
- Ruler (for measuring proportions)
Optional Tools for Refinement
- Blending stumps or tissues
- Charcoal pencils for deeper shadows
- Reference photo or mirror (if drawing your own face)
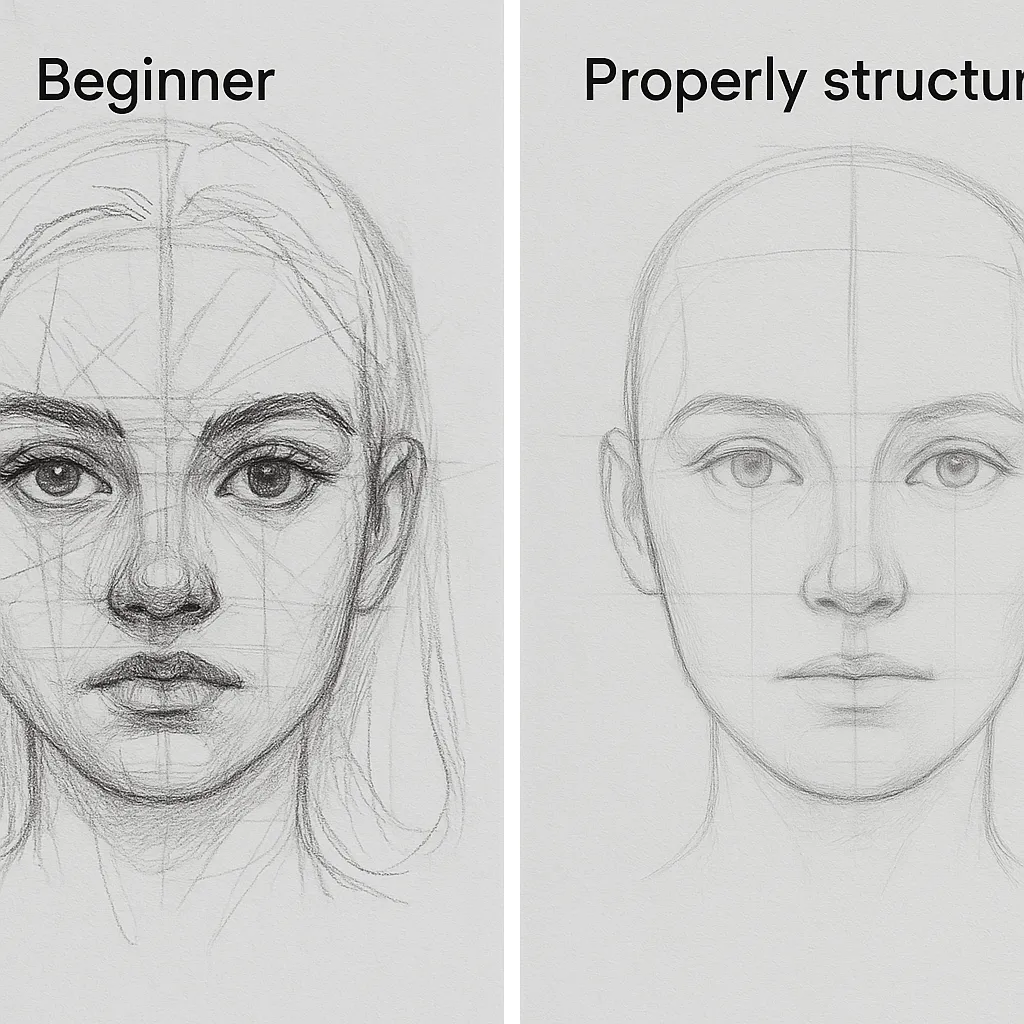
Understanding Face Proportions
The Rule of Thirds in Face Drawing
Think of the face like a map divided into three equal horizontal sections:
- Hairline to eyebrows
- Eyebrows to the bottom of the nose
- Bottom of the nose to the chin
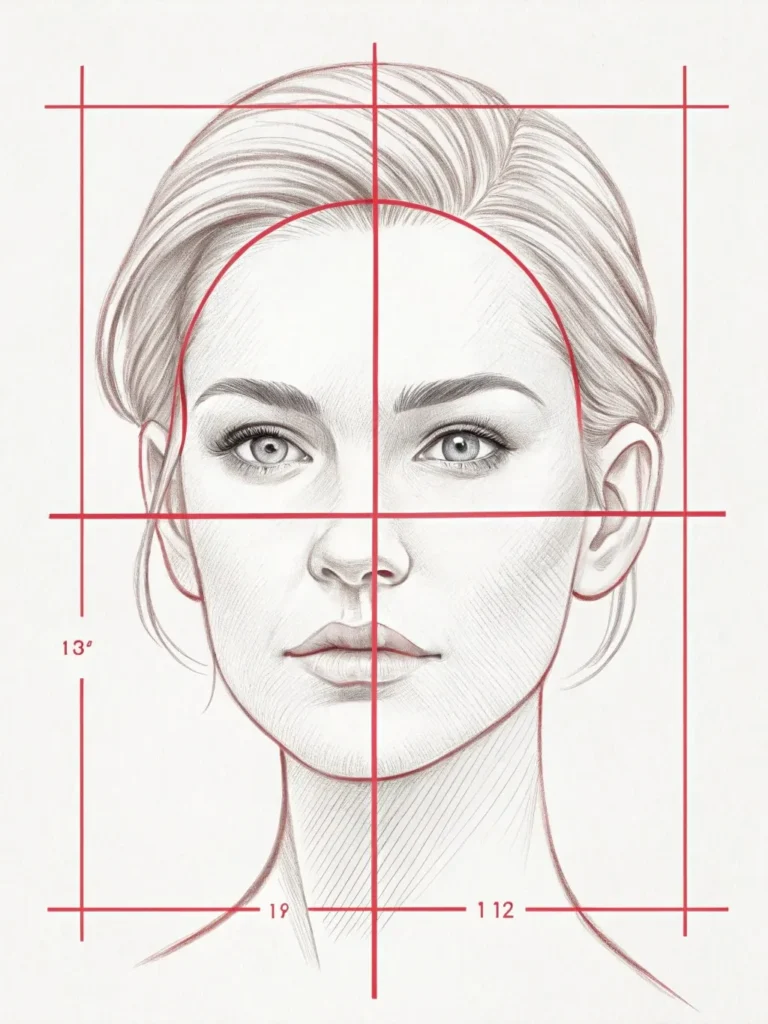
This rule keeps everything balanced and where it should be.
Placement of Facial Features
- Eyes: Located halfway down the head.
- Nose: Ends at the bottom of the second third.
- Mouth: Usually halfway between the nose and chin.
- Ears: Align with the eyebrows and nose.
Proportions = realism. Ignore them, and you’ll get distorted features that don’t look right.
Step-by-Step Guide to Drawing a Face
Step 1: Draw a Circle
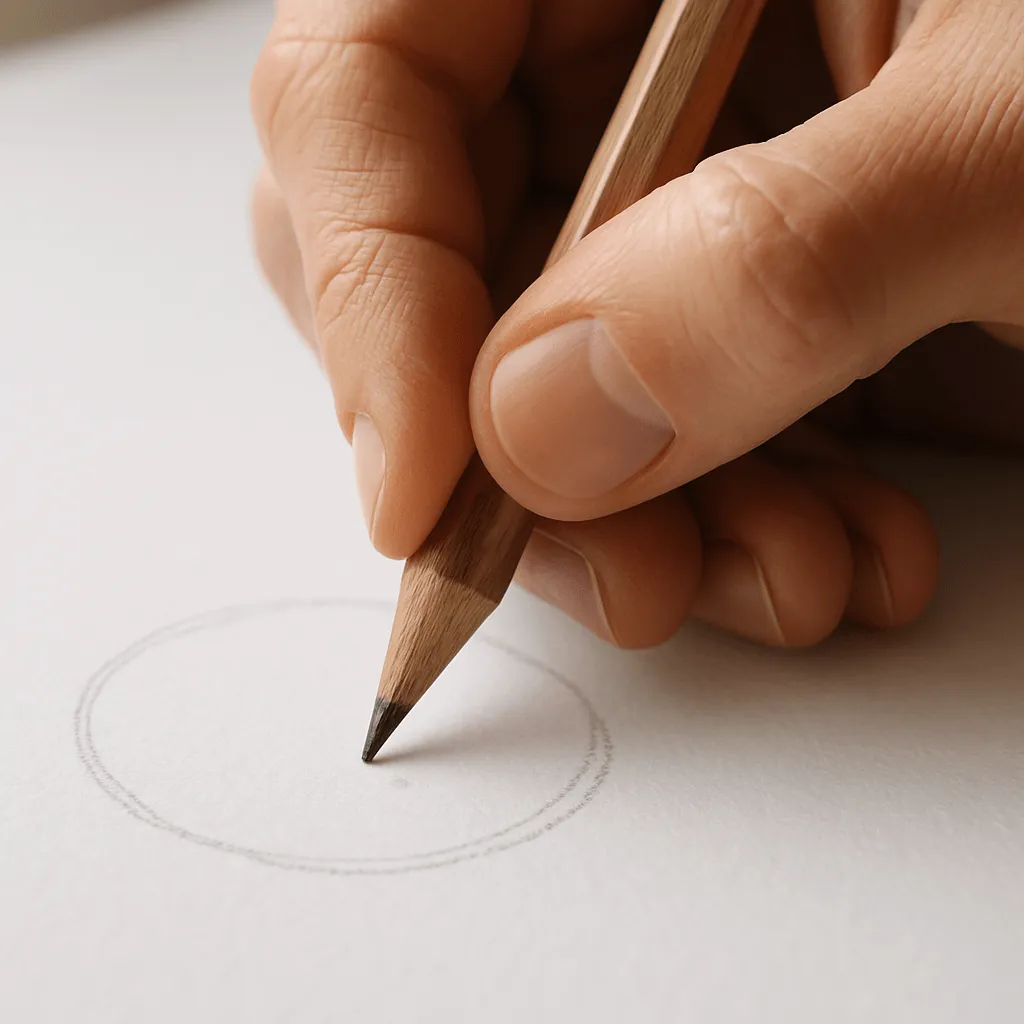
Start with a simple circle—this will be the upper part of the skull. Don’t worry about perfection.
Step 2: Add a Vertical and Horizontal Line
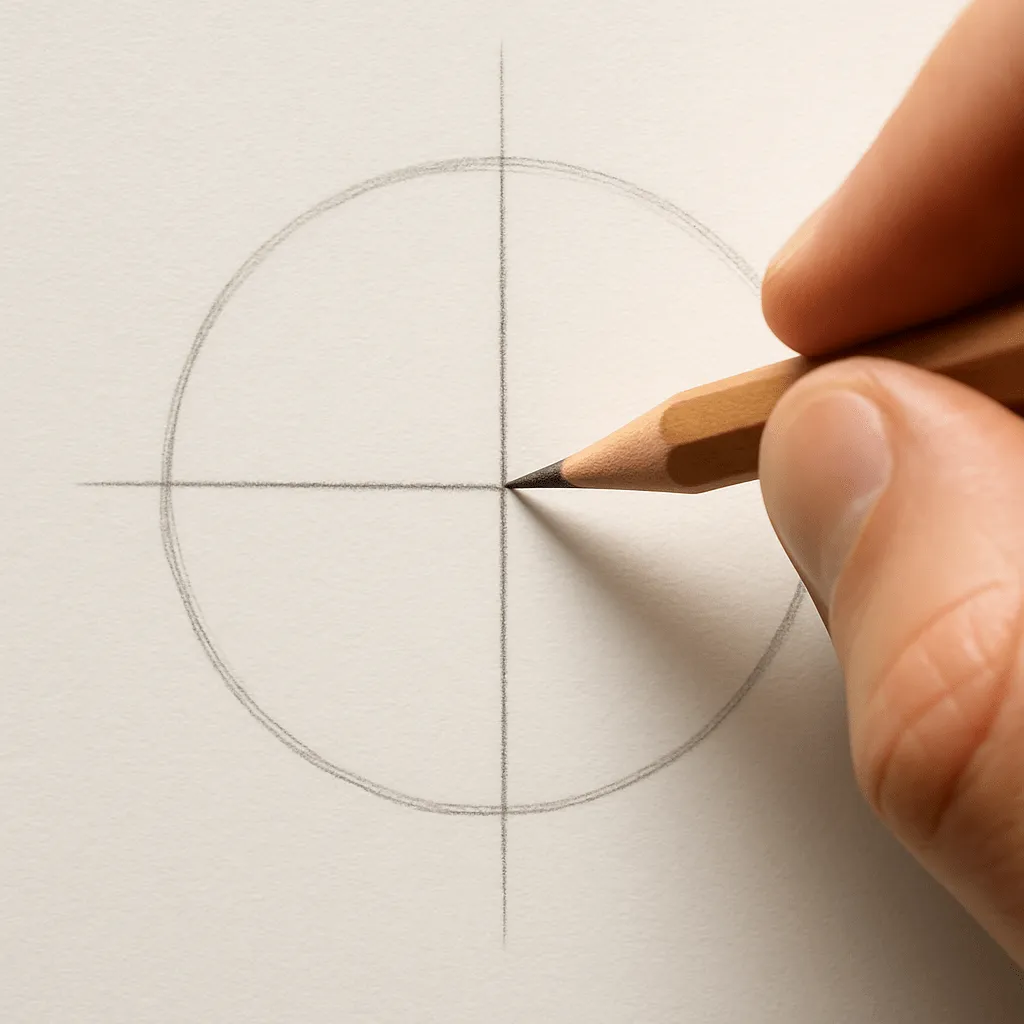
Draw a vertical line down the center. This helps with symmetry. The horizontal line (eye line) should go halfway down the circle.
Step 3: Outline the Jaw and Chin
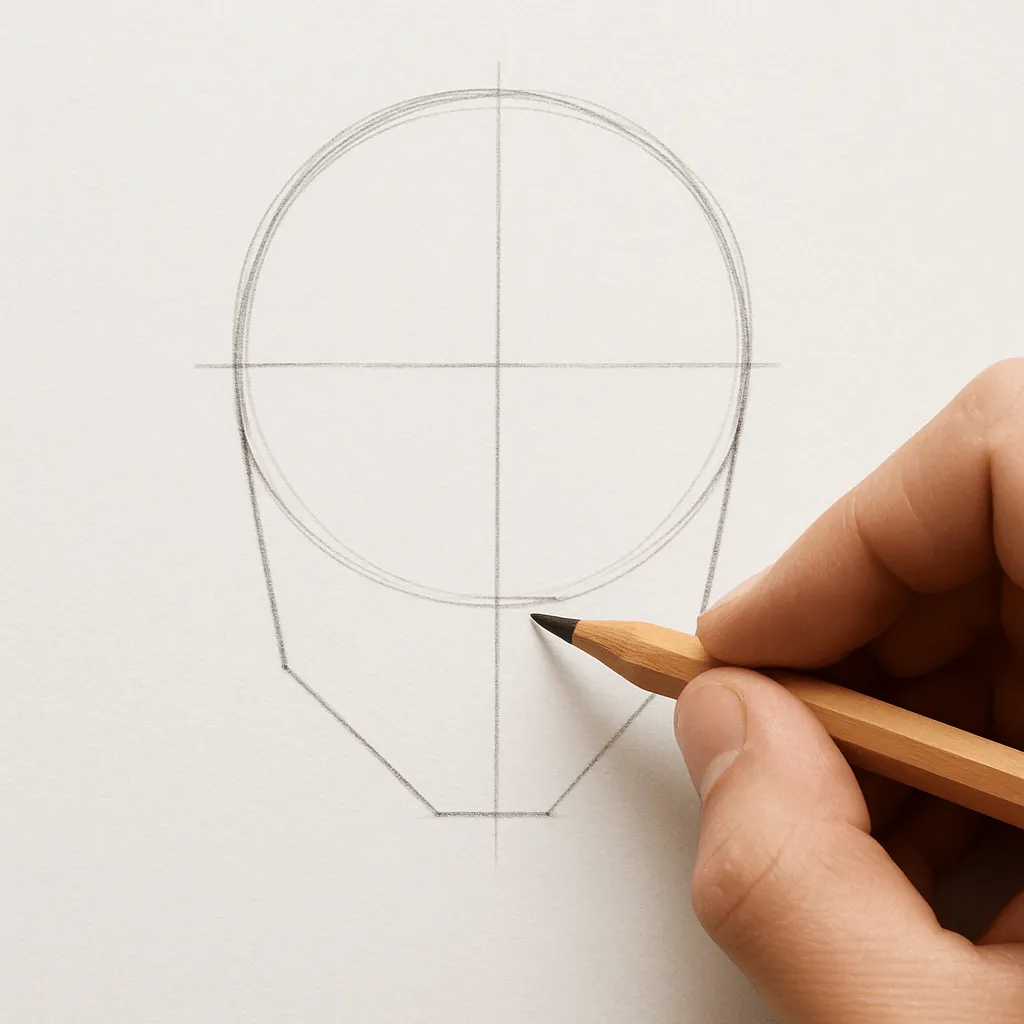
From the bottom sides of the circle, draw two diagonal lines to form the jaw, meeting at a point for the chin.
Step 4: Place the Eyes
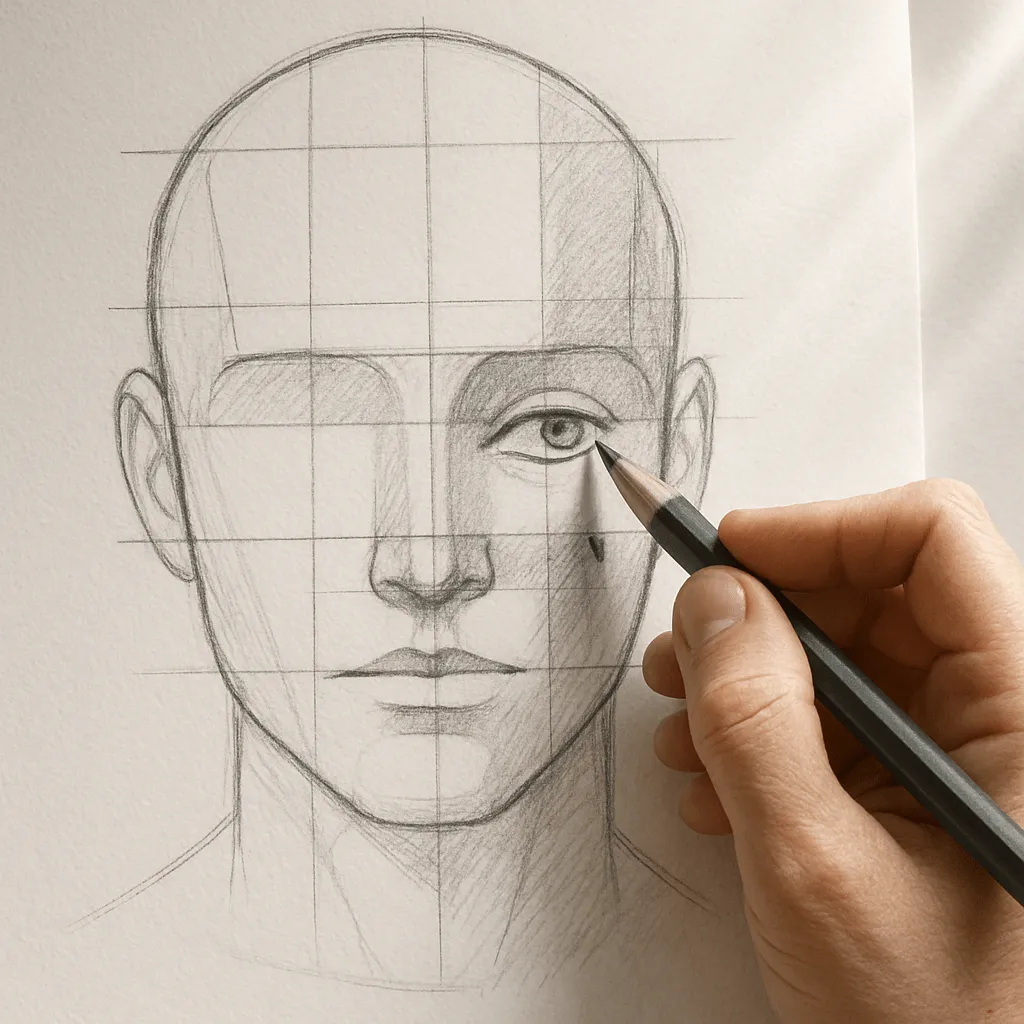
Divide the face into five equal spaces horizontally. The eyes fit in the second and fourth spaces.
Step 5: Draw the Nose
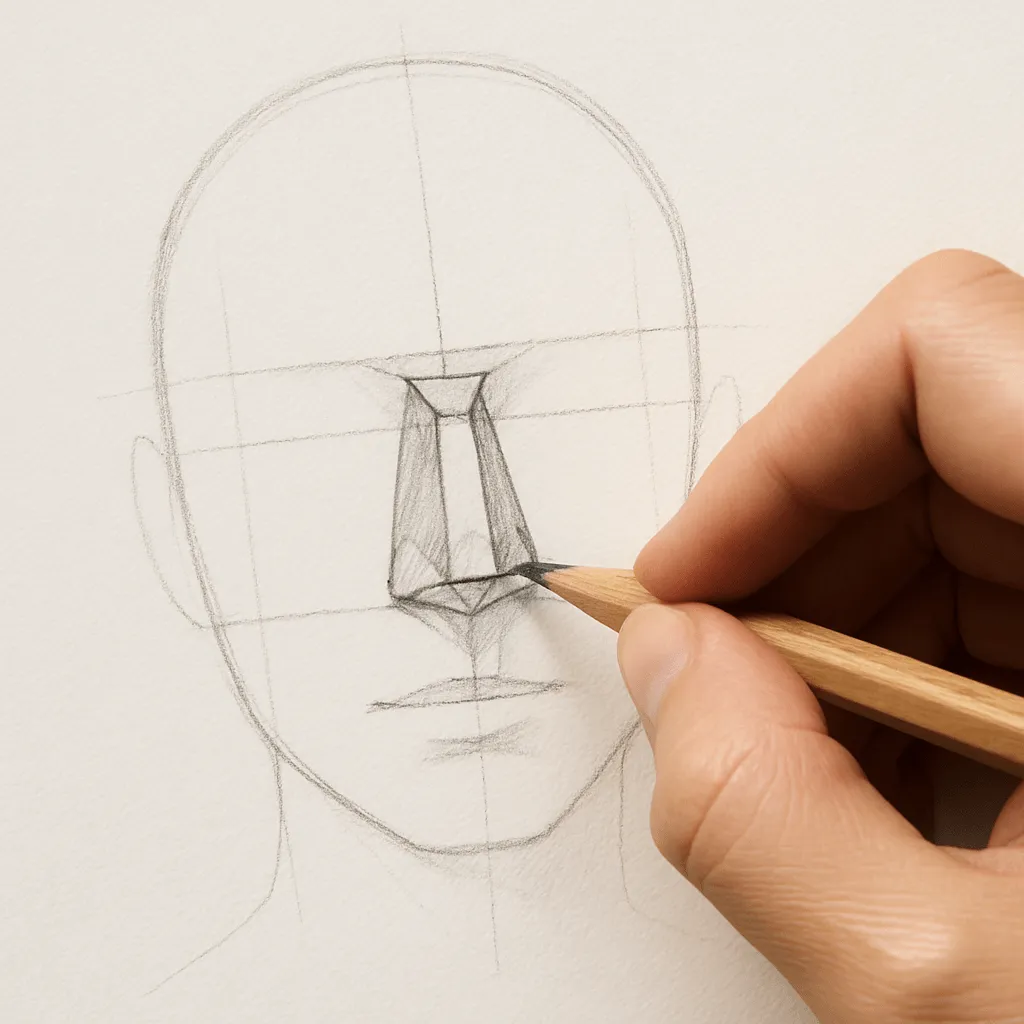
Start from the eye line and end at the bottom of the second third. Use a triangle or simple shape for positioning.
Step 6: Sketch the Mouth
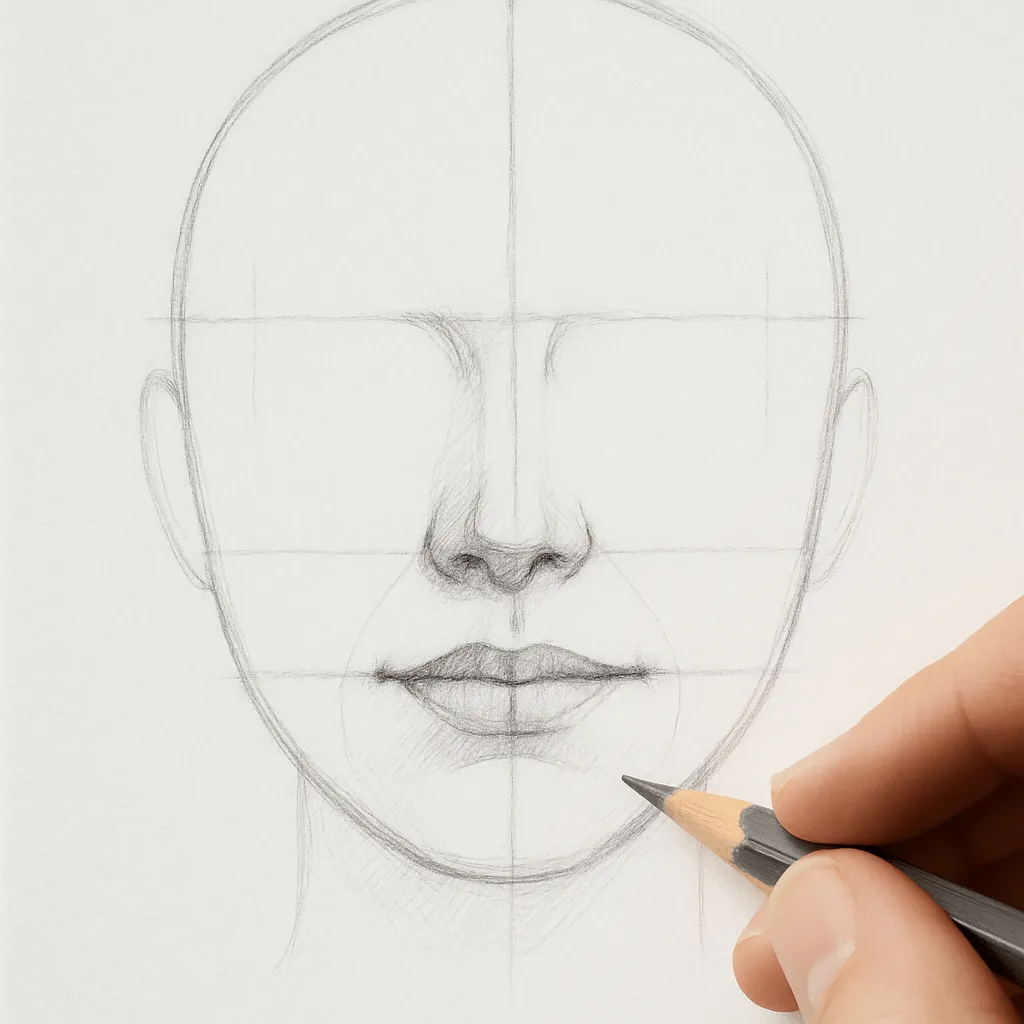
Mark halfway between the nose and chin. Keep it subtle—mouths tend to look weird if overdone.
Step 7: Add the Ears
Ears sit between the eye line and the nose line. Use a “C” shape for one side and a backward “C” for the other.
Step 8: Shape the Eyebrows
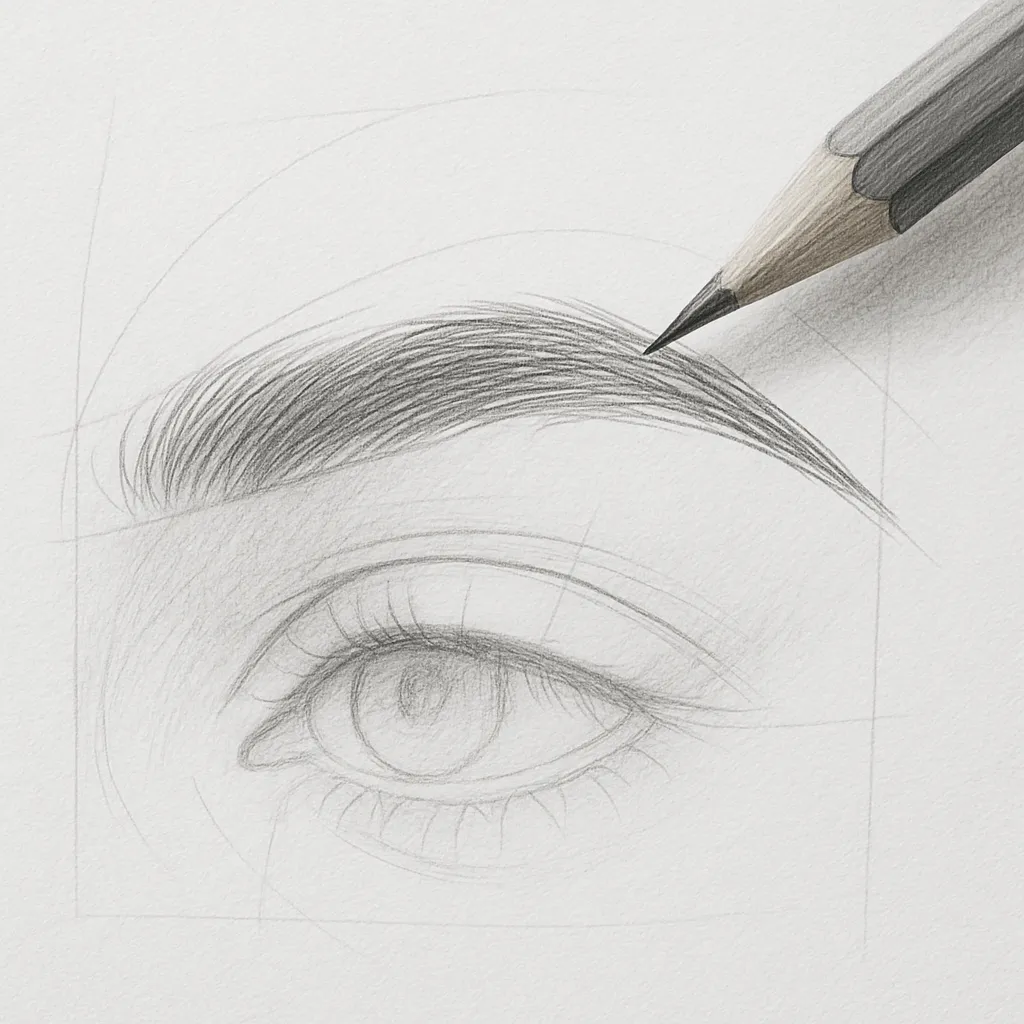
Eyebrows start at the inner corner of the eye and end just past the outer edge. Arch slightly for expression.
Step 9: Add Hairline and Hair
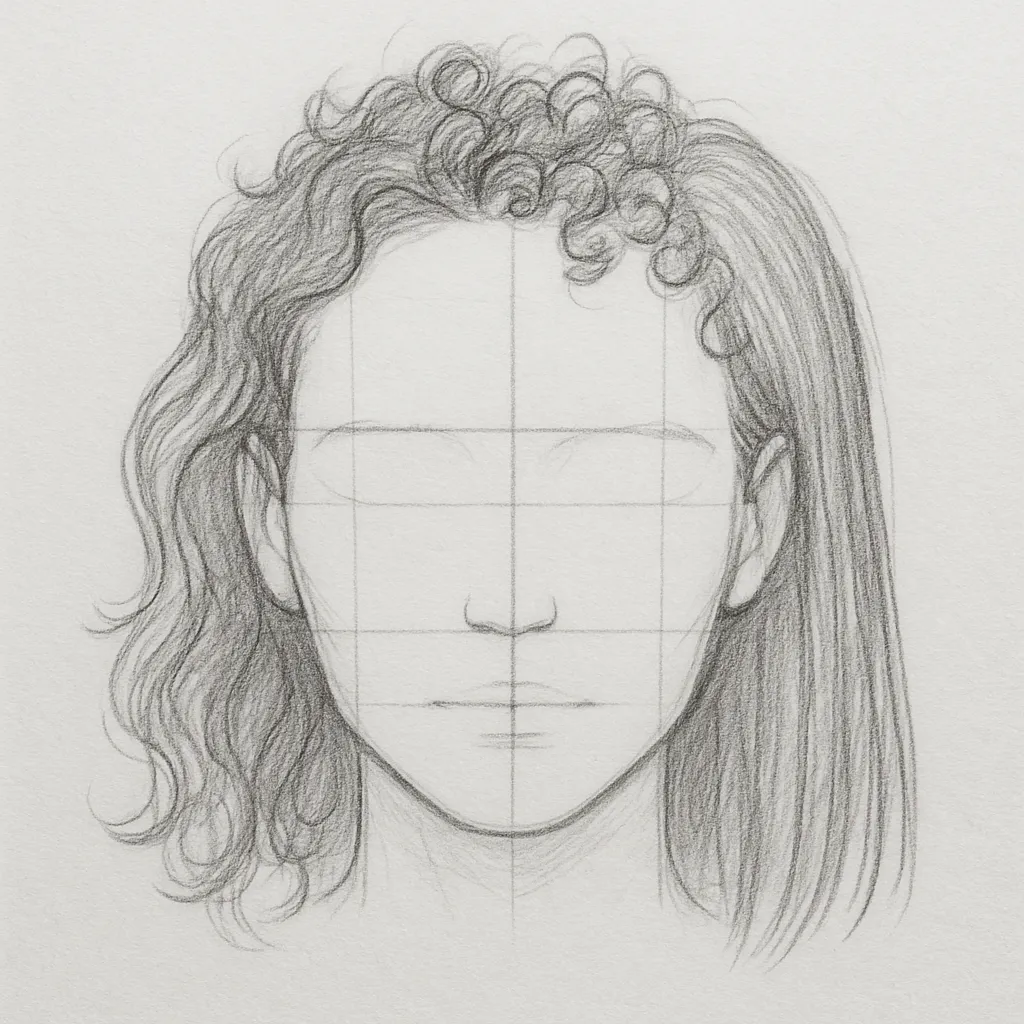
Sketch the hairline roughly above the forehead. Then, add hairstyle of your choice—curly, wavy, or straight.
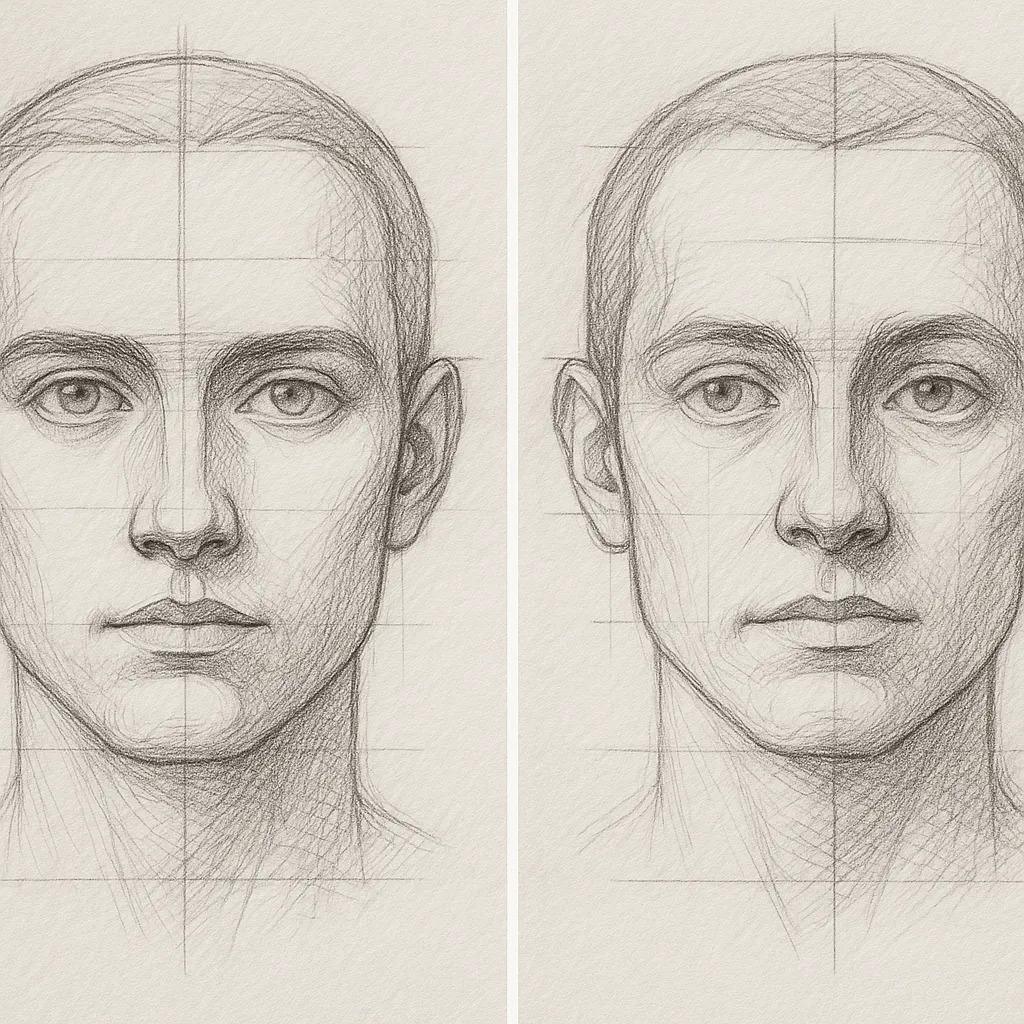
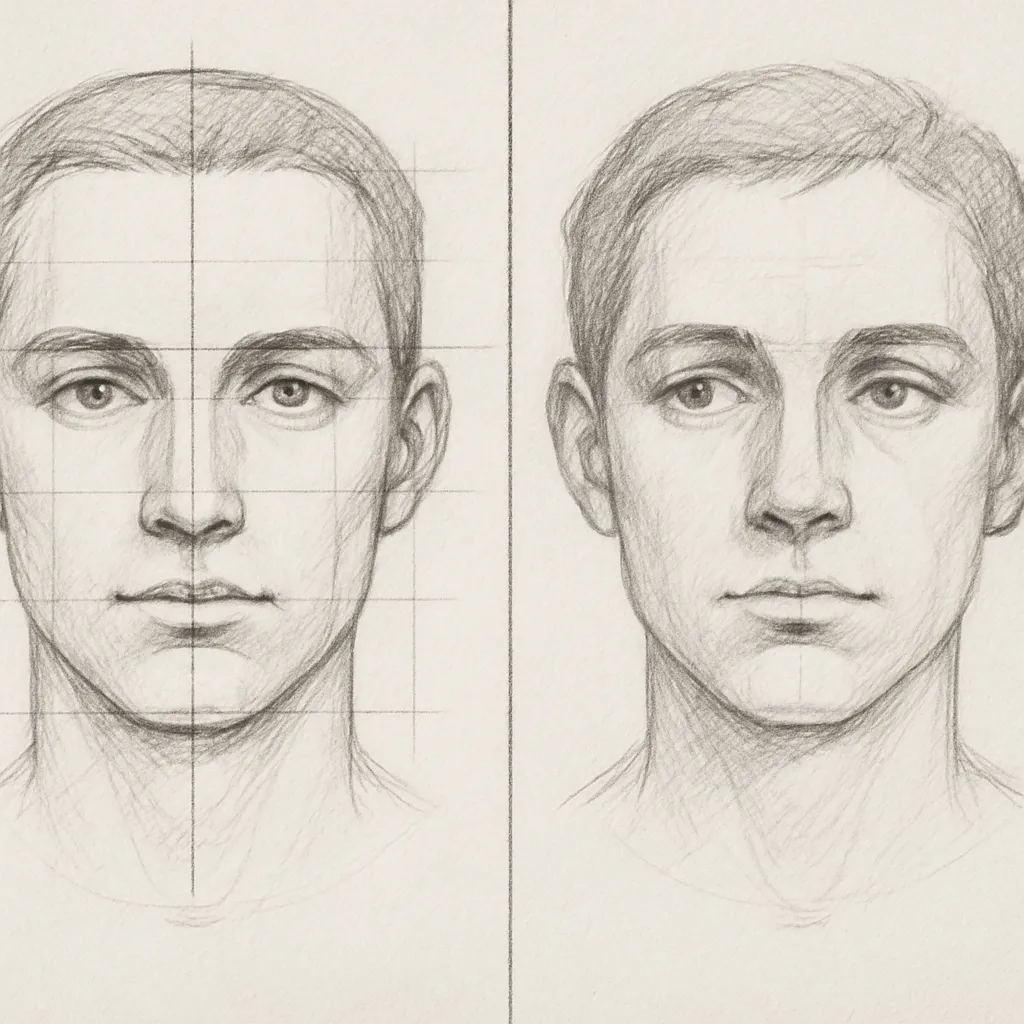
Step 10: Refine the Drawing
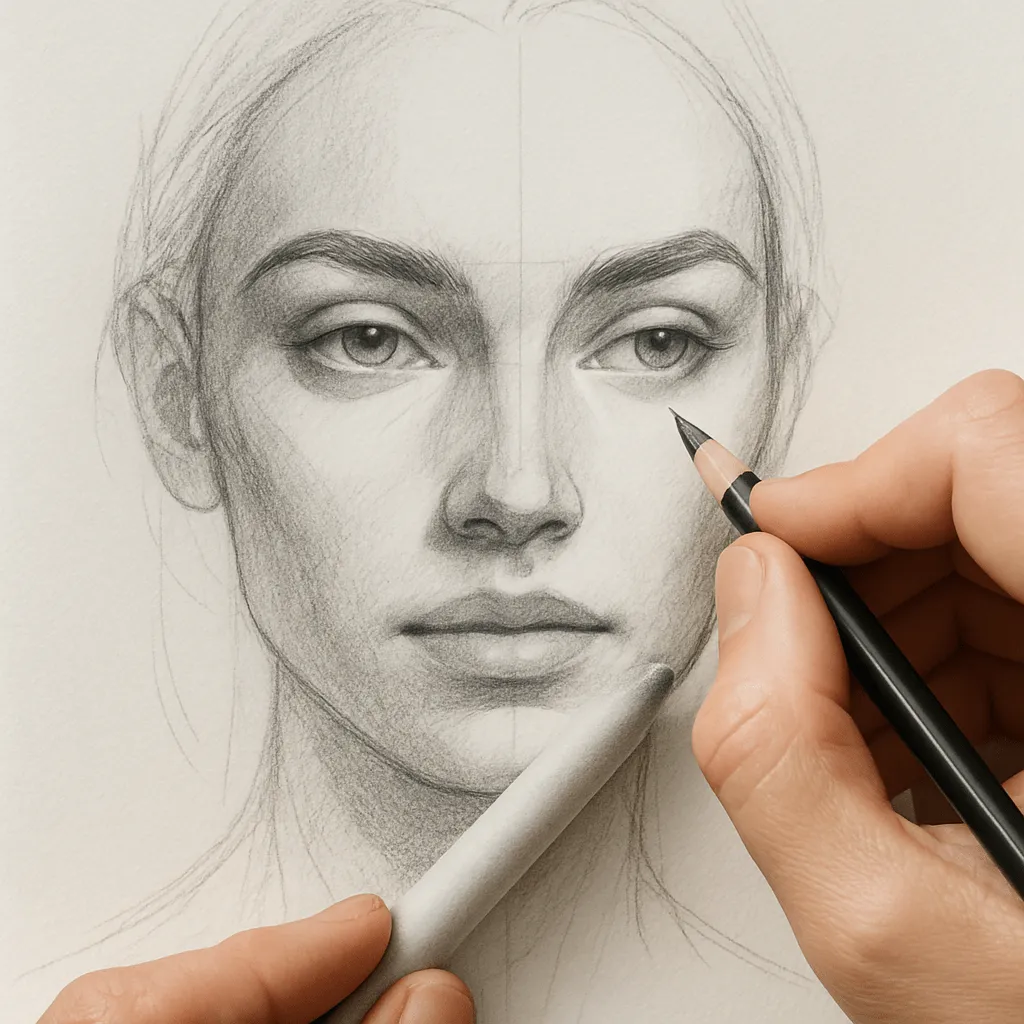
Now go in and clean up rough lines, enhance contours, and add light shading to create depth.
Tips for Drawing Realistic Faces
Pay Attention to Symmetry
The human face is generally symmetrical—check if both sides match up. A lopsided nose or eye throws the whole drawing off.
Understand Light and Shadow
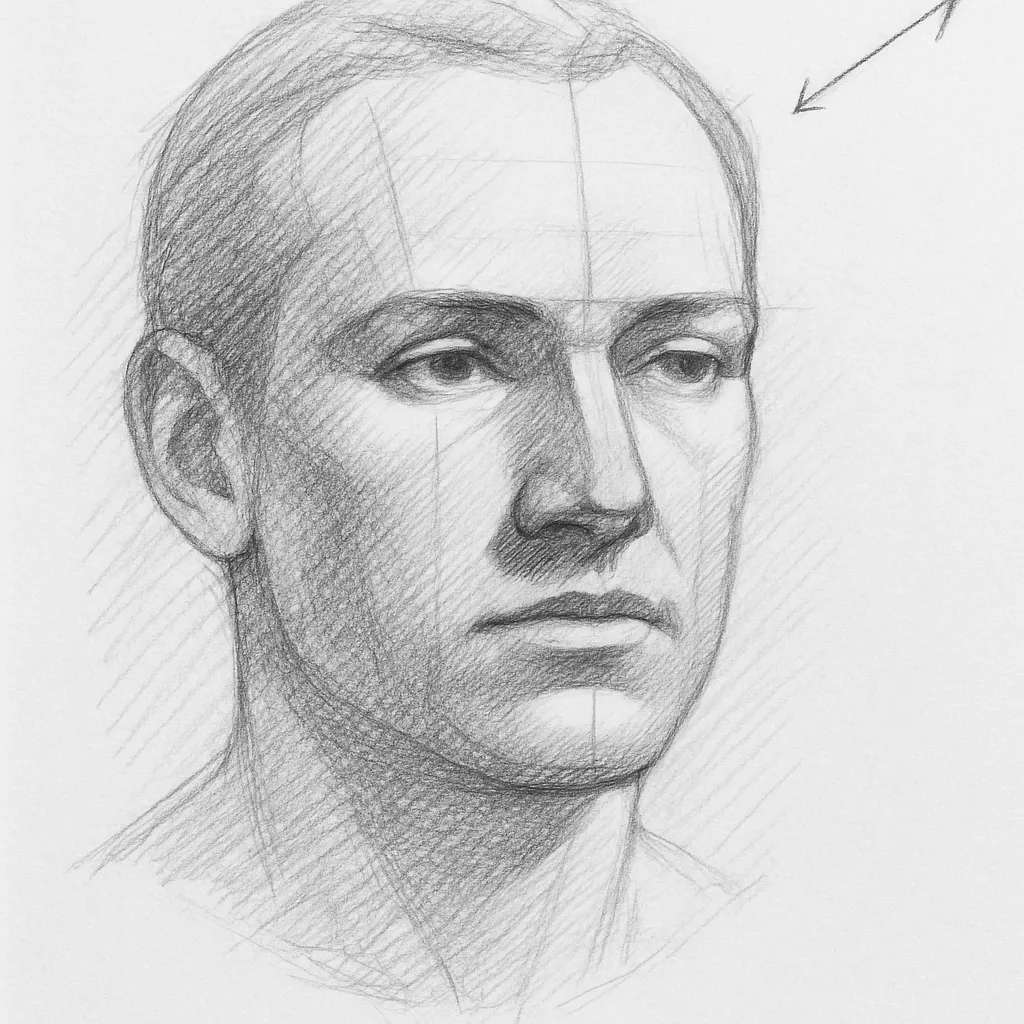
Identify your light source and shade accordingly. Shadow areas: under the nose, chin, and eyebrows.
Observe Real Faces
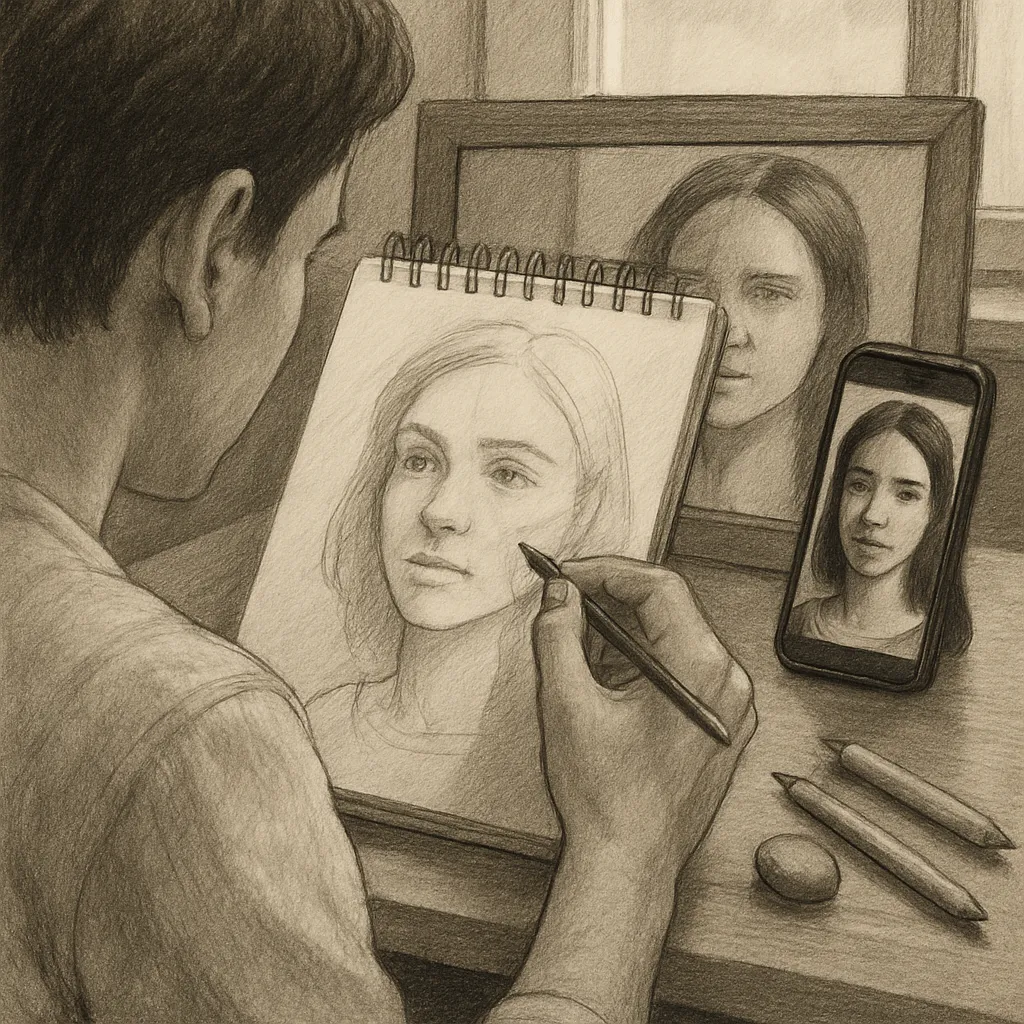
Use photos, mirrors, or even watch people. The more you observe, the better you get at capturing expressions and structure.
Common Mistakes to Avoid
Misaligned Features
If one eye is higher or larger, the whole face feels off. Keep using your center lines and measurement.
Ignoring Proportions

A big forehead or tiny chin happens when you skip the rule of thirds. Stick with structure.
Over-detailing Too Soon
Focus on structure before you get fancy with eyelashes and wrinkles.
Practicing Different Face Angles
Drawing a Face from the Side (Profile View)
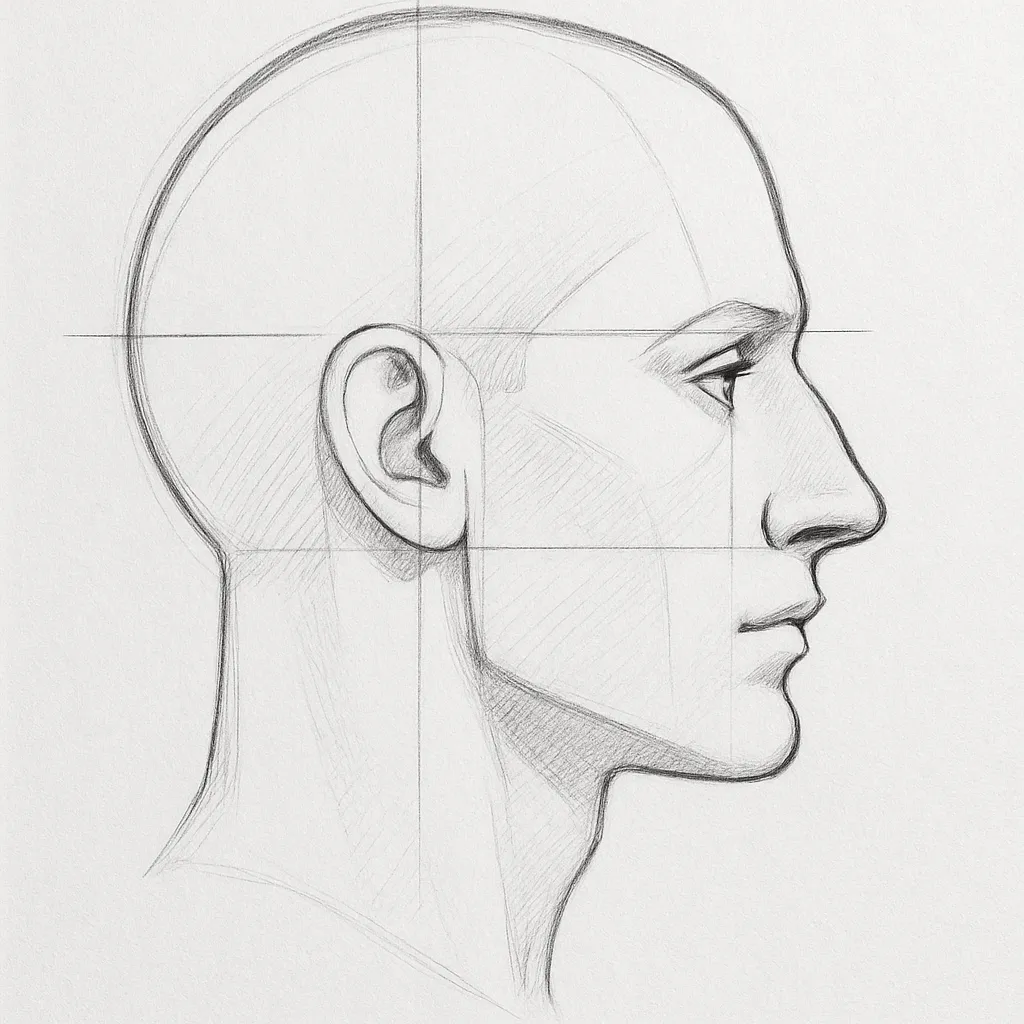
Draw a circle, then attach a rectangular jawline extending back. The ear will now be centered on the side, and the nose/mouth protrude outward.
Drawing a Face from a 3/4 Angle
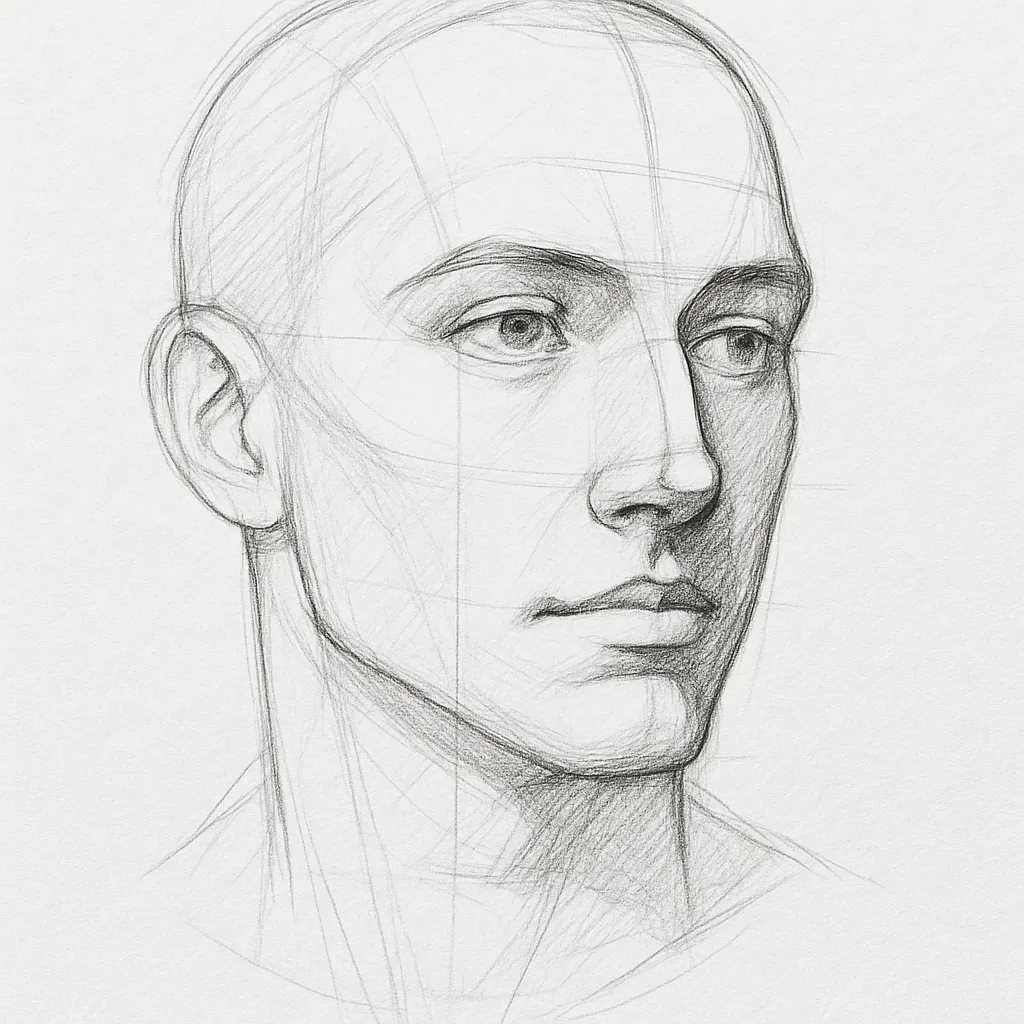
Slightly rotate the vertical centerline. One side of the face will be narrower than the other—tricky but very dynamic.
Advancing Your Skills
Study Anatomy
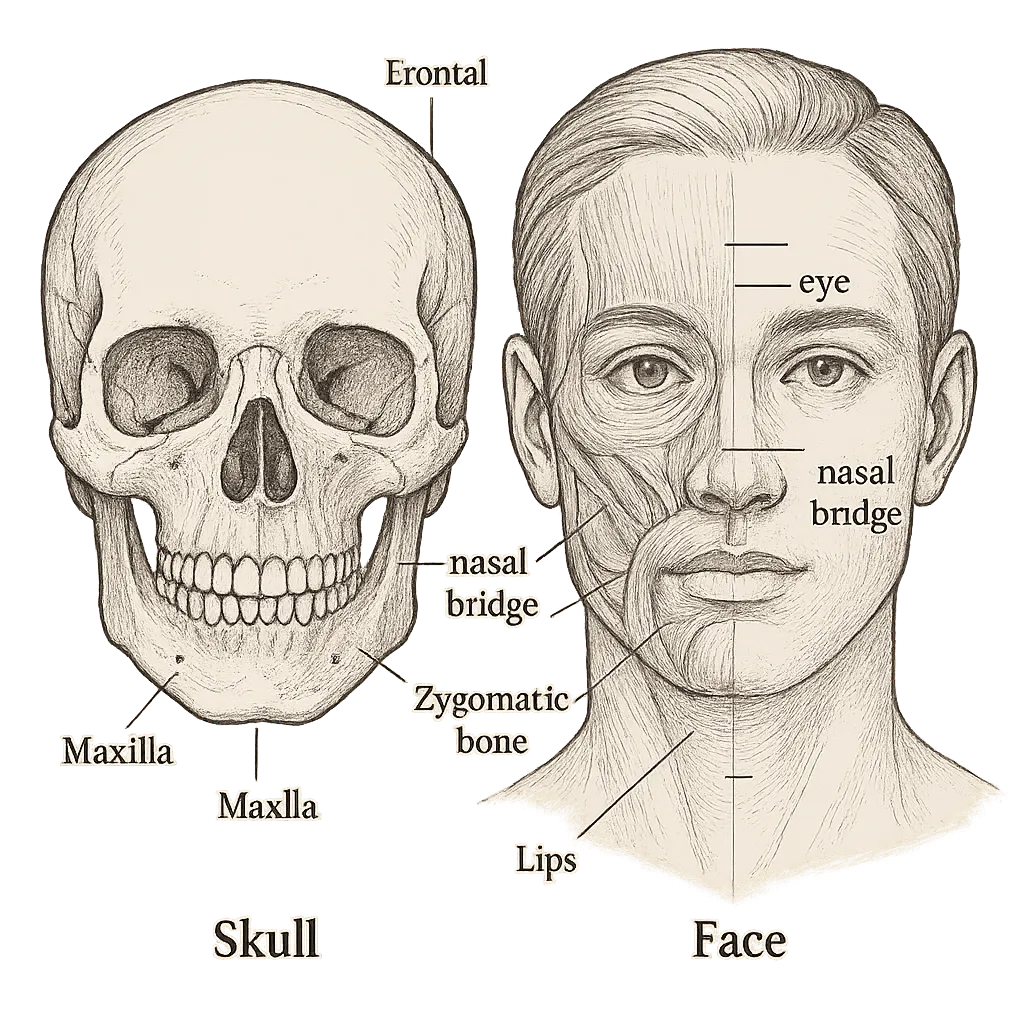
Learn about the skull and muscles beneath the face—it’ll transform your drawings from flat to lifelike.
Practice with Real Models and Photos
Try sketching celebrities, family, or yourself. Repetition is the secret to mastery.
Conclusion
Drawing a face isn’t a magical talent—it’s a skill you can learn, one line at a time. With patience, practice, and a bit of artistic curiosity, you’ll be able to bring personalities to life on paper. Don’t worry about perfection. Just draw, improve, and enjoy the process!
FAQs
1. What is the easiest way to start drawing faces?
Start with basic shapes and guidelines. A circle and some lines go a long way in building structure.
2. How long does it take to get good at drawing faces?
It depends on your practice. Daily sketches for even 15 minutes can show big improvements in a few weeks.
3. Should I draw from photos or real life?
Both! Photos help you freeze details, while real-life observation builds accuracy and flow.
4. Why do my face drawings look off?
Usually due to misaligned features or incorrect proportions. Use reference lines and break things down.
5. What should I practice the most?
Focus on eyes, noses, and lips. They’re tricky but crucial for expression and realism.

