22 Tongue and Groove Wall Ideas to Steal for Your Next Project


A plain drywall room can only take you so far, and tongue and groove paneling is one of the fastest ways to make a space feel finished, textured, and genuinely designed. The interlocking boards hide seams cleanly, which is why the look works in everything from a rental refresh to a full custom build.
This list is for renters, small space decorators, and homeowners planning anything from one accent wall to a whole-room redo. Below are 22 tongue and groove wall ideas grouped into classic paneling styles, modern and minimalist treatments, budget-friendly upgrades, room-specific applications, and textures and finishes worth trying. Two quick FAQs are built into the list along the way.
Tongue and groove walls work in almost any room, from living rooms and bedrooms to bathrooms and mudrooms, since the interlocking boards hide seams better than flat panels. The most budget-friendly version uses thin pine boards over existing drywall for under $200 in a small room, while full custom builds with premium hardwood cost significantly more.
Classic Panelling Styles
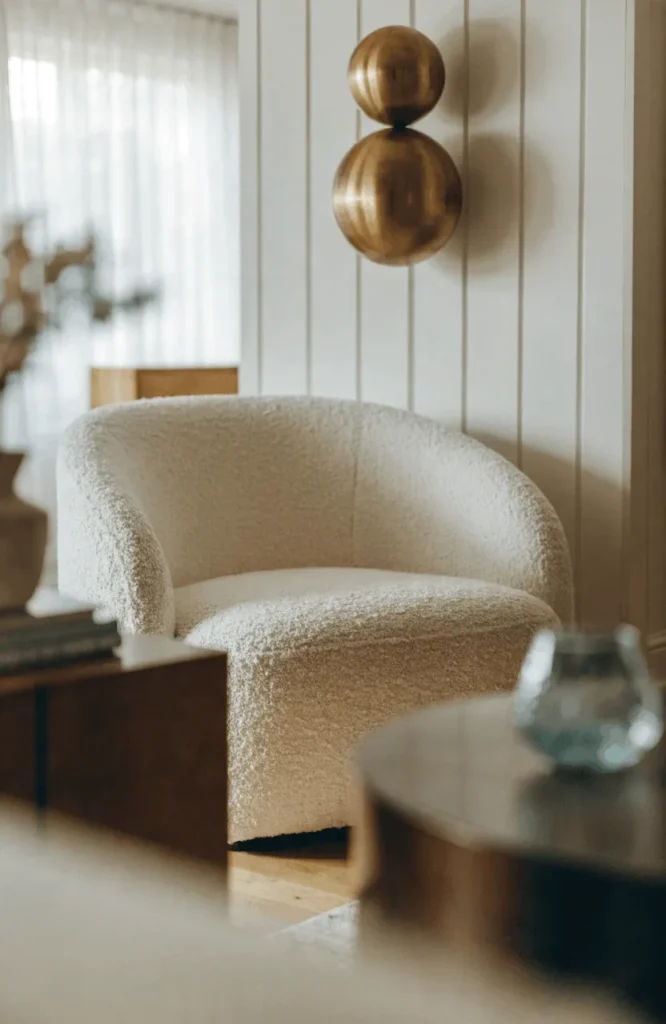
1. Full-Height Painted Tongue and Groove Wall
Run tongue and groove boards from floor to ceiling and paint them a soft warm white for a clean, elevated take on classic cottage paneling. This works as a backdrop for almost any furniture style and photographs beautifully in natural light.
2. Wainscoting Height Panel with Trim Cap
Install tongue and groove boards to chair-rail height, then finish the top edge with a simple trim cap for a traditional wainscoting look. This is a classic choice for dining rooms and entryways.
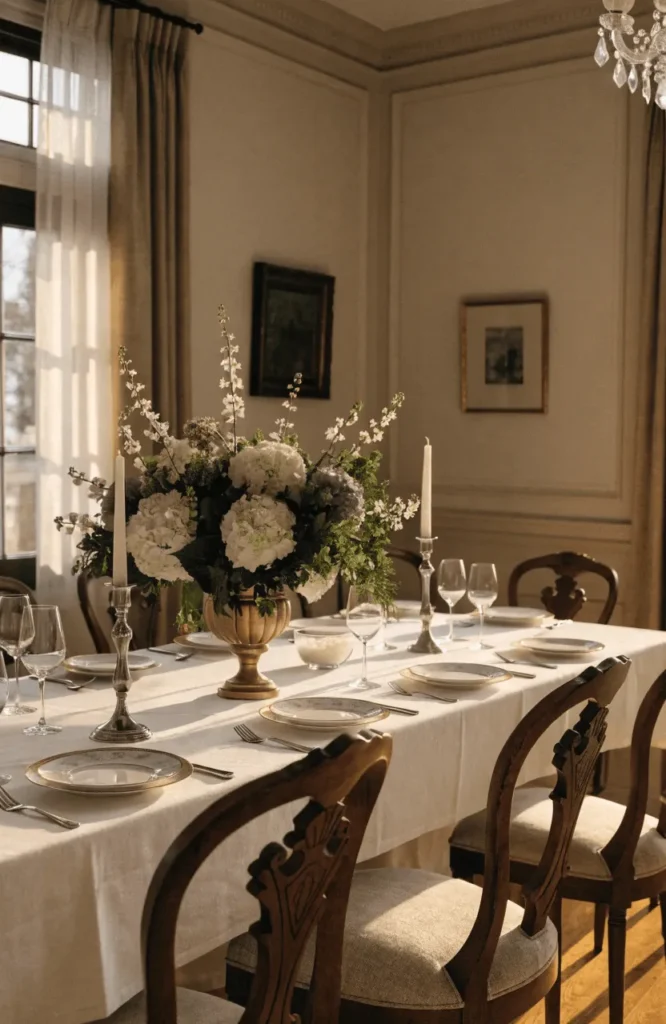
3. Natural Cedar Tongue and Groove Wall
Leave cedar boards unpainted and sealed with a clear matte finish to let the natural grain and warm tone carry the room. Cedar also resists moisture, making it a smart choice for a mudroom or covered porch.
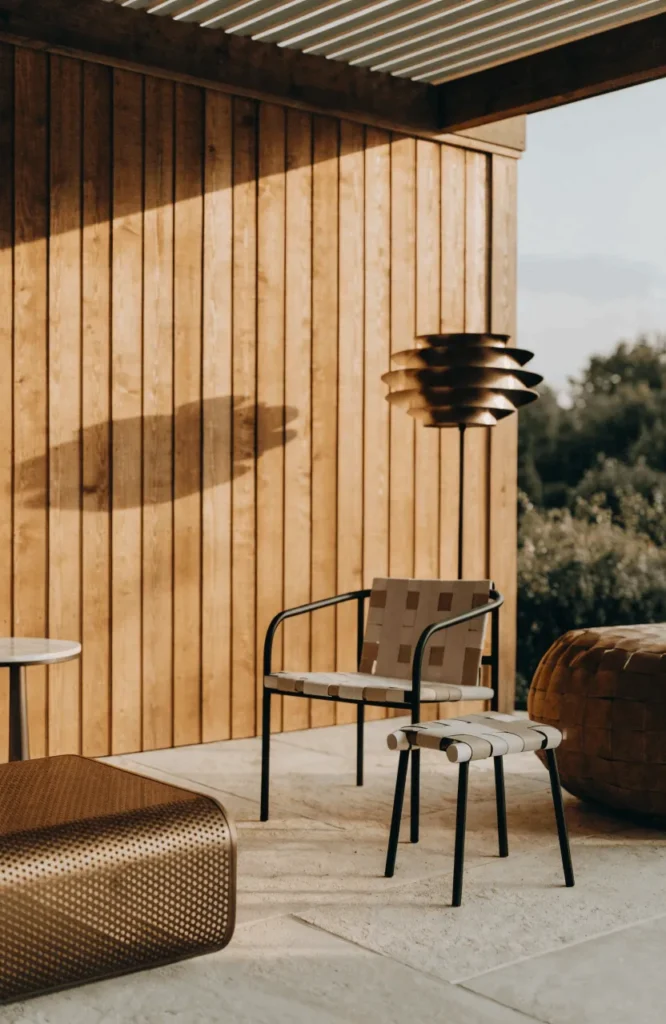
4. Whitewashed Tongue and Groove Paneling
Apply a whitewash stain over the boards so the grain shows softly through a pale finish. This bridges the gap between a fully painted wall and a natural wood one, and suits coastal and Scandinavian interiors especially well.
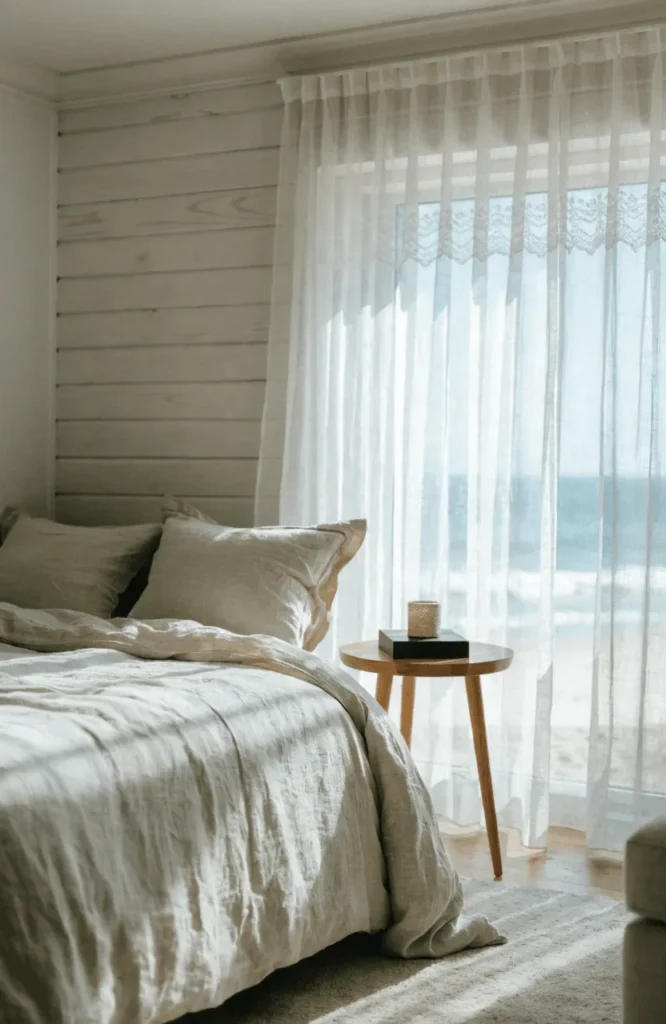
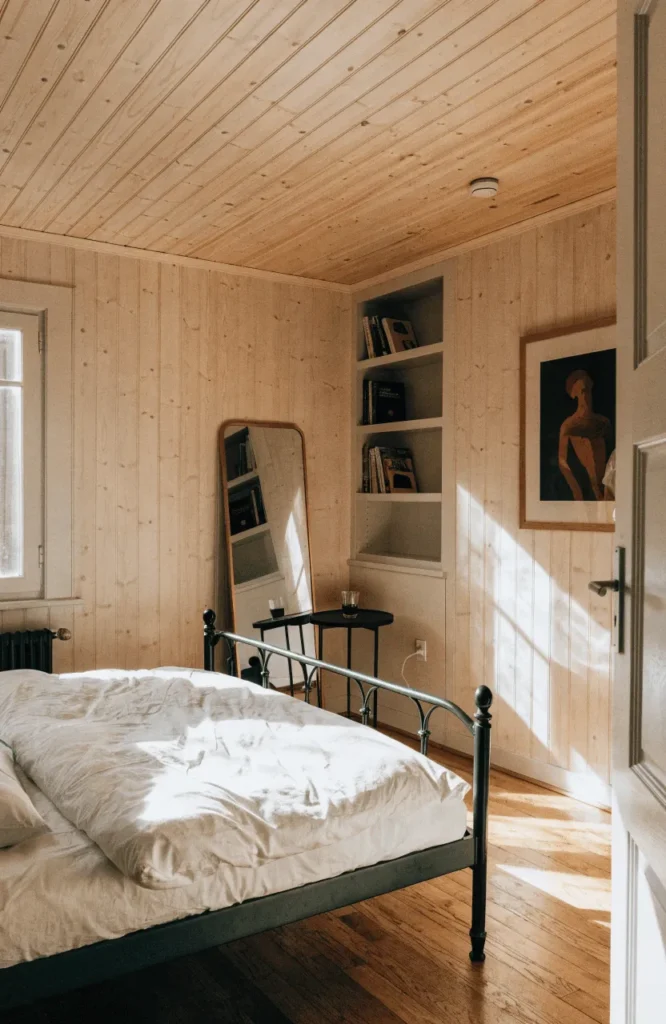
5. Tongue and Groove Ceiling to Wall Continuation
Extend the same tongue and groove boards from the wall up onto the ceiling for a fully enveloped, cohesive look in a single room. This is a bigger commitment but creates a genuinely showstopping architectural moment.
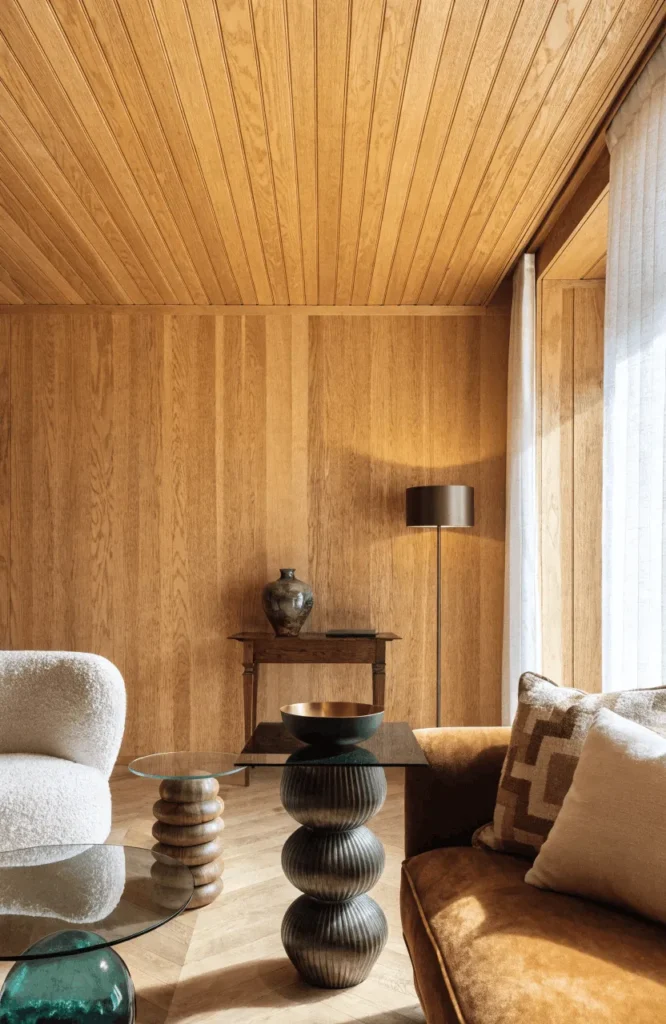
Modern and Minimalist Wall Treatments
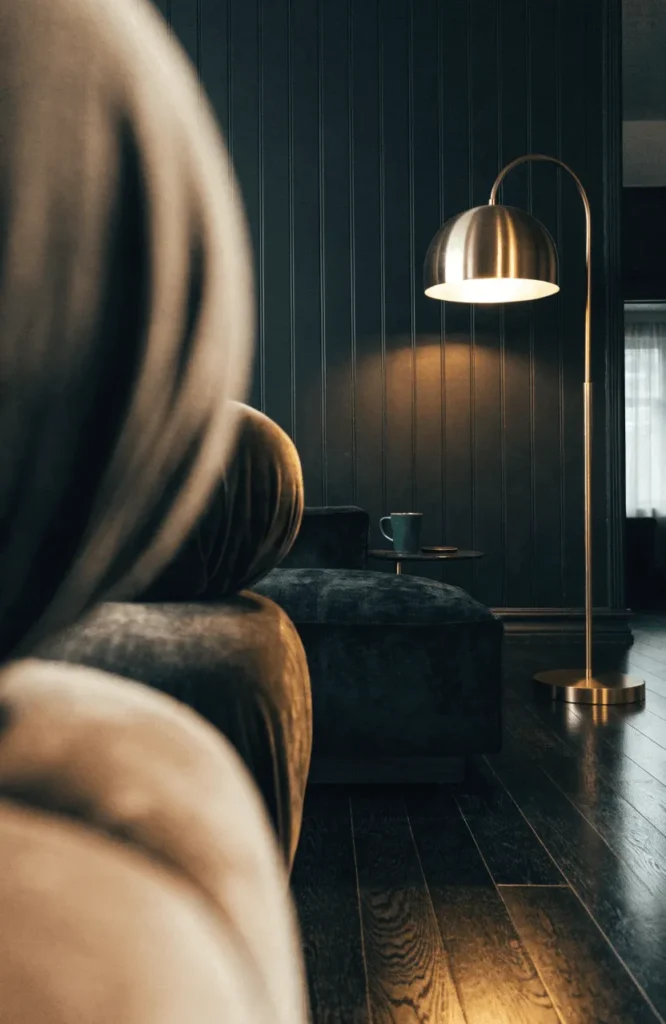
6. Matte Black Tongue and Groove Accent Wall
Paint tongue and groove boards in a deep matte black for a moody, dramatic feature wall that reads as intentional rather than dark for darkness’s sake. Pair it with warm brass or wood accents so the room still feels inviting.
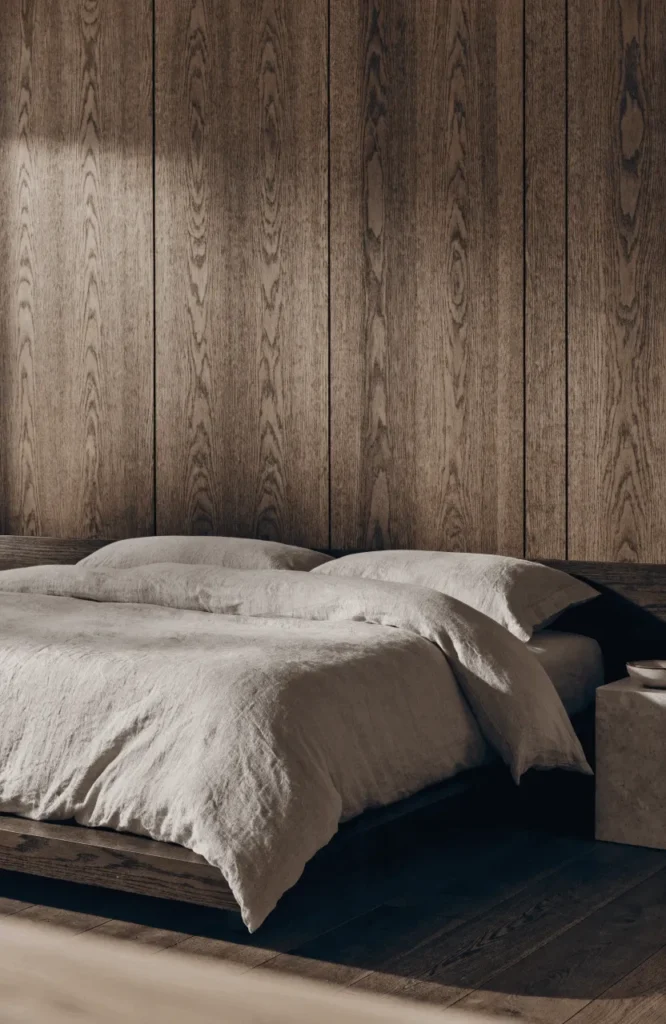
7. Single-Tone Walnut Stained Wall
Stain the boards in one consistent deep walnut tone with no paint or pattern breaks for a calm, cohesive look suited to Japandi and warm minimalist interiors.
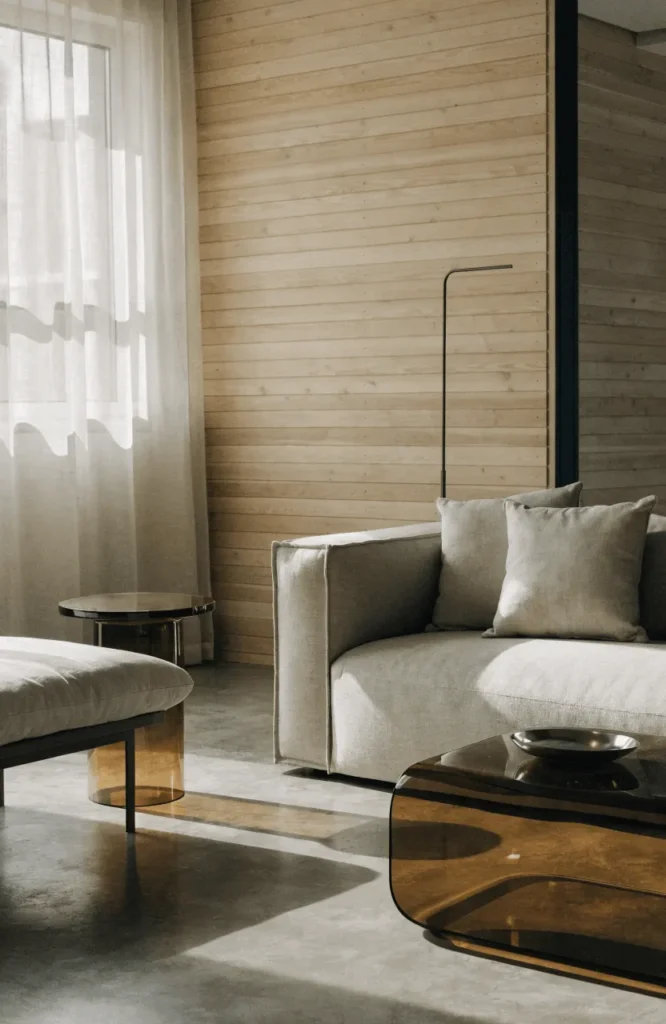
8. Horizontal-Run Tongue and Groove Wall
Install the boards running horizontally instead of the traditional vertical orientation for a wall that visually widens a narrow room. This is a subtle styling choice that reads as more contemporary.
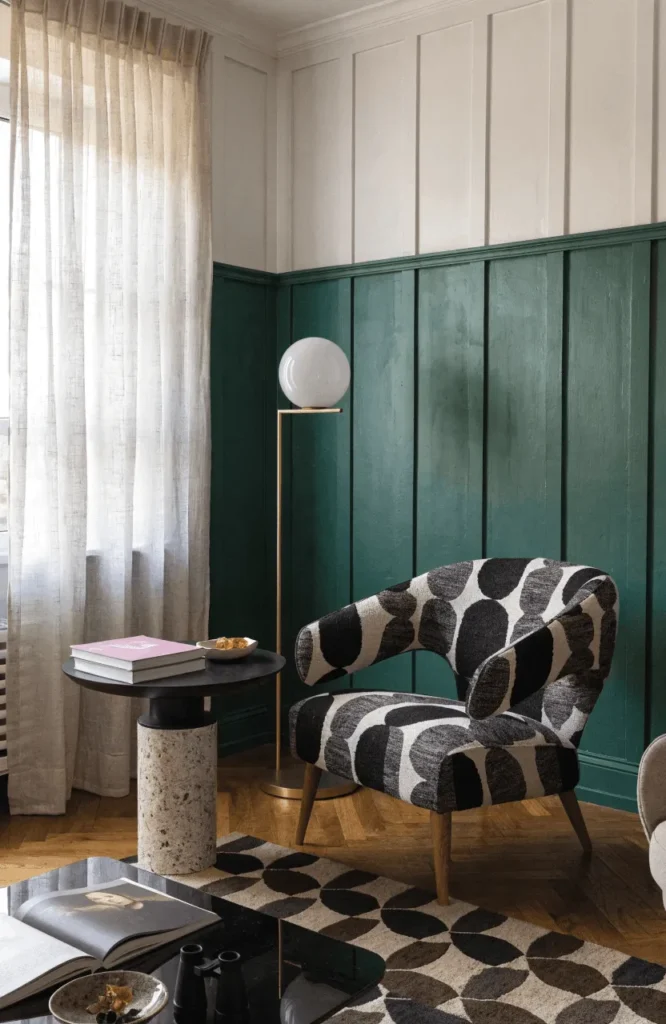
9. Two-Tone Tongue and Groove with a Contrast Stripe
Paint the lower half of a tongue and groove wall in a deep color and leave the upper portion in natural wood or white for a modern color-blocked effect. This adds visual interest without a bold pattern.
10. Tongue and Groove with Hidden LED Edge Lighting
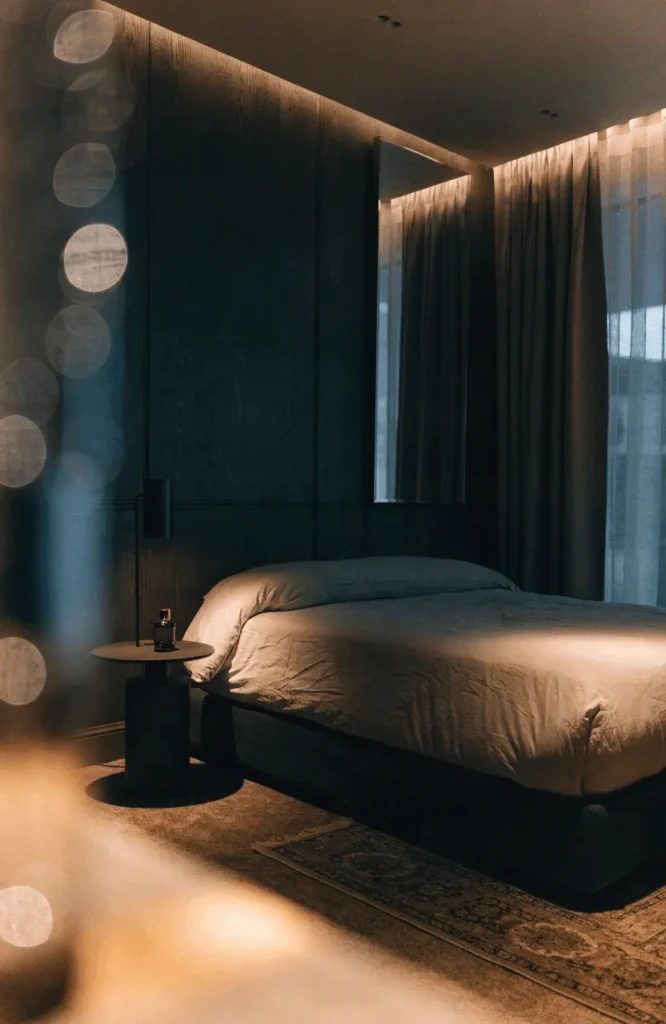
Mount tongue and groove panels with a small reveal gap at the top and hide LED strip lighting behind it for a soft glow that washes up the wall at night. This adds a boutique-hotel quality to a primary bedroom or living room.
Is Wall Paneling Expensive to Install?
Wall paneling costs vary widely depending on material and room size, ranging from under $200 for a small DIY project using pine boards to well over $2,000 for a full custom hardwood build with detailed trim work. Simple painted tongue and groove in a standard bedroom or accent wall tends to sit in the more affordable range. Labor costs rise significantly if the installation involves custom cuts around outlets, windows, or built-ins.
Budget-Friendly Wall Upgrades
11. Thin Pine Tongue and Groove Over Existing Drywall
Install thin, affordable pine tongue and groove boards directly over existing drywall rather than removing it first. This keeps material and labor costs low while still delivering the full interlocking-board look.
12. Peel-and-Stick Tongue and Groove Panels
Use peel-and-stick panels designed to mimic tongue and groove boards for a renter-friendly option that needs no nails or saws. Many versions closely replicate the interlocking seam look at a fraction of the cost.
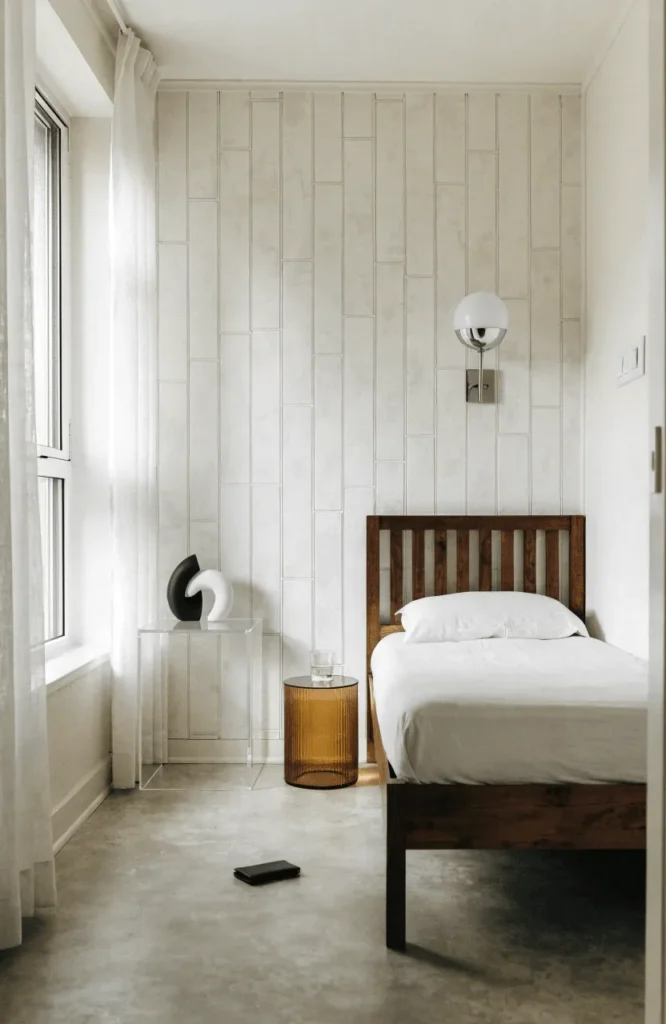
13. Single Accent Wall Instead of a Full Room
Limit tongue and groove paneling to just one wall, like behind a bed or sofa, rather than the whole room to control material cost while still creating a defined design feature.
14. Leftover Board Scraps Finished with Paint
Use leftover or discounted tongue and groove boards from a flooring or decking project, then unify any mismatched tones with one coat of paint. This is close to a zero-extra-material-cost upgrade if scraps are already on hand.
15. Partial-Height Panel to Save on Materials
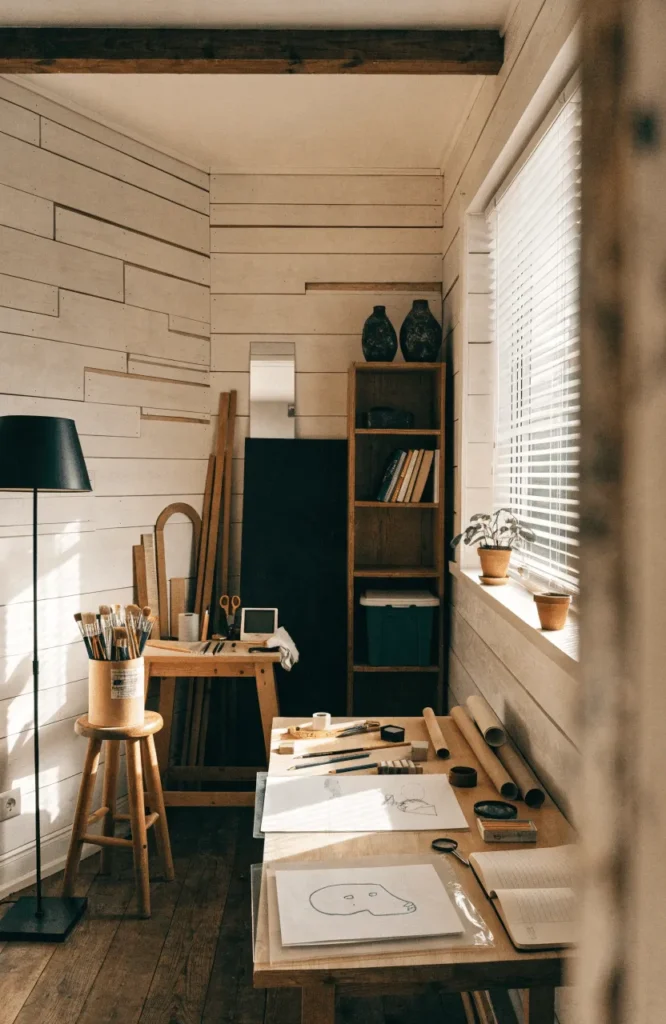
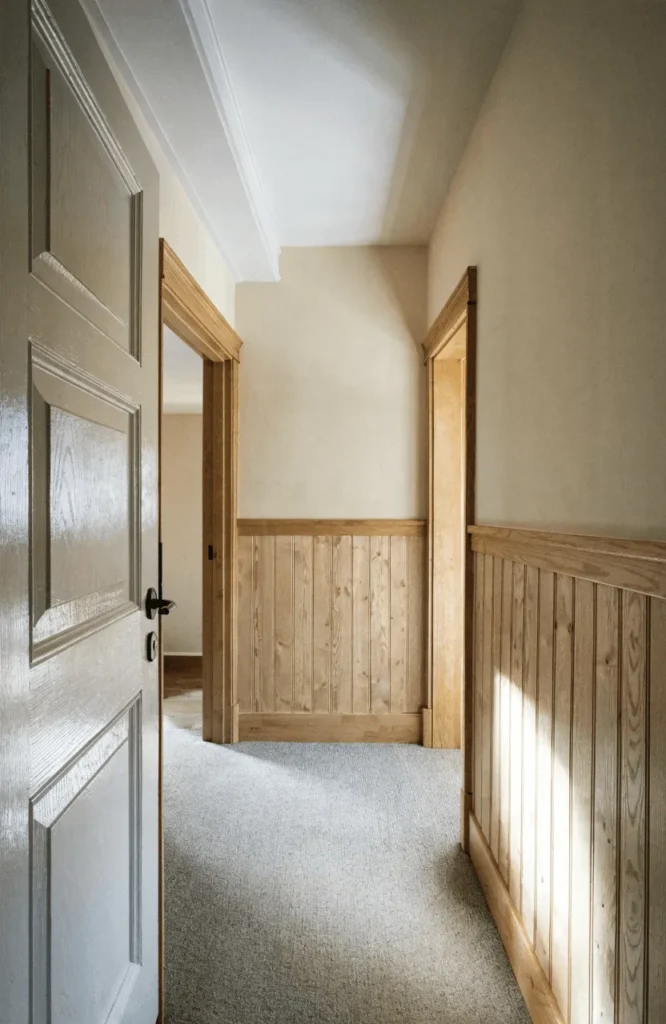
Install tongue and groove boards only to waist or chair-rail height instead of full wall coverage, cutting material needs roughly in half while still delivering the textured look.
16. MDF Tongue and Groove Instead of Solid Wood
Choose primed MDF tongue and groove boards instead of solid hardwood for a paintable, budget-friendly alternative that still delivers the same interlocking profile once installed and finished.
17. DIY Install Using Basic Hand Tools Only
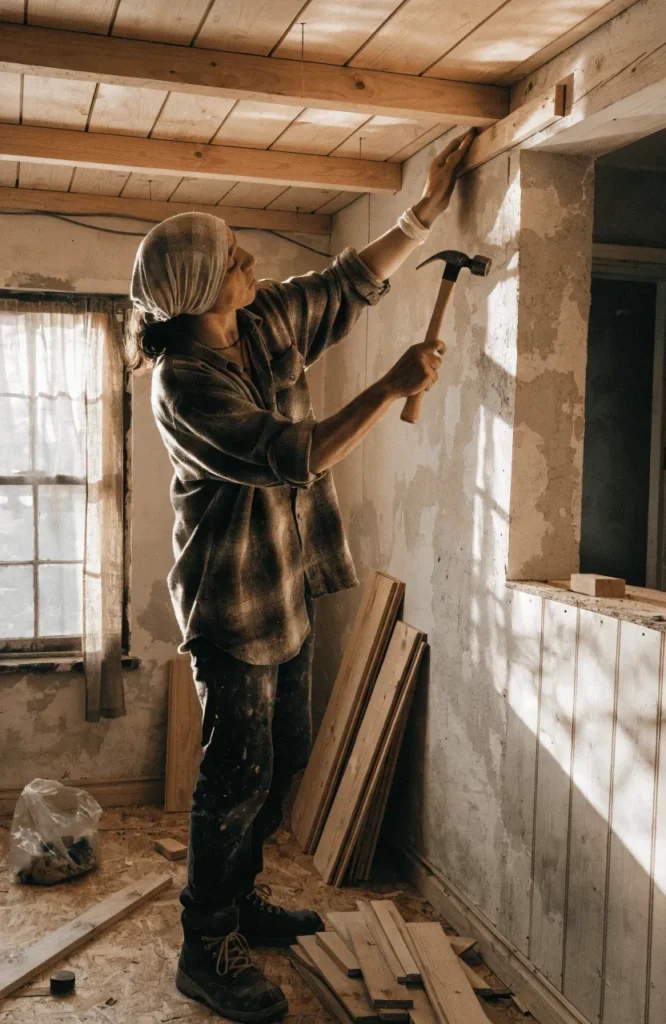
Skip a nail gun rental and install boards using basic hand tools and construction adhesive for a slower but genuinely low-cost weekend project. This suits smaller accent walls best.
Room-Specific Applications
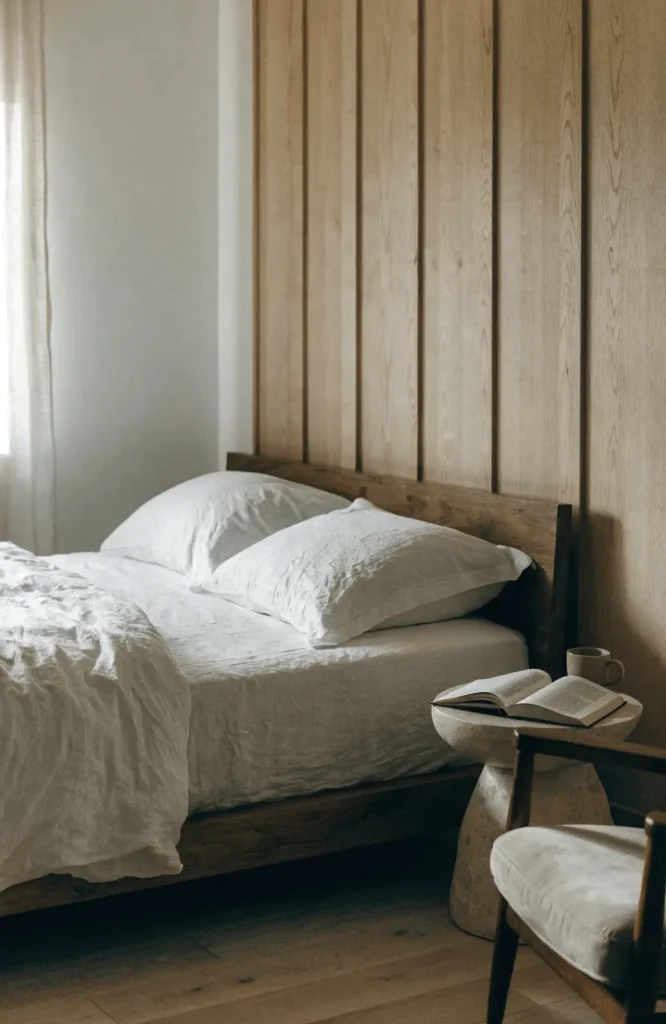
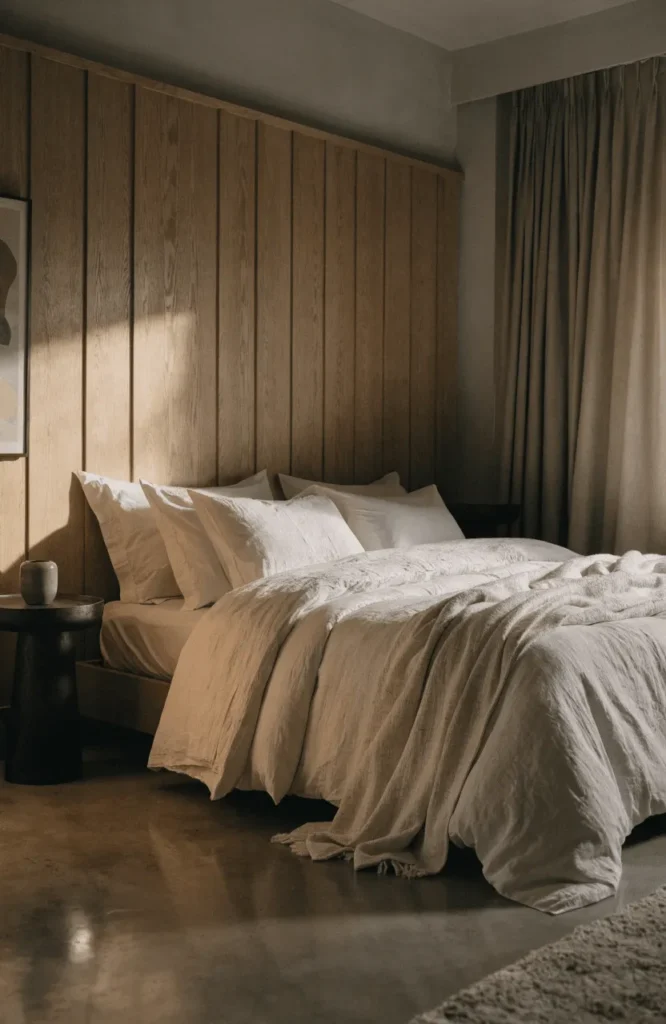
18. Primary Bedroom Headboard Wall
Install tongue and groove paneling behind the bed as a built-in, headboard-like feature instead of a traditional upholstered headboard. This adds texture and architectural interest without extra furniture.
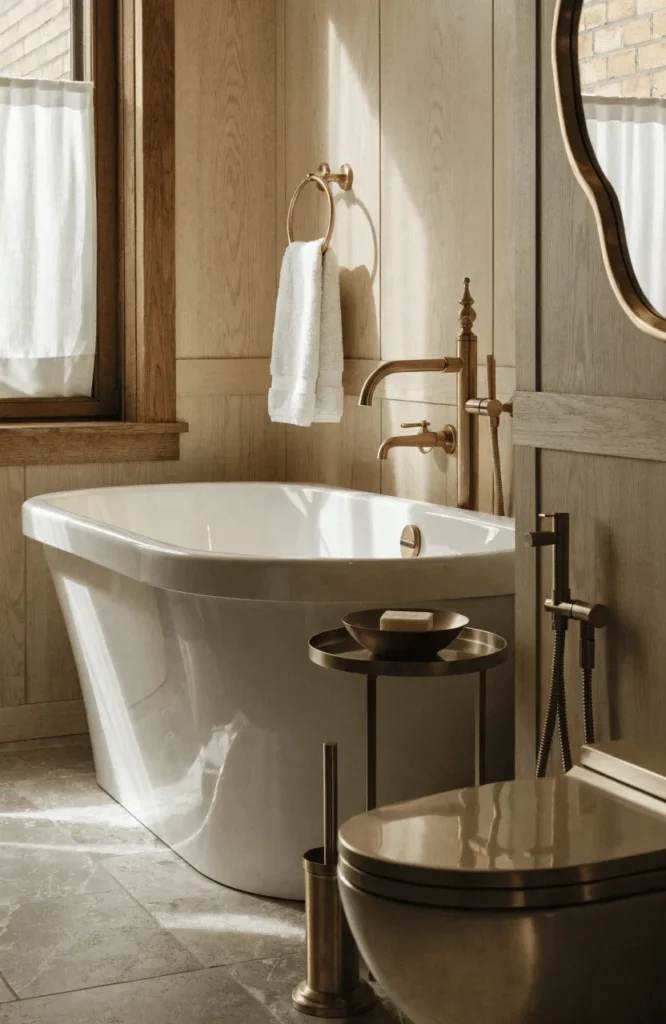
19. Moisture-Resistant Bathroom Application
Use marine-grade or properly sealed tongue and groove boards in a bathroom, particularly around a tub or vanity area, for a warm alternative to tile that still holds up to humidity when finished correctly.
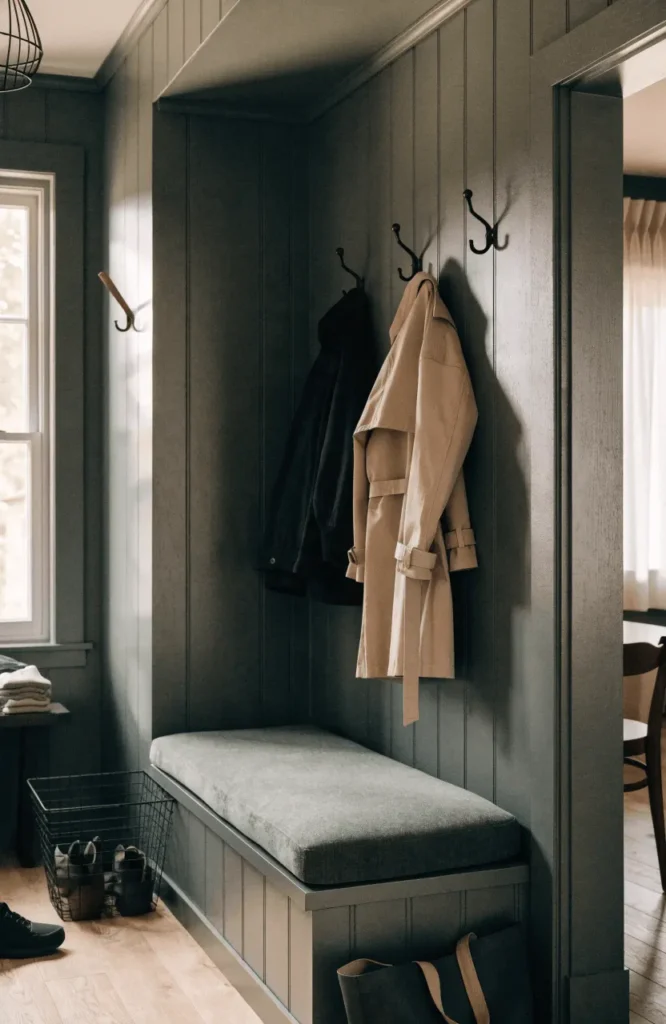
20. Mudroom or Entryway Durable Paneling
Install tongue and groove boards in a mudroom or entryway where a durable, easy-to-clean wall surface matters more than in other rooms. Paint it in a deeper tone to help hide scuffs from daily foot traffic.
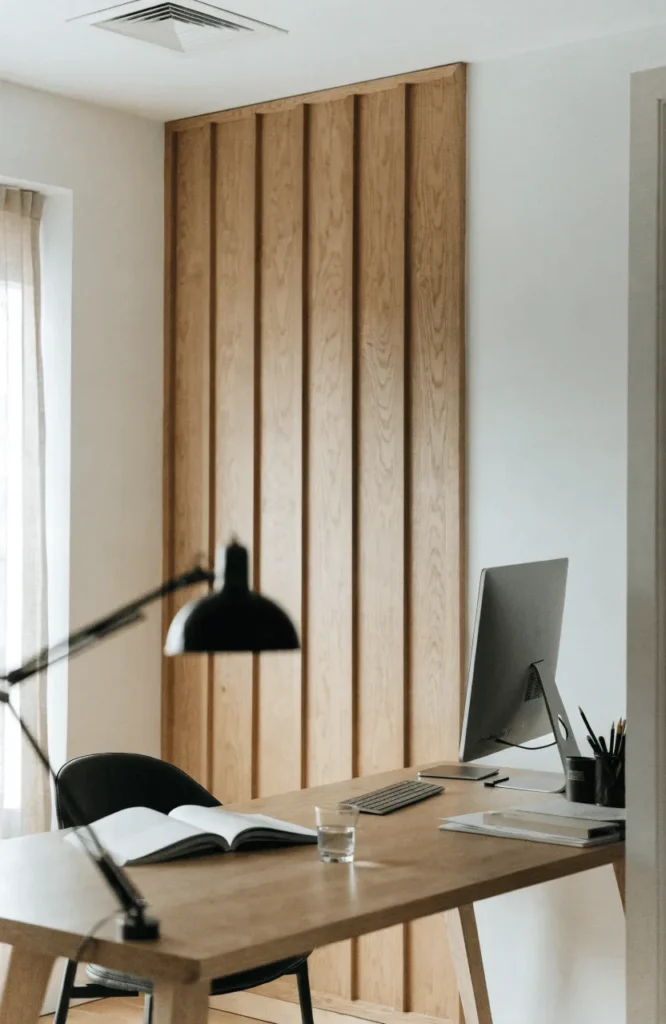
21. Home Office Feature Wall Behind the Desk
Add tongue and groove paneling behind a home office desk as a defined, camera-ready backdrop for video calls, finished in a calm neutral tone that reads well on screen.
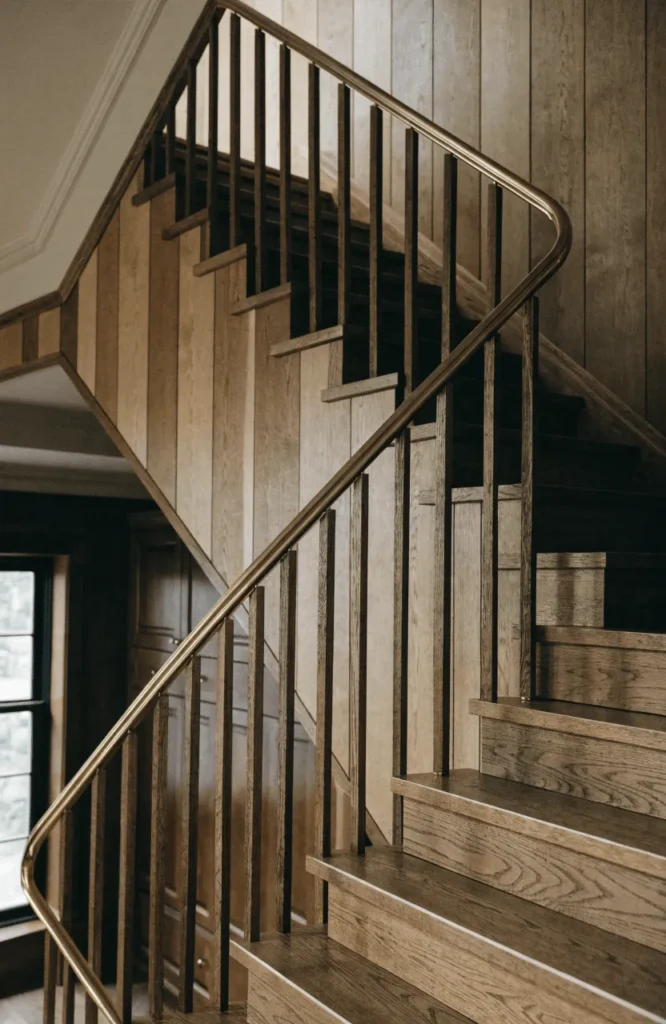
22. Stairwell Wall Continuation
Run tongue and groove paneling up a stairwell wall following the angle of the staircase for a continuous architectural detail that most homes leave completely plain.
Can You Install Wall Paneling Yourself?
Yes, many tongue and groove styles, especially thin pine boards and peel-and-stick versions, are beginner-friendly DIY projects that only need a saw, level, and basic adhesive or nails. Full-height or ceiling-continuation installations are easier to get right with some carpentry experience or professional help. Most single accent wall projects can be finished in a weekend.
Conclusion
You now have 22 tongue and groove wall ideas to choose from, whether you want a full architectural room wrap, a single headboard feature, or a budget-friendly peel-and-stick accent wall. Save this pin for later, and follow along for more elevated, budget-friendly home decor ideas like this one.