23 Halloween Window Decor Ideas To Try This Year

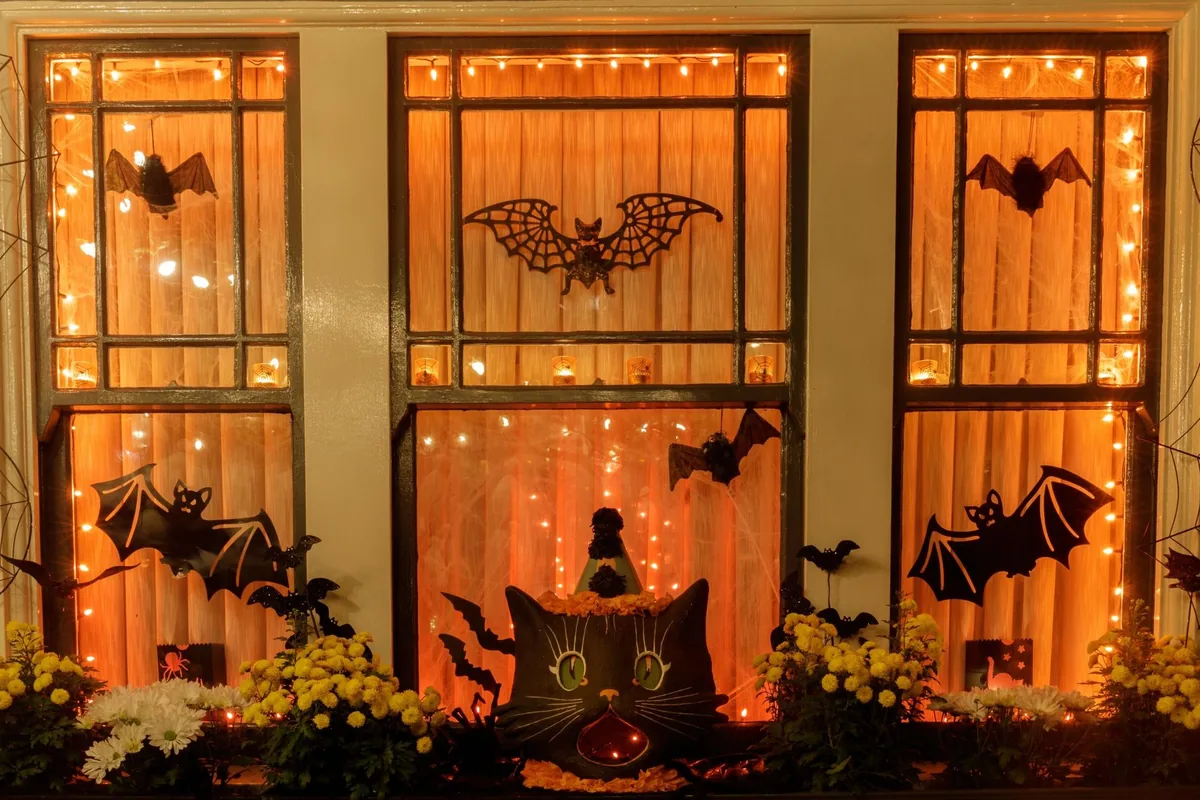
There’s something magical about a house that glows with Halloween spirit after dark, and it almost always starts with the windows. They’re the first thing trick-or-treaters see, they frame your whole display from the street, and they’re a completely blank canvas just begging for a little spooky personality. You don’t need a front-yard haunted mansion to make an impression — one well-dressed window can do all the talking.
The best part? Window decorating is one of the cheapest and easiest ways to go big on Halloween. Most of these ideas use things you probably already have — paper, tape, string lights, a marker or two — and almost all of them come off cleanly when November arrives. Whether you love cute-and-cozy or full-on creepy, there’s something here with your name on it.
Below, you’ll find 23 halloween window art ideas ranging from five-minute vinyl decals to weekend craft projects the whole family can join in on. And if you’re already thinking about the rest of the house, our [fall coffee table decor ideas](https://dreaminspo.com/fall-coffee-table-decor/) pair perfectly with a spooky window display to carry the season through your whole living room. Let’s get decorating!
1. Silhouette Cats Creeping Across Paned Glass
Few things read “Halloween” as instantly as a black cat with an arched back, and stretched across a windowpane in silhouette, it looks absolutely haunting. Cut cat shapes from black craft paper or poster board — arched backs, curled tails, sitting poses — and press them onto the inside of the glass with a little water or removable adhesive. From the street at night, backlit by your living room lamp, they look like real cats prowling your windowsill.
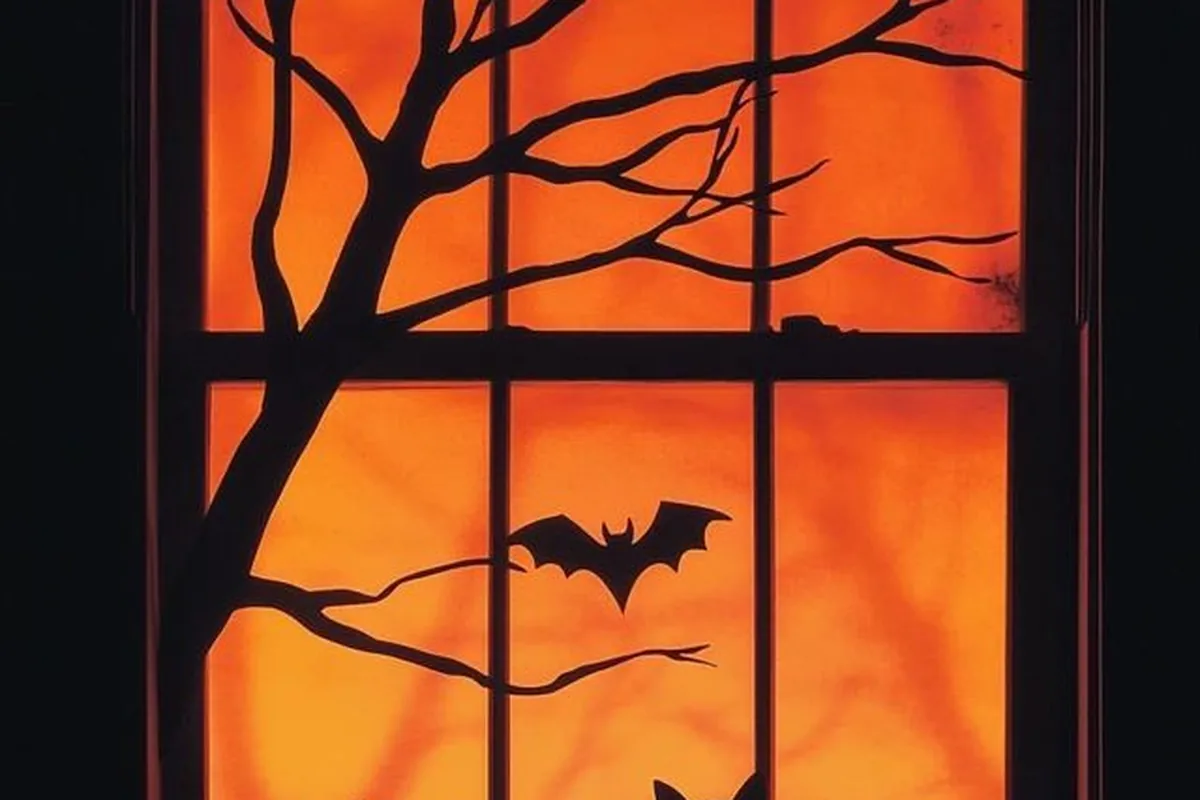
Layer in a few smaller details to sell the scene: scatter tiny paw prints climbing one corner of the pane, or add a full moon cutout behind the cats so they look like they’re crossing in front of it. Keep your indoor lighting warm and low behind the glass — the contrast is what makes the silhouettes pop.
2. Paper Bats Swarming the Top of the Window
A swarm of paper bats is the classic Halloween window move for a reason: it takes ten minutes, costs almost nothing, and looks fantastic from both inside and out. Fold black construction paper in half, cut a simple bat shape with scalloped wings, and unfold for a perfectly symmetrical flier. Tape them to the glass with painter’s tape or mounting putty, clustering more bats near one top corner so it looks like they’re pouring out of it.
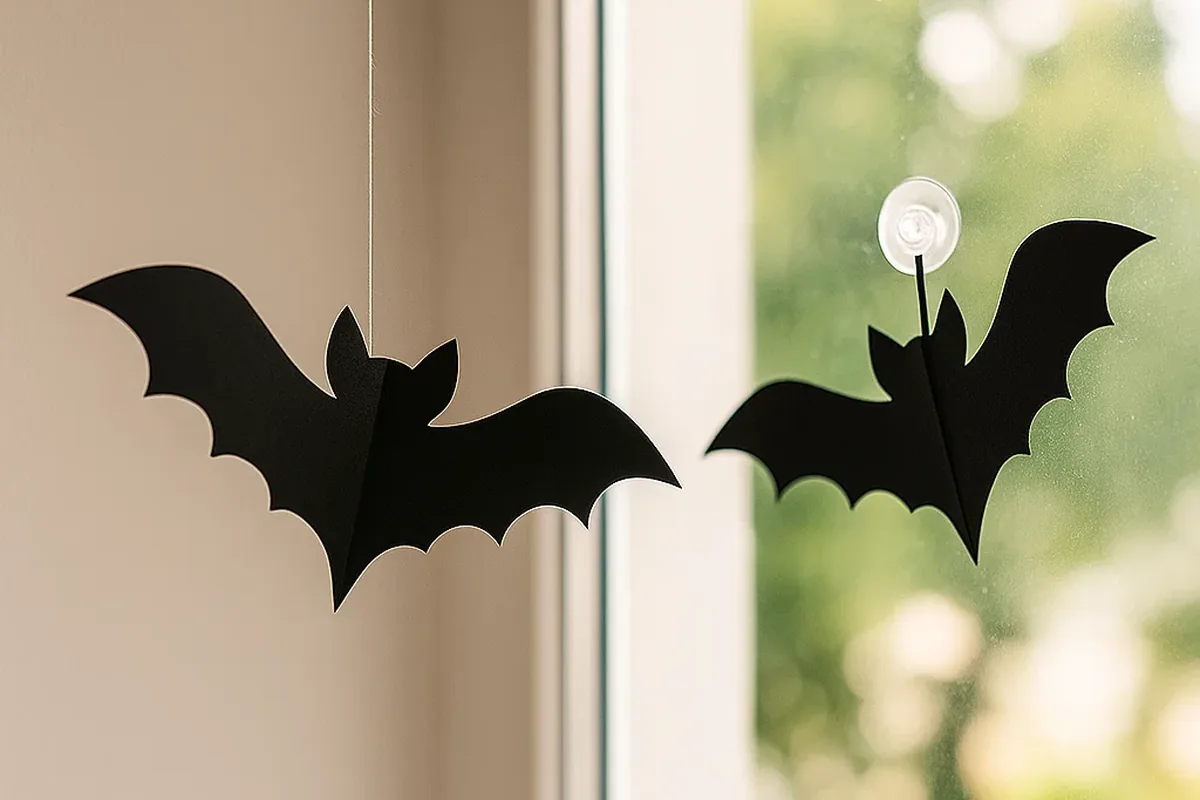
Vary the sizes — a mix of large, medium, and small bats reads as a real swarm instead of a uniform border — and fold the wings slightly forward so they catch the light and cast little shadows. For extra drama after dark, hang the bats on clear fishing line from the curtain rod instead of sticking them flat to the glass; the slightest draft makes them flutter like they’re actually flying.
3. Glowing Jack-o'-Lantern Faces Lit from Within
There’s a reason the glowing jack-o’-lantern is the undisputed icon of the season: nothing says Halloween night like a grinning face lit from behind. Instead of carving a real pumpkin for the windowsill, create the same glow with jack-o’-lantern face decals on the glass and a warm light source behind them. Cut classic triangle eyes and jagged smiles from orange and black paper, or use static-cling decals, and place a lamp or string of warm fairy lights just inside the window.
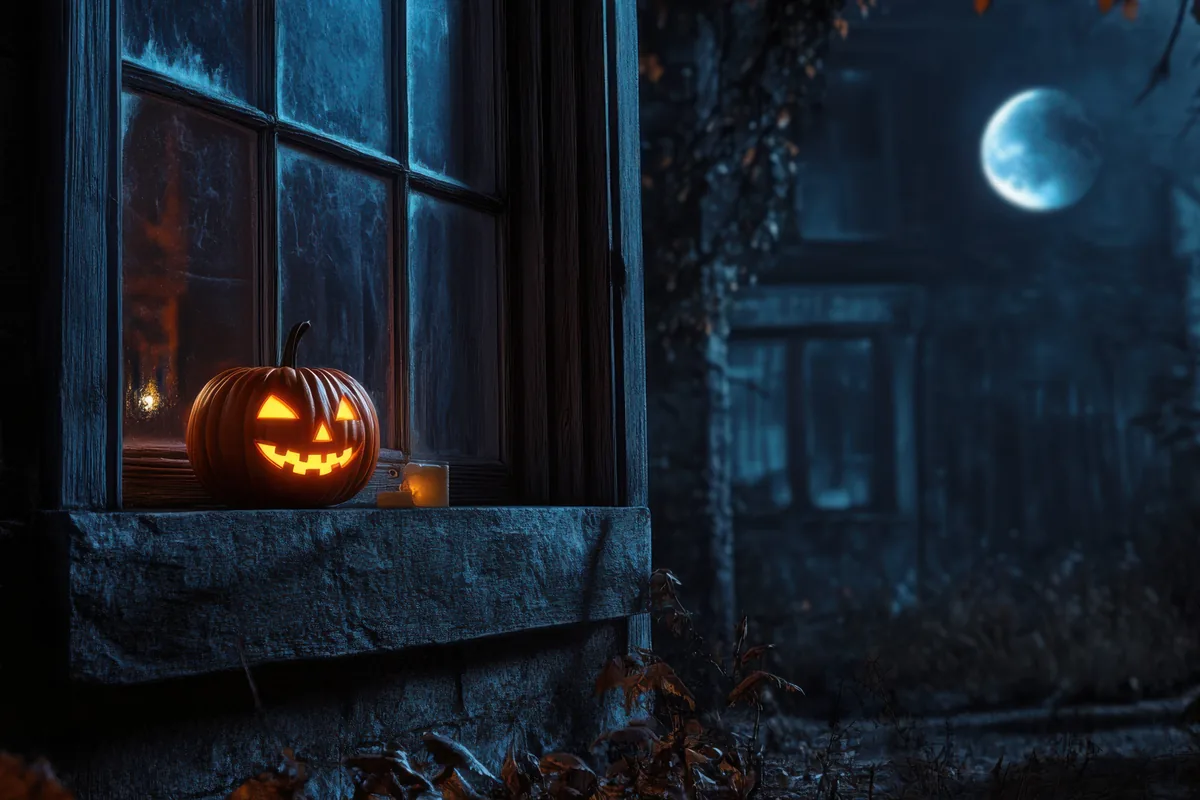
The trick is backlighting: the faces should be dark silhouettes against a warm orange glow, exactly like a real lit pumpkin. Try layering orange tissue paper over the whole pane first, then adding the black face shapes on top — when the light hits it, the entire window glows like one giant jack-o’-lantern.
4. Stretchy Spider Web Lace in the Corners
Stretchy spider webbing is practically a Halloween decorating law, and windows are where it looks best. Drape a bag of white stretch cobweb across the upper corners of the window frame, pulling it thin so it looks delicate rather than clumpy. Then perch a few plastic spiders on the strands — one big one near the center, a couple of smaller ones climbing the frame — and you’ve got an instant haunted-house corner.
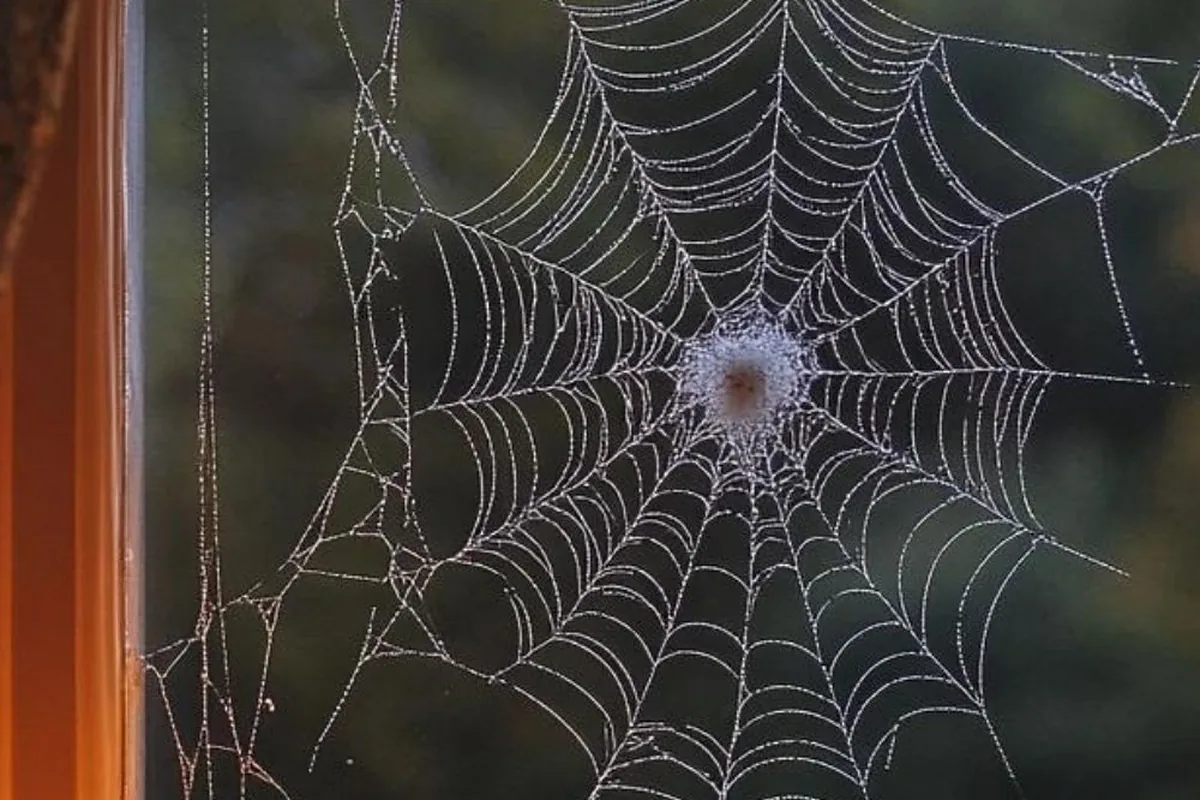
For a classier take, swap the stretch web for black lace fabric or a lace tablecloth cut into a web shape; it reads as elegant-gothic rather than cheesy, especially on a front window. The key detail most people miss is lighting — a small spotlight or even your porch light aimed at the web makes the strands shimmer. Battery-operated tea lights tucked nearby give you the flicker without the risk.
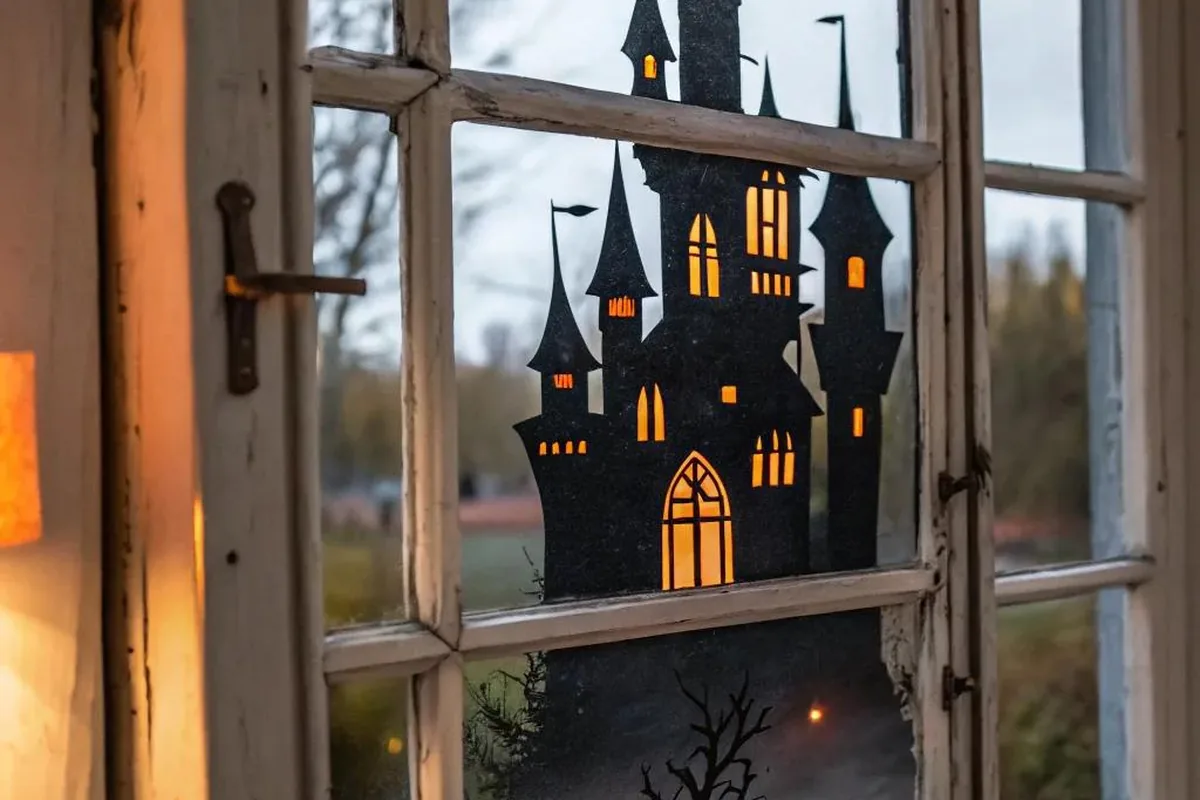
5. A Haunted House Skyline Along the Windowsill
Turn your windowsill into the horizon line of a haunted neighborhood. Cut a long strip of black poster board into a skyline of crooked houses, crooked chimneys, bare trees, and a church steeple or two, then stand it along the inside of the sill like a paper city. Backlit by the room behind it, the jagged black shapes look exactly like a spooky village at midnight — and from outside, it’s pure storybook Halloween.
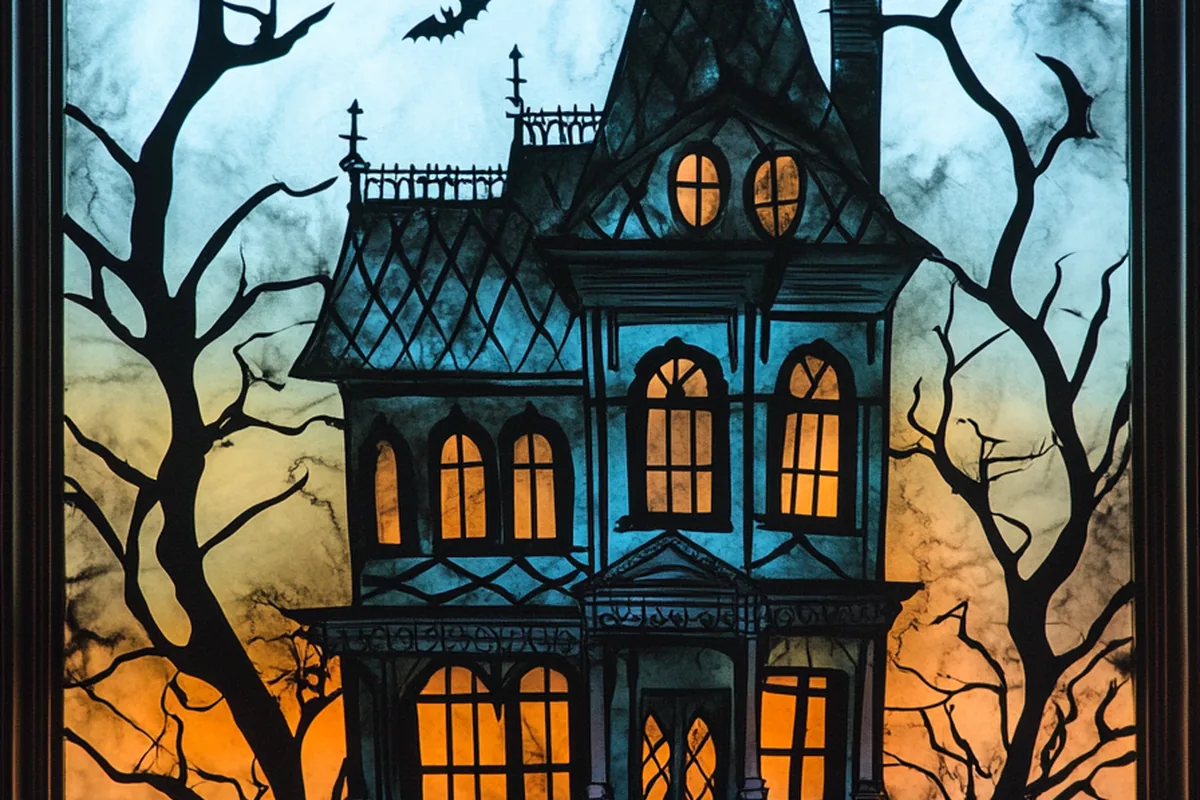
Cut a few windows out of the black shapes and back them with yellow tissue paper so they glow like lit windows — that one detail transforms it from a flat cutout into a scene that feels alive. Add a big paper moon and a couple of bat silhouettes above the skyline for depth. Tape the strip to the glass at the ends and let it stand on its own along the sill.
6. Ghostly Window Clings Floating in Moonlight
Static-cling ghosts are the ultimate low-effort, high-reward window decor. They stick to clean glass with nothing but a spritz of water, peel off without a trace, and you can rearrange them as many times as you like until the scene feels right. Arrange a family of white ghosts at different heights — some “floating” high near the top of the pane, smaller ones drifting lower — so the window feels like a whole haunted sky.
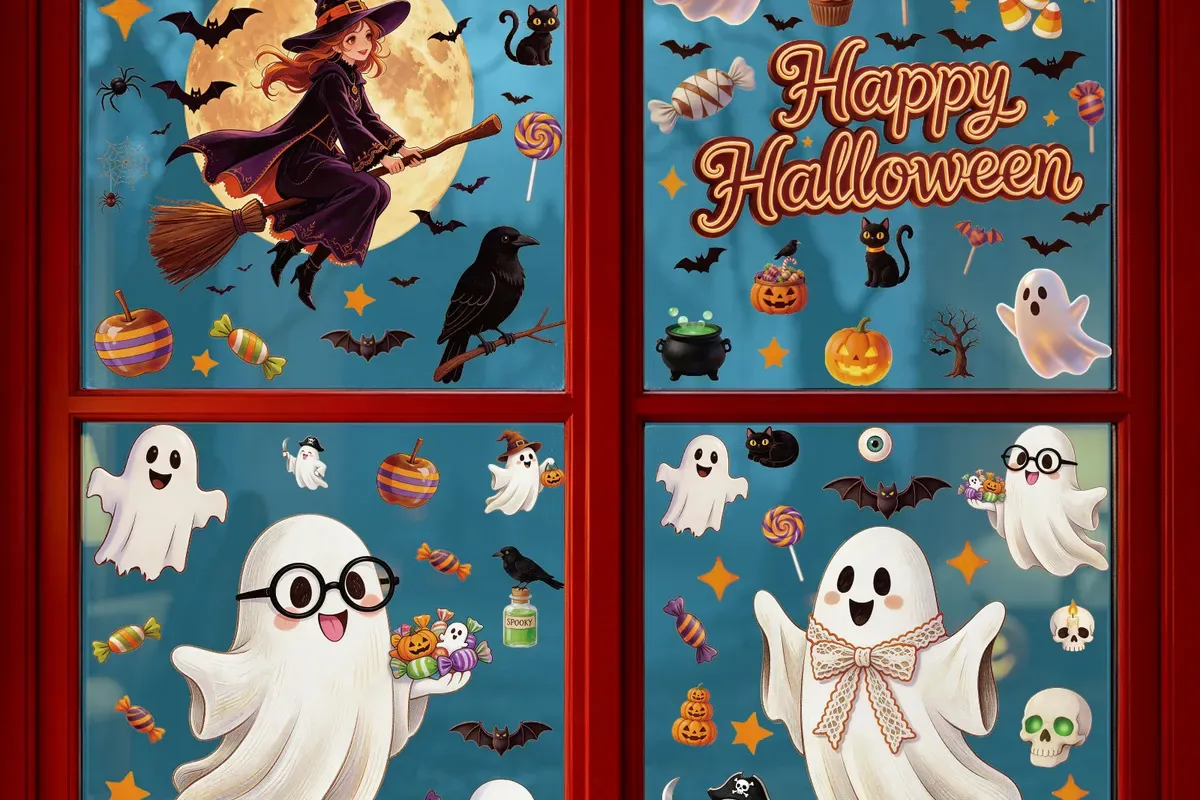
Layer translucent white ghosts over a dark blue or purple tissue-paper background and they practically glow in the evening light, like spirits caught in moonbeams. Because clings are reusable, you can move them to the bathroom mirror or the front door as the month goes on and the display evolves. Keep a spray bottle handy when applying — a little water under the cling is what keeps it smooth and bubble-free.
7. Bloody Handprint Decals for a Horror-Movie Window
Ready to go full horror movie? Bloody handprint decals on the glass are deliciously creepy and take about thirty seconds to apply. Press red handprint clings onto the window at different heights — some smeared as if dragged, some pressed flat like someone was trying to get out — and pair them with a dim, flickering light inside. From the sidewalk, it looks like a genuine crime scene, in the most festive way possible.
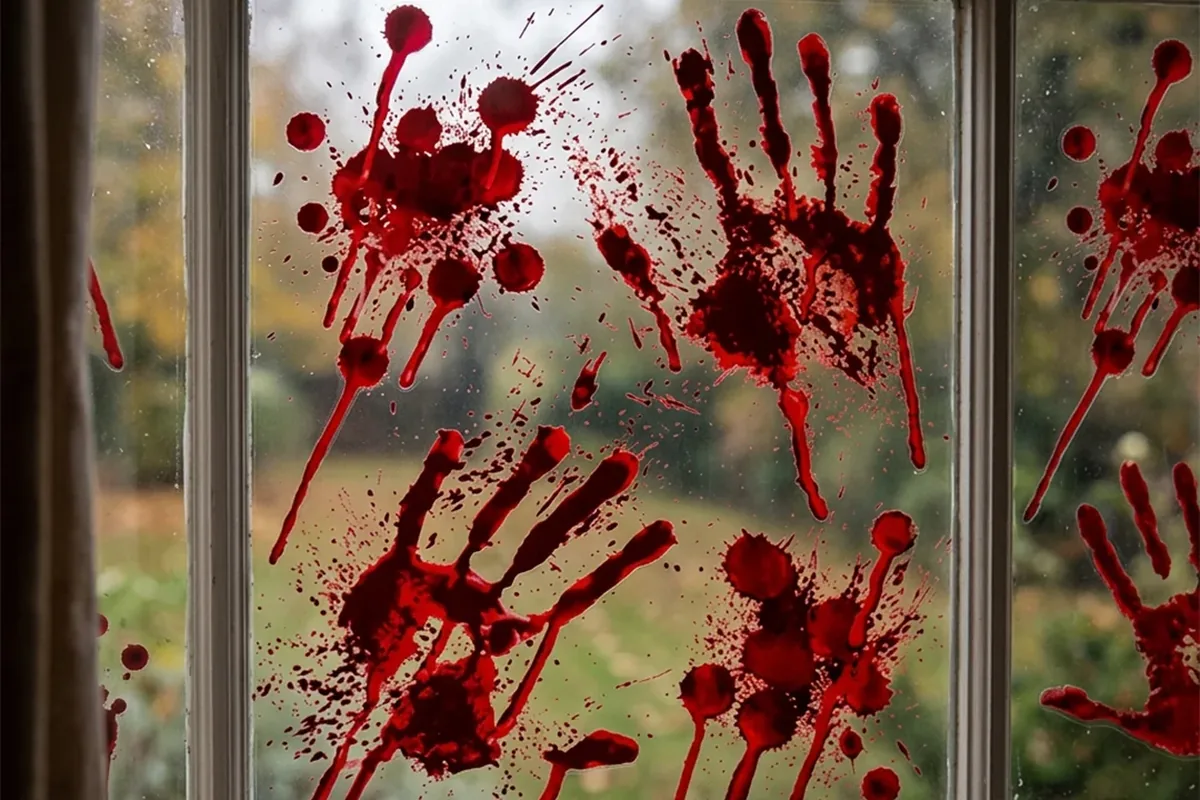
This one works best as an accent rather than the whole display — one window of handprints next to a window of cute pumpkins makes the scary one hit even harder by contrast. Consider your audience, though: if your street gets lots of very young trick-or-treaters, you might keep the handprints to a side or upstairs window. The clings remove cleanly with warm soapy water, so there’s no commitment beyond October 31st.
8. A Witch Hat Garland Draping the Top Frame
A garland of little witch hats strung across the top of the window frame is playful, colorful, and wonderfully easy. You can buy felt witch-hat garlands ready-made, or make your own by folding black and purple paper into mini cones, gluing on a brim, and threading them onto twine with wooden beads between each hat. Drape it in a gentle swag across the curtain rod or pin it directly to the top of the frame.
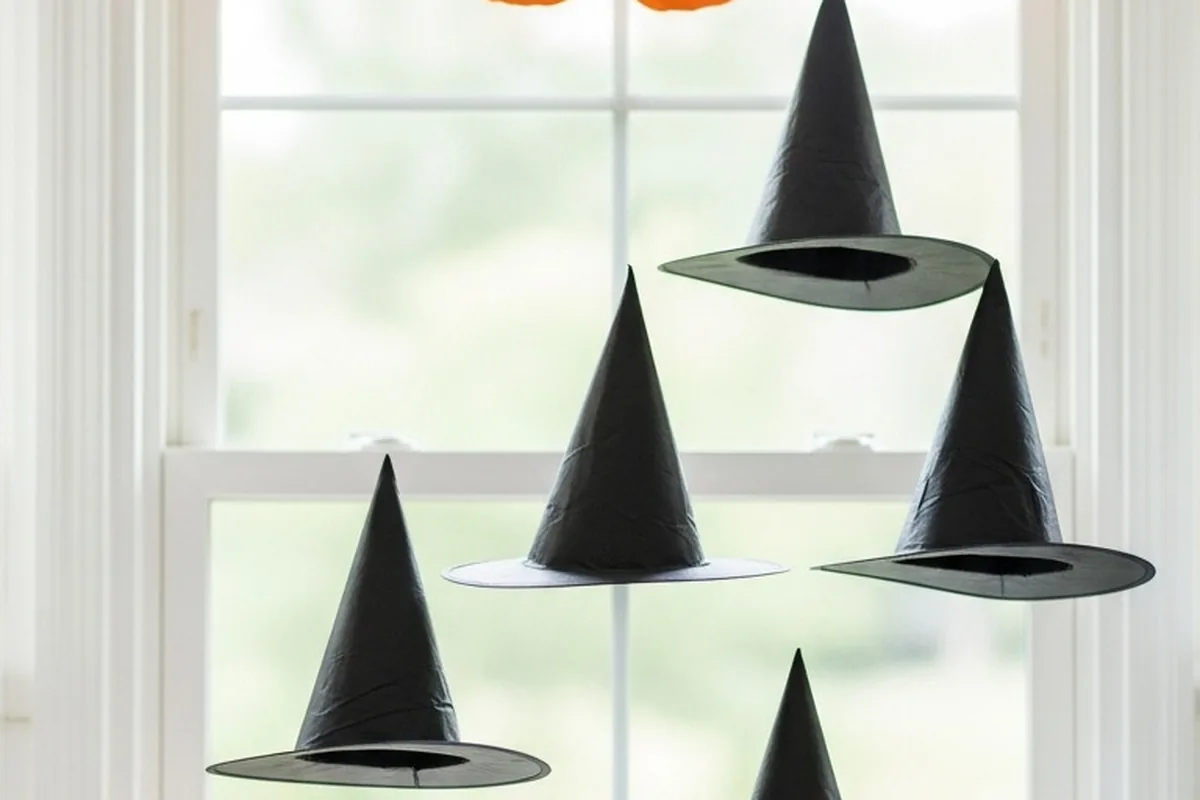
Mix in a few tiny pumpkins, stars, or bats between the hats to keep the garland from feeling one-note, and don’t be afraid to double it up — two swags at slightly different heights look lush and intentional. This idea shines in kitchens and dining rooms, where the whimsical vibe feels right at home among everyday life.
9. Raven Silhouettes Perched on Bare Branches
Ravens bring a moody, Edgar Allan Poe elegance to Halloween that pumpkins and ghosts can’t quite match. Cut a few bare, twisted branches from black paper and stretch them across a corner of the window, then perch raven silhouettes along the branches — one with wings spread, one hunched and watchful, one mid-flight. Against evening light, the whole composition looks like an illustration from a gothic storybook.
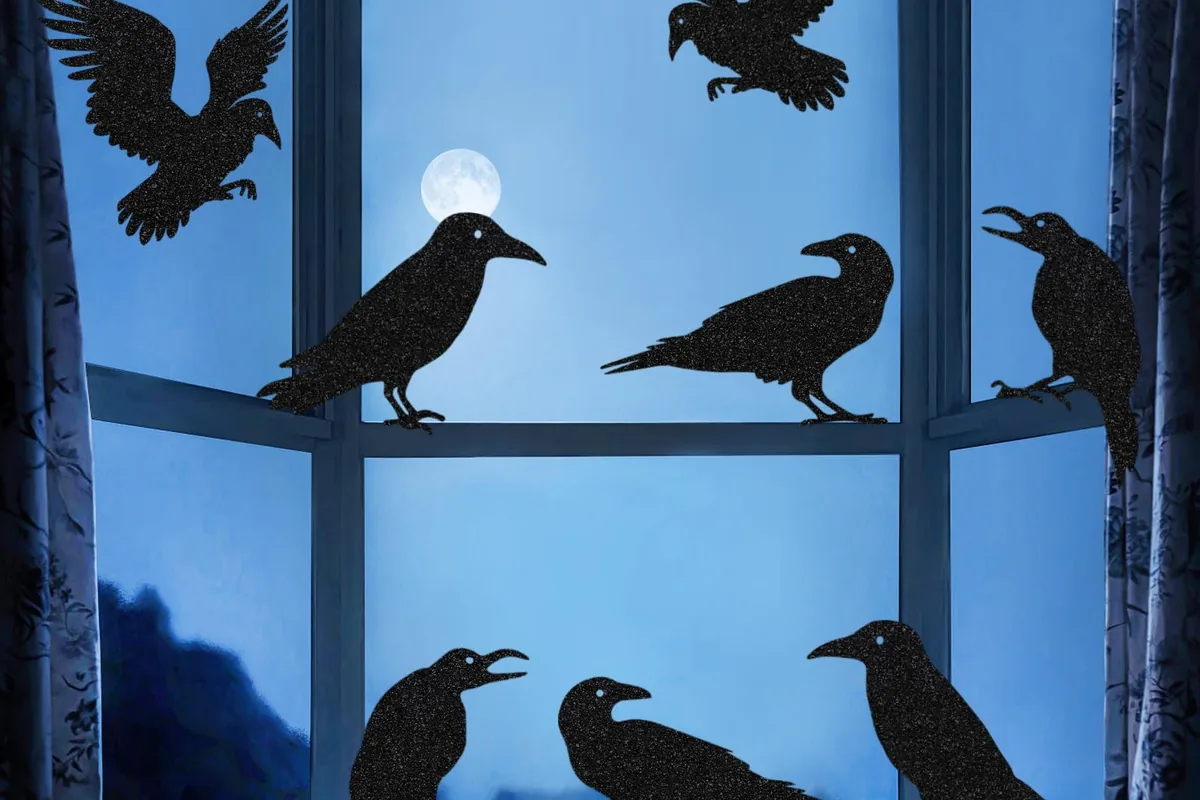
Glitter-finish raven cutouts catch lamplight beautifully and add a subtle shimmer that plain black paper lacks, so consider them if you want a slightly glam take. Place the largest raven near eye level — that’s where the eye lands first — and let smaller ones trail off toward the edges. This pairs gorgeously with deep purple or midnight-blue curtains behind the glass.
10. Faux Stained-Glass Pumpkins for Daytime Color
Most Halloween window ideas only shine after dark, but faux stained-glass suncatchers are glorious in daylight. Make them with kids using the classic tissue-paper method: draw a pumpkin outline on wax paper or clear contact paper, fill it with torn squares of orange, yellow, and green tissue, and outline the segments with black electrical tape or a permanent marker to mimic lead came. Hang the finished pumpkins in the window with suction cups and watch the sun do the rest.
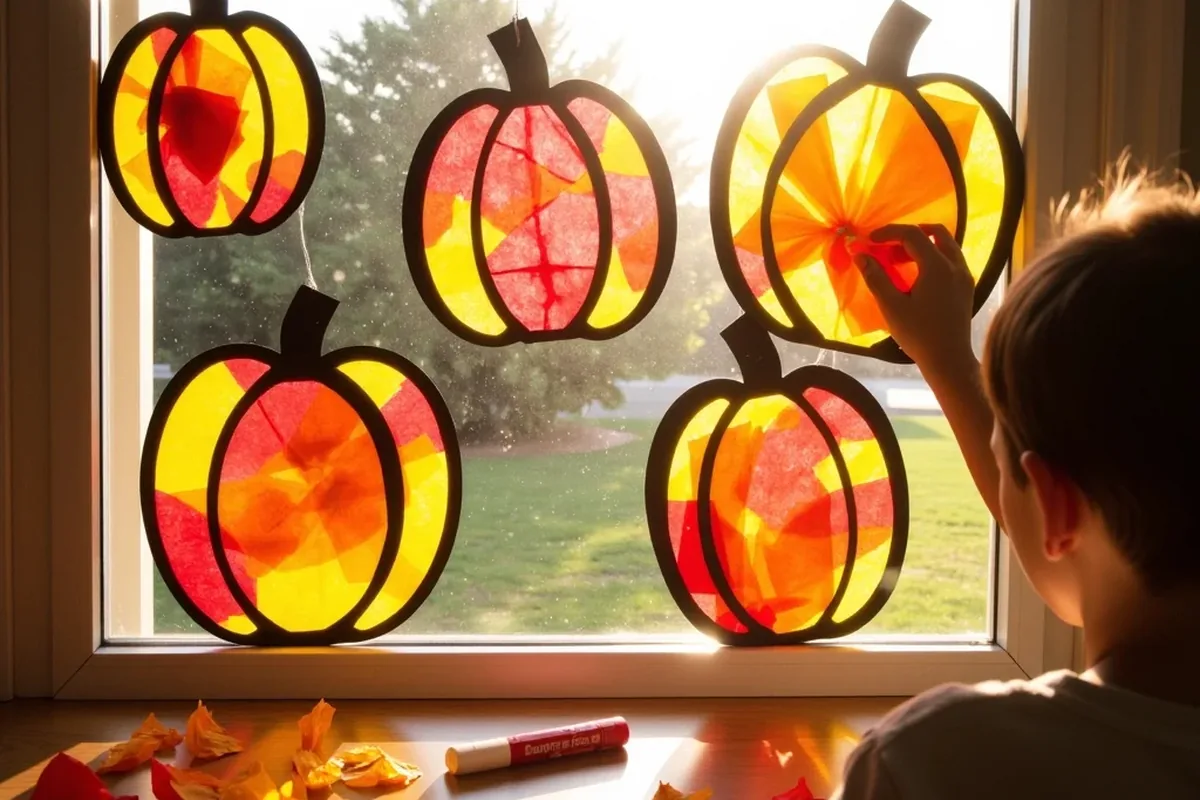
South- and west-facing windows give you the most dramatic light, but even indirect daylight makes the colors glow. Try a whole patch of them at different sizes — big pumpkins, little pumpkins, one with a silly face and one with a spooky one — so the window reads as a cheerful harvest scene by day and a soft orange glow by night. The only rule: keep the tissue layer thin and the colors bright, because sunlight washes out dark, muddy tones.
11. Witch Legs Peeking Out from Behind the Curtains
This one always gets a laugh. Tuck a pair of striped witch legs — tights stuffed with filling, topped with pointy black shoes — behind your curtains so just the legs dangle out as if a witch crash-landed in your window treatment. From outside, it looks like she’s stuck; from inside, it’s a hilarious surprise every time you walk past. It’s pure Wizard-of-Oz mischief and kids absolutely adore it.
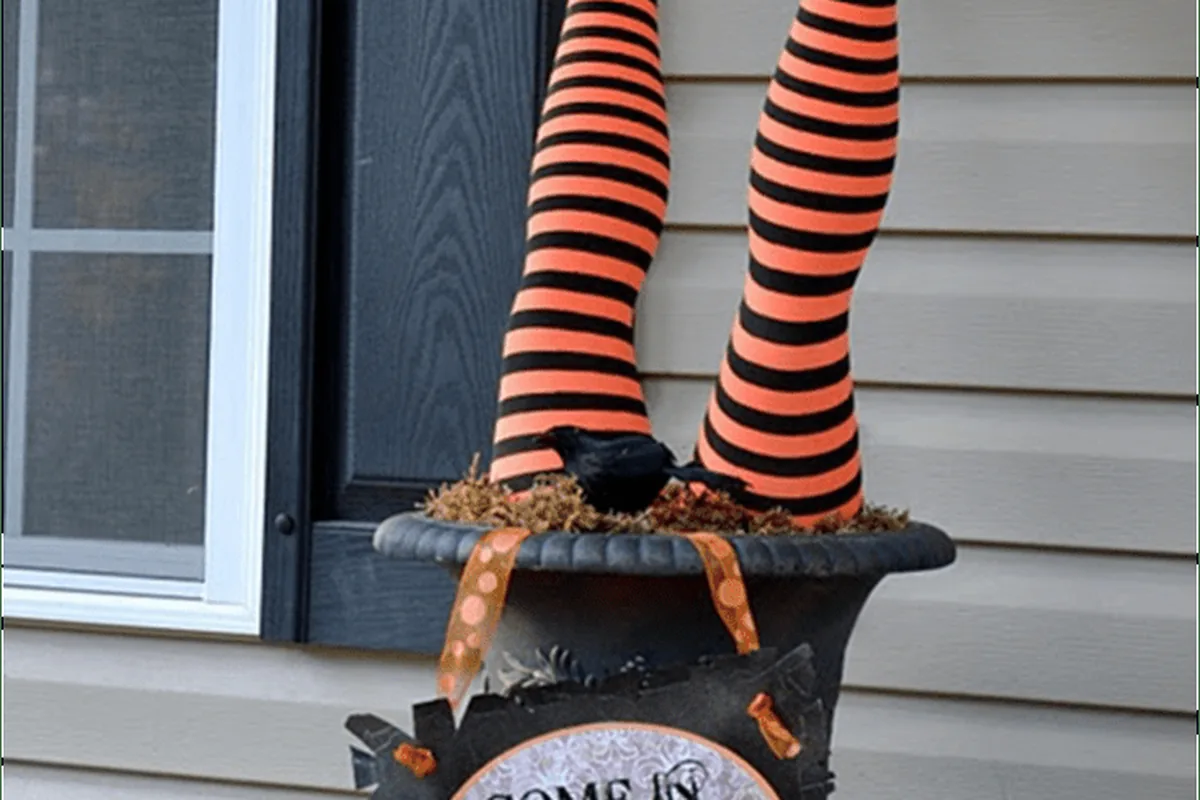
Classic red-and-white or black-and-orange striped tights sell the witch look instantly, and buckle shoes or pointy flats complete the effect. Pin the legs to the back of the curtain panel with safety pins so they stay put but don’t damage the fabric, and let the curtain fall naturally around them. It’s goofy, it’s cheap, and it’s the kind of detail that makes neighbors stop and smile.
12. A Misty Graveyard Scene Across the Lower Panes
For a genuinely eerie window, build a miniature graveyard along the bottom of the glass. Cut tombstones, a crooked fence, and a dead tree or two from gray and black cardstock, and arrange them across the lower third of the window so they read as a foggy cemetery at night. A few wisps of cotton batting or polyester stuffing tucked along the sill become ground fog, and suddenly your window has atmosphere for days.
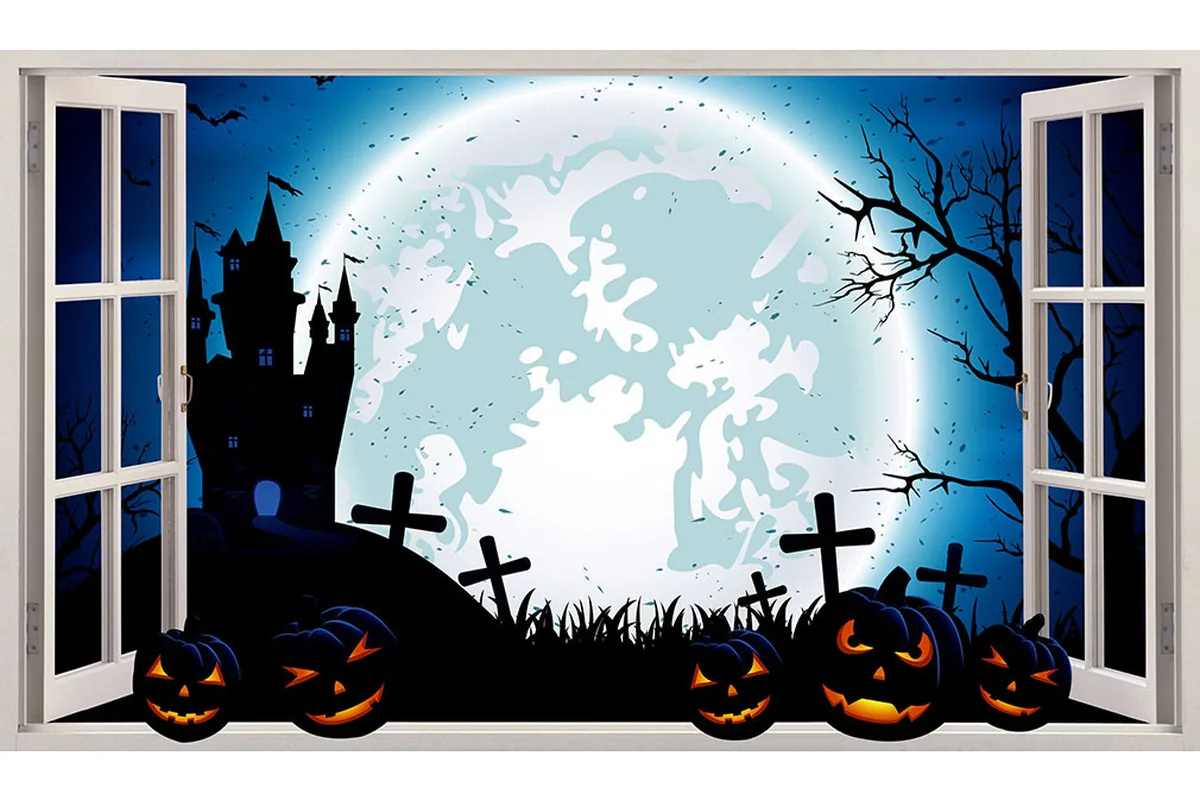
Give the tombstones funny epitaphs — “Here Lies Fred, Who Dreaded Bed” — and the scene turns playful instead of grim, which is perfect if little kids walk past your house. Back the whole thing with a pale blue or gray tissue-paper “night sky” and add a paper moon for depth. Keep the graveyard low on the glass so it doesn’t block your daylight all month; the bottom third is plenty.
13. Candy Corn Garland Trimming the Whole Frame
Sweet, nostalgic, and impossible to dislike — a candy corn garland frames any window in instant Halloween cheer. String together felt or paper candy corns in the classic white-orange-yellow bands and drape the garland around the entire window frame, not just the top. Outlining the whole rectangle makes the window look like a giant piece of Halloween candy from the street, and it takes the guesswork out of “where do I hang this.”
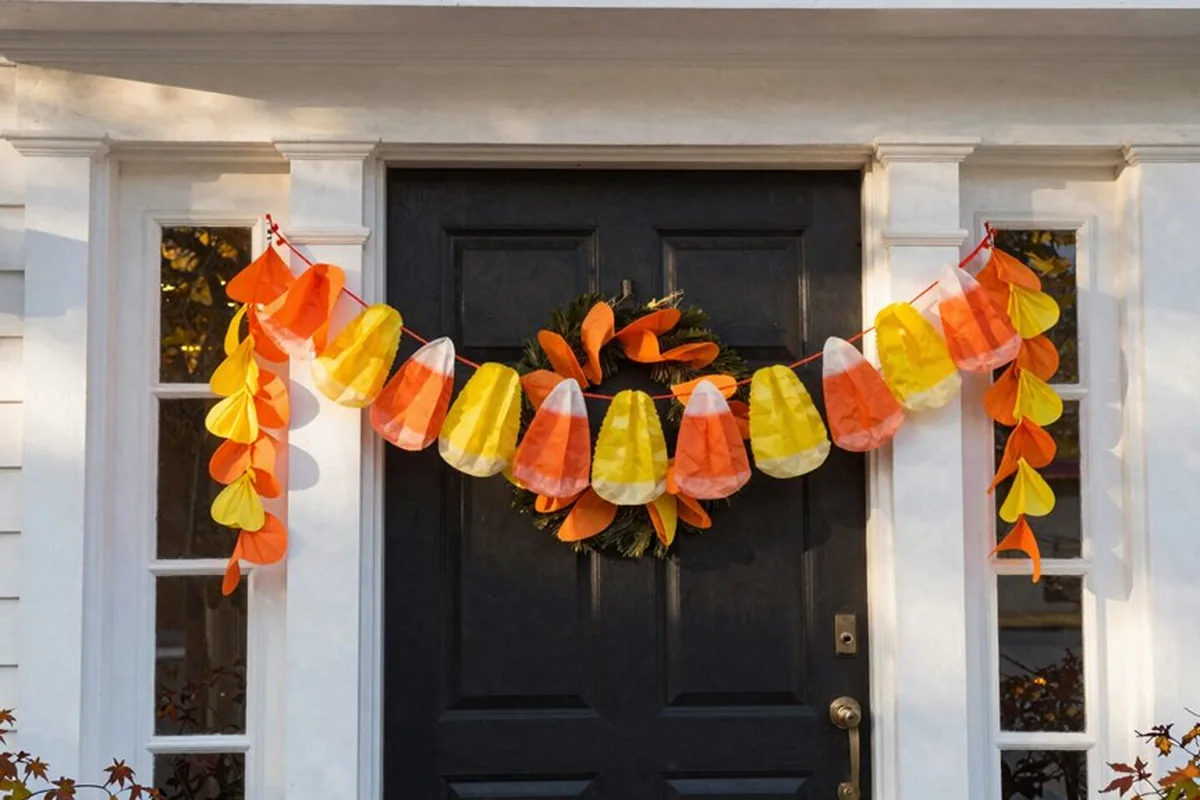
Make the candy corns oversized — four to six inches tall — because small ones get lost on a big window. Alternate them with mini pumpkins or black bats if you want more variety, or keep it pure candy corn for a clean, graphic look. This is a fantastic first Halloween craft for kids: cutting triangles and gluing three stripes is easy enough for little hands, and they’ll be so proud seeing their work framing the window.
14. Spooky Forest Trees Cut from Black Craft Paper
A forest of bare, twisted trees is one of the most striking halloween window art looks you can make, and it’s just paper. Cut tall, gnarled tree silhouettes from black craft paper — trunks that fork into spindly branches — and tape them to the glass so they stretch from sill to top frame. Overlap two or three trees at different depths for a real forest feel, and suddenly your window looks out on the Forbidden Forest.
The secret to trees that look spooky instead of sad is in the branches: make them thin, angular, and asymmetrical, with a few broken-off nubs. Tuck a crescent moon and a handful of stars into the sky between the branches, and maybe one wide-eyed owl silhouette perched on a limb. Backlit at night, the layered trees create genuine depth — neighbors will swear you hired a decorator.
15. Glowing Eyes Watching from a Darkened Pane
Few decorations are as deliciously unsettling as a pair of glowing eyes in a dark window. Cut pairs of spooky eyes — cat eyes, monster eyes, angry slanted eyes — from glow-in-the-dark paper or yellow cardstock, and stick them to a window you’ve deliberately kept dark behind black fabric or paper. From the street, all anyone sees is eyes floating in the blackness, watching. It’s simple, it’s cheap, and it gives every passerby a little shiver.
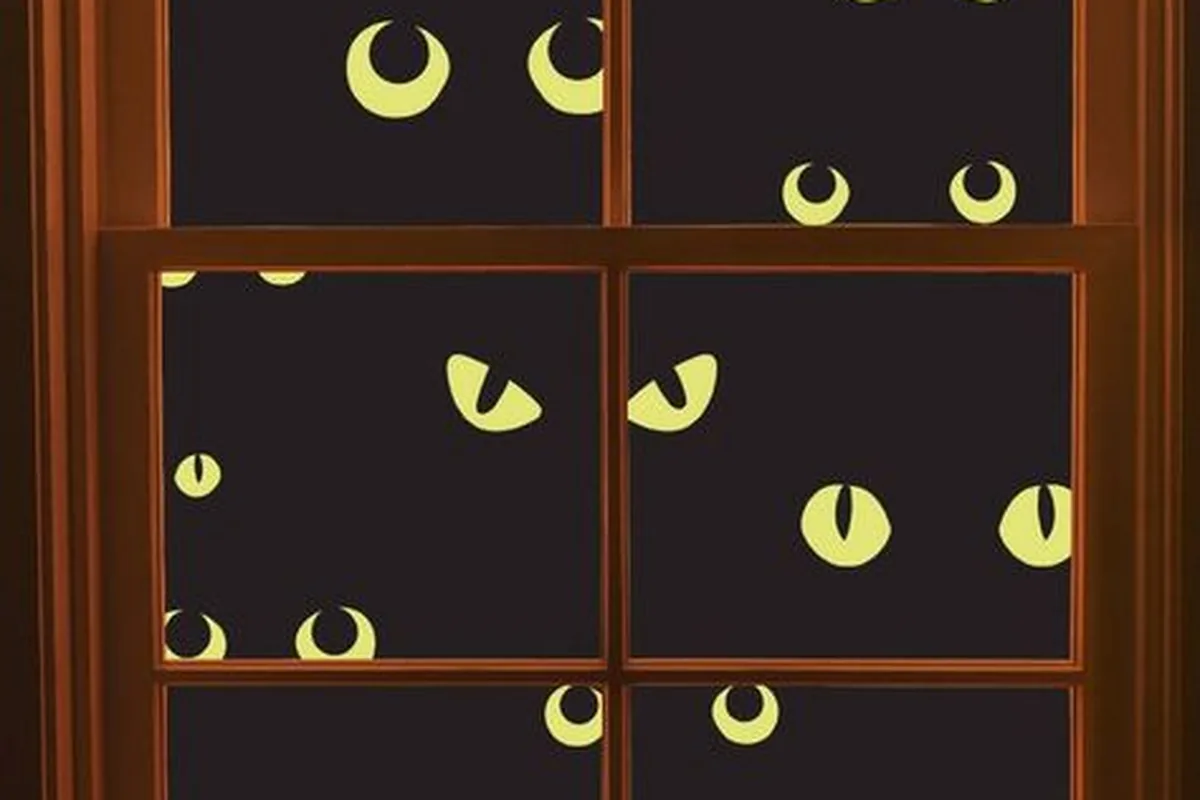
Scatter several pairs at different heights and sizes so it looks like a whole crowd of creatures is peering out — one big pair up high, smaller pairs lurking low. Charge glow-in-the-dark paper under a lamp for a few minutes before dusk for the brightest effect, or back yellow paper eyes with a string of warm fairy lights for a steadier glow. This works brilliantly on a garage window or any window you don’t need light from in October.
16. Orange String Lights Tracing the Window Frame
Sometimes the simplest idea is the most effective: outline the entire window frame in orange string lights and let the glow do the work. Use indoor-outdoor LED strands with small clips or suction-cup hooks, tracing the rectangle of the frame so the window becomes a glowing portal visible from down the block. Orange is the obvious choice, but purple or a orange-and-purple mix looks fantastic too.
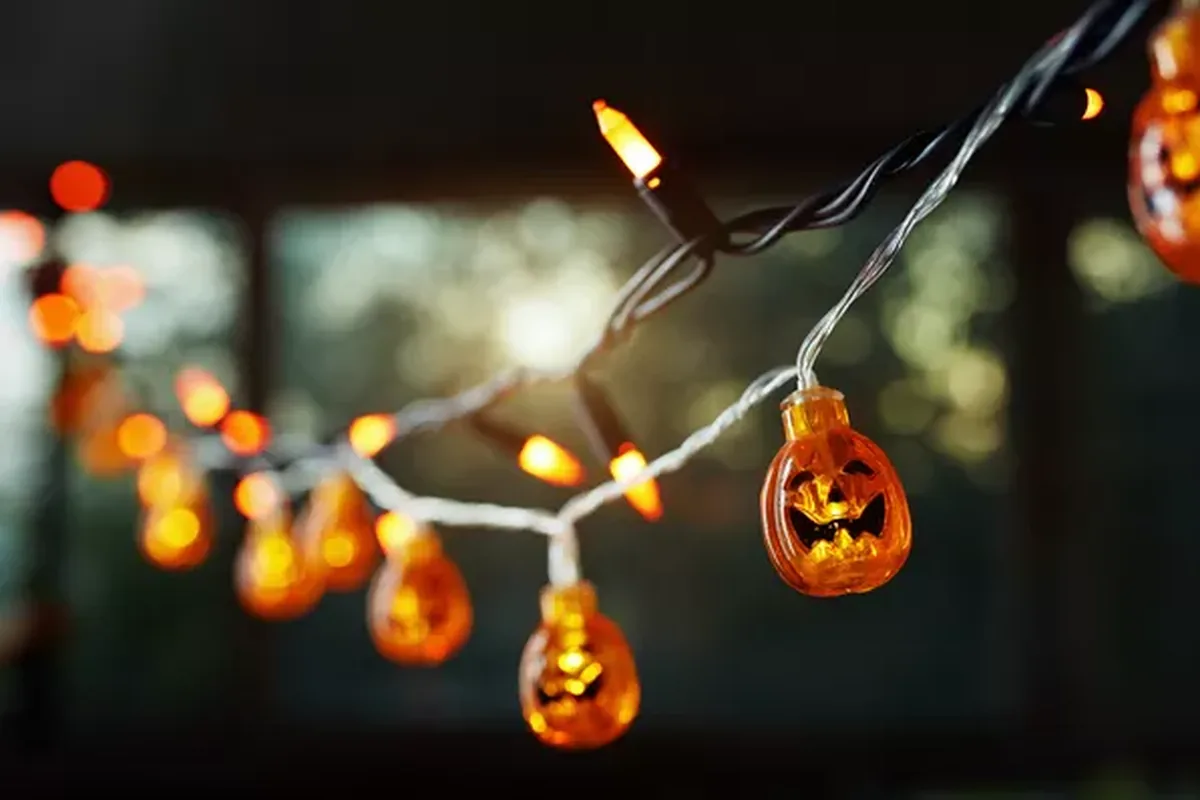
LED strands stay cool to the touch and sip electricity, so you can run them every evening all month without worry — set them on a timer to click on at dusk and off at bedtime. For extra dimension, layer a second strand inside the frame in a zigzag or drape it loosely like a swag. The lights also make a perfect backdrop for your other window art: silhouettes, clings, and paper cutouts all look twice as dramatic rimmed in orange light.
17. A Skeleton Garland Swaying in the Breeze
A garland of little dancing skeletons strung across the window brings movement and mischief to your display. Hang it from the curtain rod or the top of the frame so the skeletons dangle freely in front of the glass, and every draft sends them swaying like they’re doing a spooky little dance. The white shapes pop beautifully against a dark window at night, especially with a lamp glowing behind them.
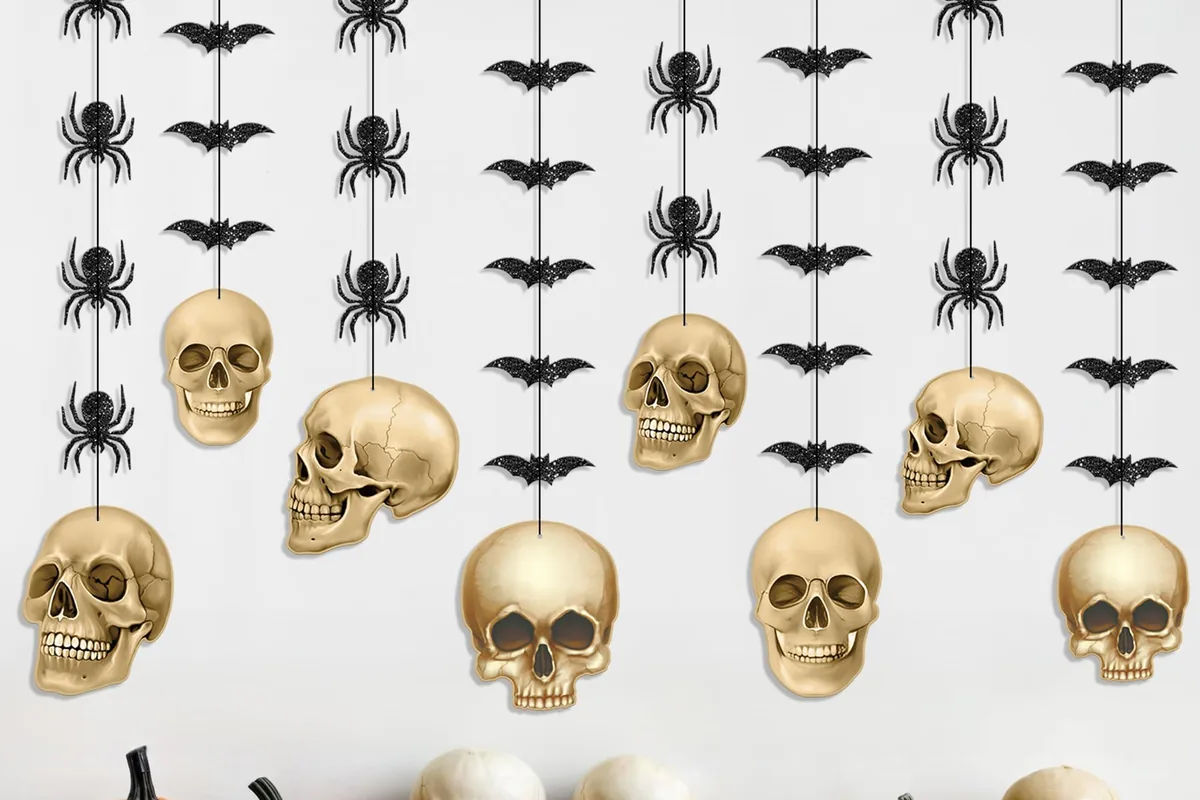
If you’re crafty, cut the skeletons from white cardstock and join the limbs with tiny brads so they actually dangle and wiggle — posable skeletons are endlessly entertaining for kids. Hang two or three strands at staggered lengths for a fuller look, and consider adding tiny top hats or bow ties to a few skeletons for personality. This is a great choice for a child’s bedroom window, where the playful vibe feels just right.
18. A Pumpkin Patch Scene the Kids Can Help Build
Turn one big window into a pumpkin patch and let the kids be the artists. Cut a rolling green hill from green paper for the bottom of the window, then let little hands cut, color, and decorate their own pumpkins — silly faces, spooky faces, polka dots, stripes — to “plant” along the hill. Add a few paper vines curling between them and a big friendly sun or moon overhead, and you’ve got a harvest scene with real heart.
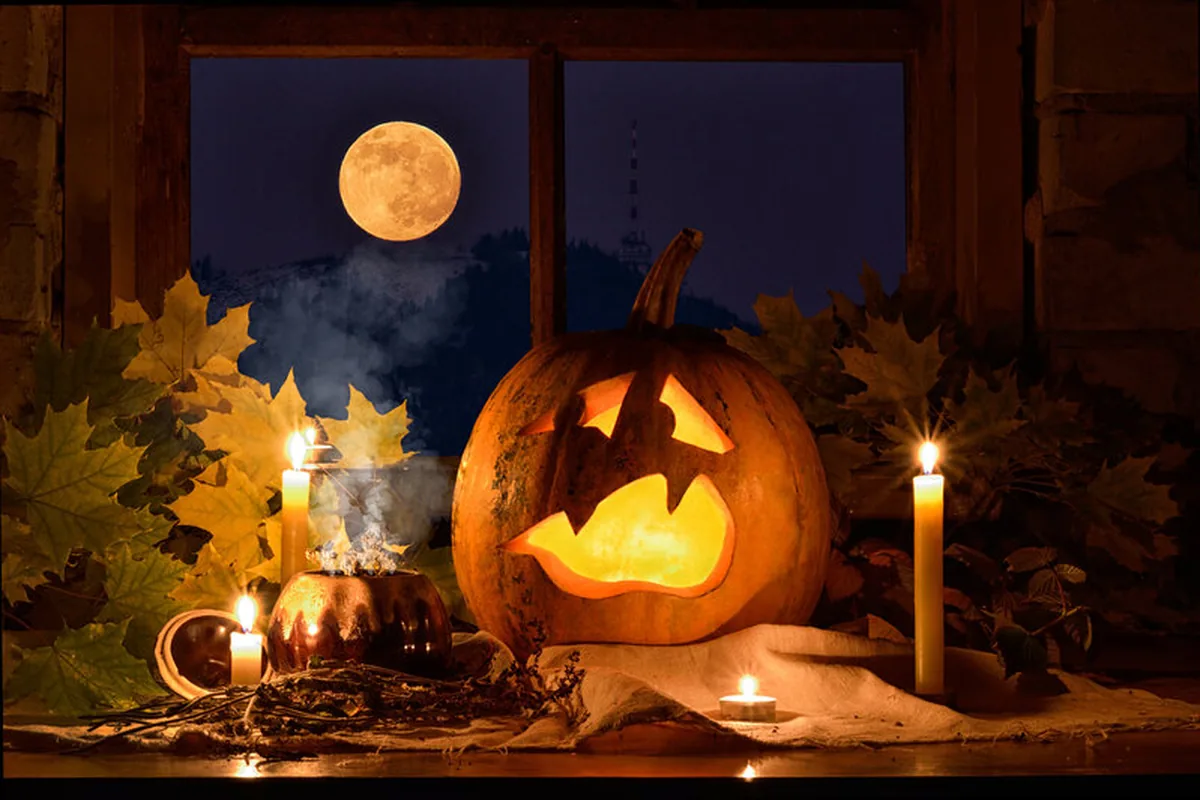
This is the perfect rainy-afternoon October craft: spread out the supplies, put on some Halloween music, and let everyone contribute a pumpkin or two. When the faces go on the pumpkins, show the kids our guide on [how to draw a face step by step](https://dreaminspo.com/how-to-draw-face-step-by-step/) — it’s made for beginners and the expressions translate perfectly to jack-o’-lantern grins.
19. Creepy Eyeball Lights for a Playfully Spooky Sill
Eyeball string lights are equal parts creepy and hilarious, which makes them perfect for a family-friendly window. Drape a strand of bloodshot eyeball lights along the windowsill or swag them across the top of the frame, and watch kids do double-takes. They look great during the day as a garland and absolutely steal the show at night when each eyeball glows with an eerie light.
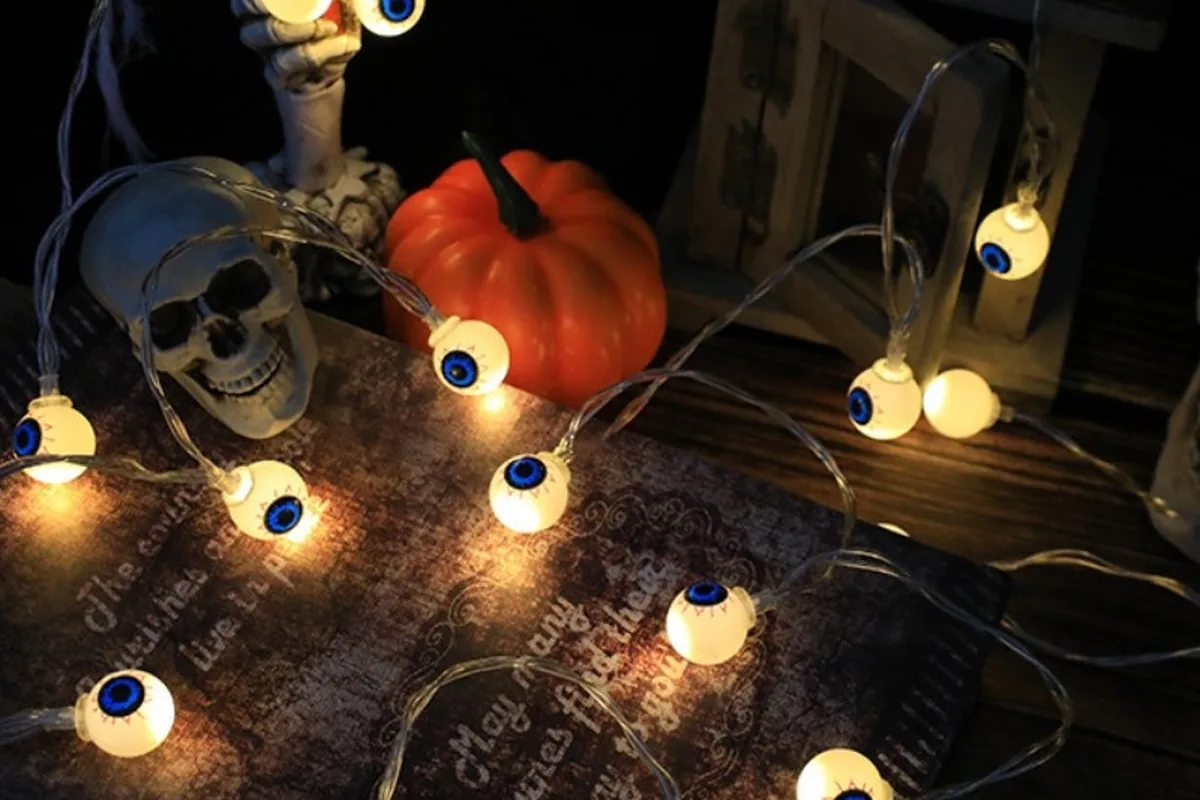
Choose battery-operated strands so you’re not hunting for an outlet near every window, and look for a timer function so they switch themselves on at dusk. Weave the eyeball strand through faux spider webbing or drape it over a pile of mini pumpkins on the sill for a styled vignette.
20. Gothic Black Lace Panels for an Elegant Haunt
Not every Halloween window needs to be cute — sometimes you want pure gothic drama. Swap your usual curtains for black lace panels for the month of October and the whole room transforms. The lace filters daylight into moody patterns, and at night with lamps behind them, the panels become a shadowy veil that makes everything behind the glass look mysterious. It’s Halloween for grown-ups.
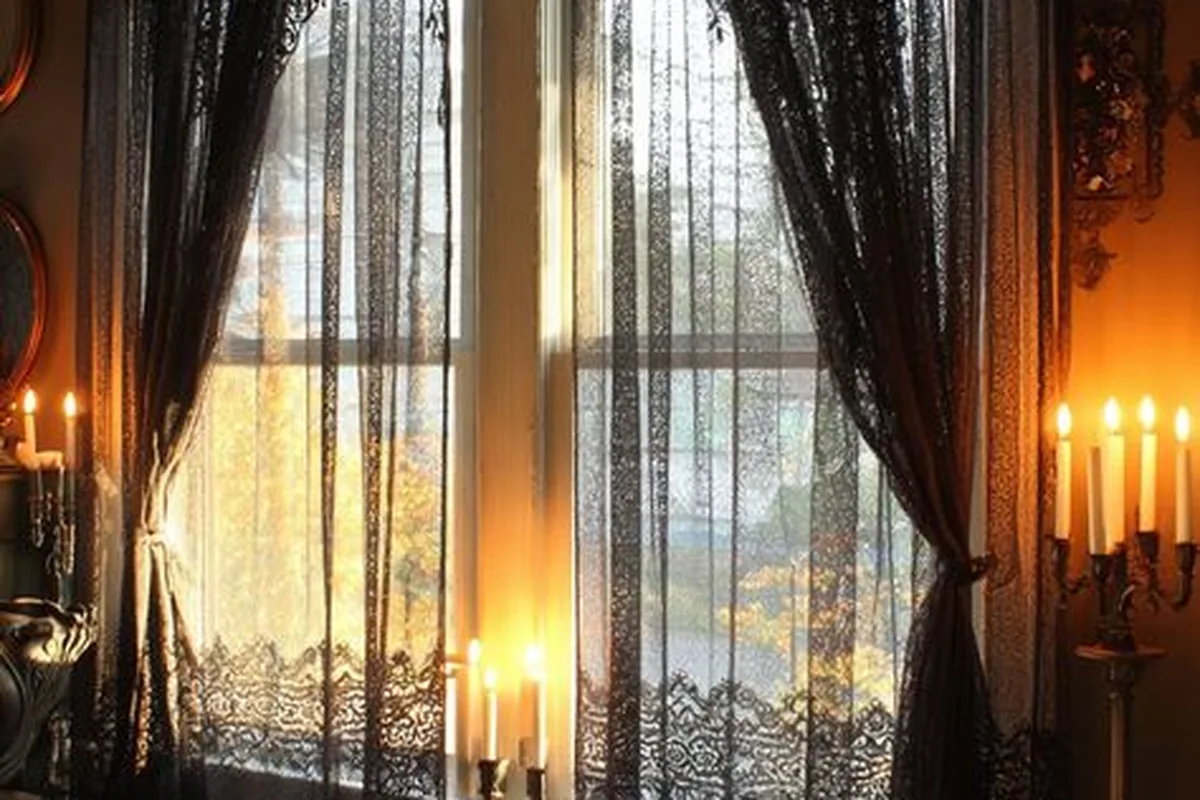
Layer the lace over deep purple or blood-red curtain panels for a rich, Victorian-gothic look, or keep it simple with just the lace for an airy haunted-manor feel. Look for lace with spiderweb, damask, or bat motifs to lean into the theme without adding a single other decoration. Add a candelabra or two on the sill and you’ve got a window straight out of a gothic novel.
21. Moon and Stars Decals in a Dreamy Purple Glow
For a softer, more magical take on Halloween, cover the window in moon and star decals backed by purple light. Gold and silver star stickers scattered across the glass catch the light beautifully, and a big crescent moon decal becomes the centerpiece. Back the whole scene with purple-tinted tissue paper or a purple LED strip behind the glass, and your window glows like a fortune-teller’s crystal ball.
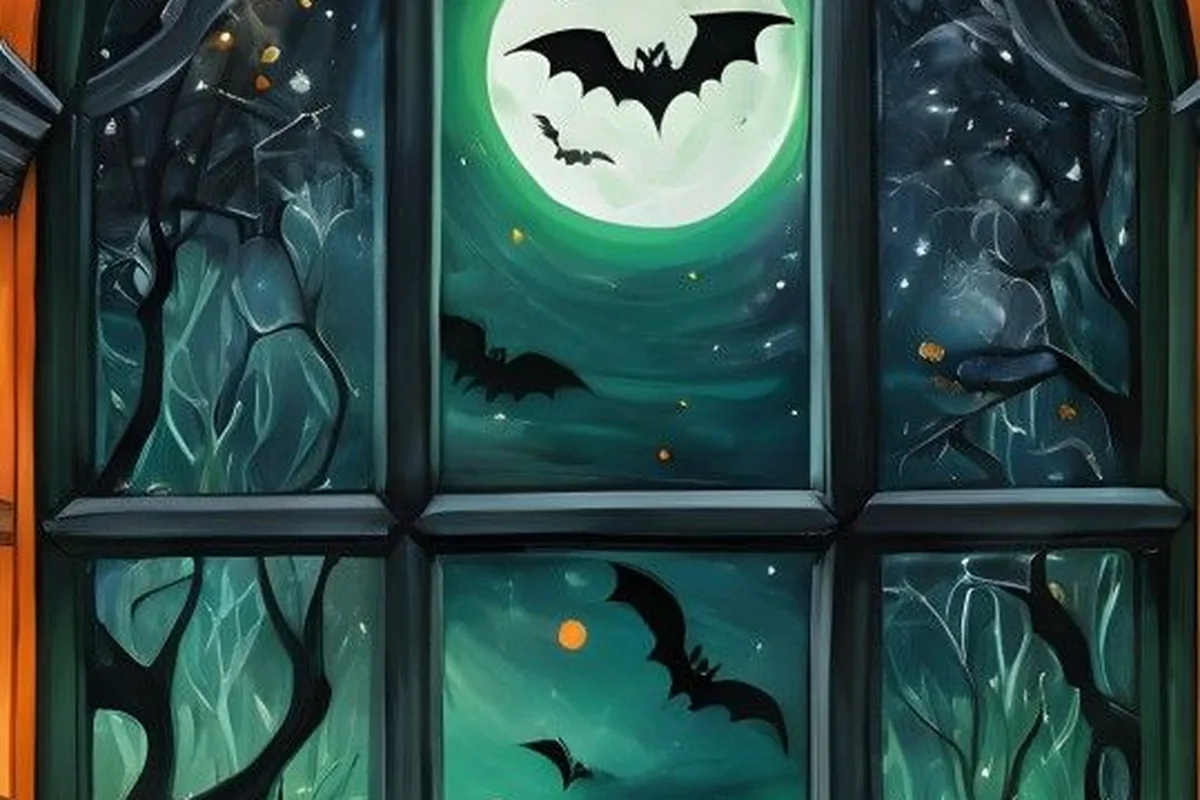
This is a lovely choice for a bedroom or nursery window, where you want Halloween spirit without nightmares — think “twinkly magic” rather than “haunted house.” Add a silhouette of a witch flying across the moon and it becomes instantly, recognizably Halloween while staying sweet. Glow-in-the-dark star stickers charge up during the day and keep twinkling for hours after lights-out, which kids find endlessly delightful.
22. Hand-Drawn Chalk Marker Art Right on the Glass
If you can doodle, you can make jaw-dropping halloween window art with nothing but chalk markers. White and orange chalk markers on clean glass create bold, graphic designs — spiderwebs in the corners, “Happy Halloween” in spooky lettering, pumpkin faces, bats, and swirling vines — that look like professional window painting. The lines are bright, the coverage is excellent, and it all wipes off with a damp cloth when the season’s over.
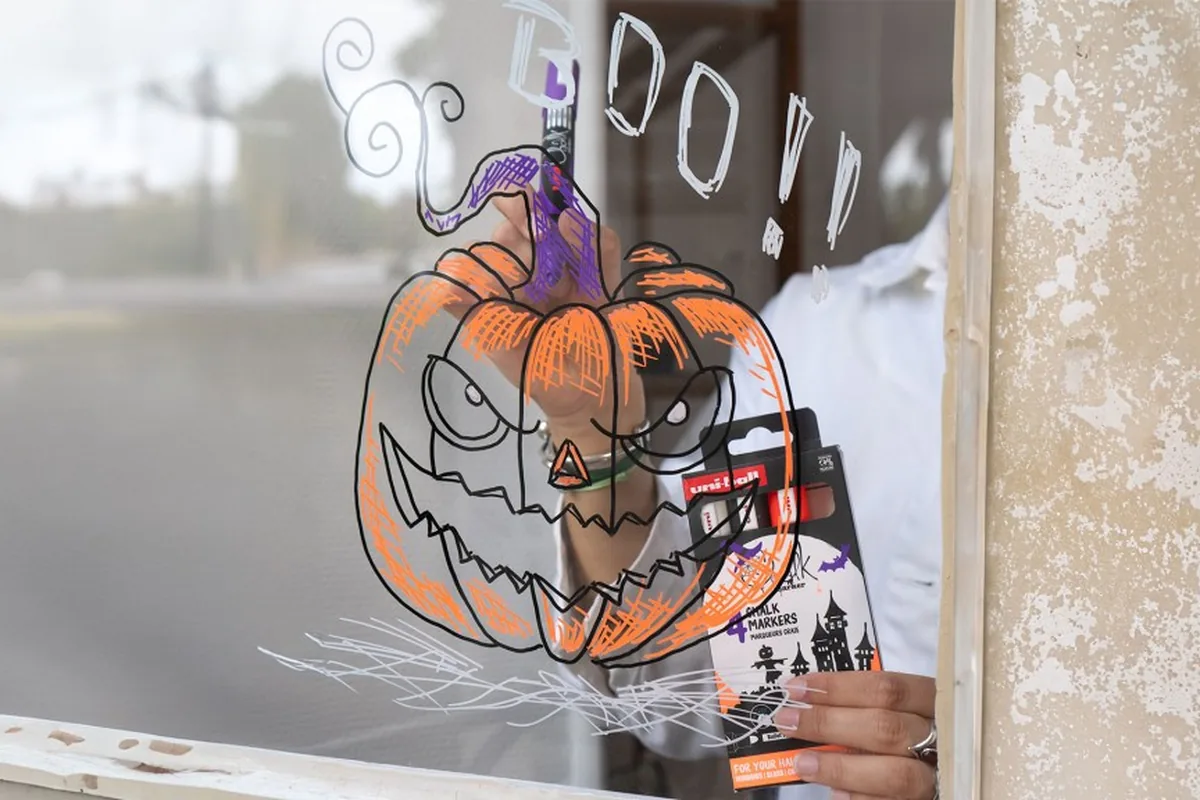
Sketch your design lightly first or print a template to trace — taping the template to the outside of the glass and tracing from inside is the oldest window-painter’s trick in the book. Our [step-by-step face drawing guide](https://dreaminspo.com/how-to-draw-face-step-by-step/) is perfect practice for the pumpkin faces and spooky expressions you’ll want to draw. Work from the top down so you don’t smudge wet lines with your sleeve, and let each color dry for a minute before layering.
23. Flickering Flameless Candles Lining the Sill
End with the coziest idea on the list: a row of flickering flameless candles along the windowsill. Cluster them in groups of three and five at varying heights — chunky pillars, slim tapers, a few in black or orange — and let their warm flicker turn your window into a beacon on a dark October night. It’s the simplest display here and somehow one of the most atmospheric, like something from a vintage Halloween postcard.
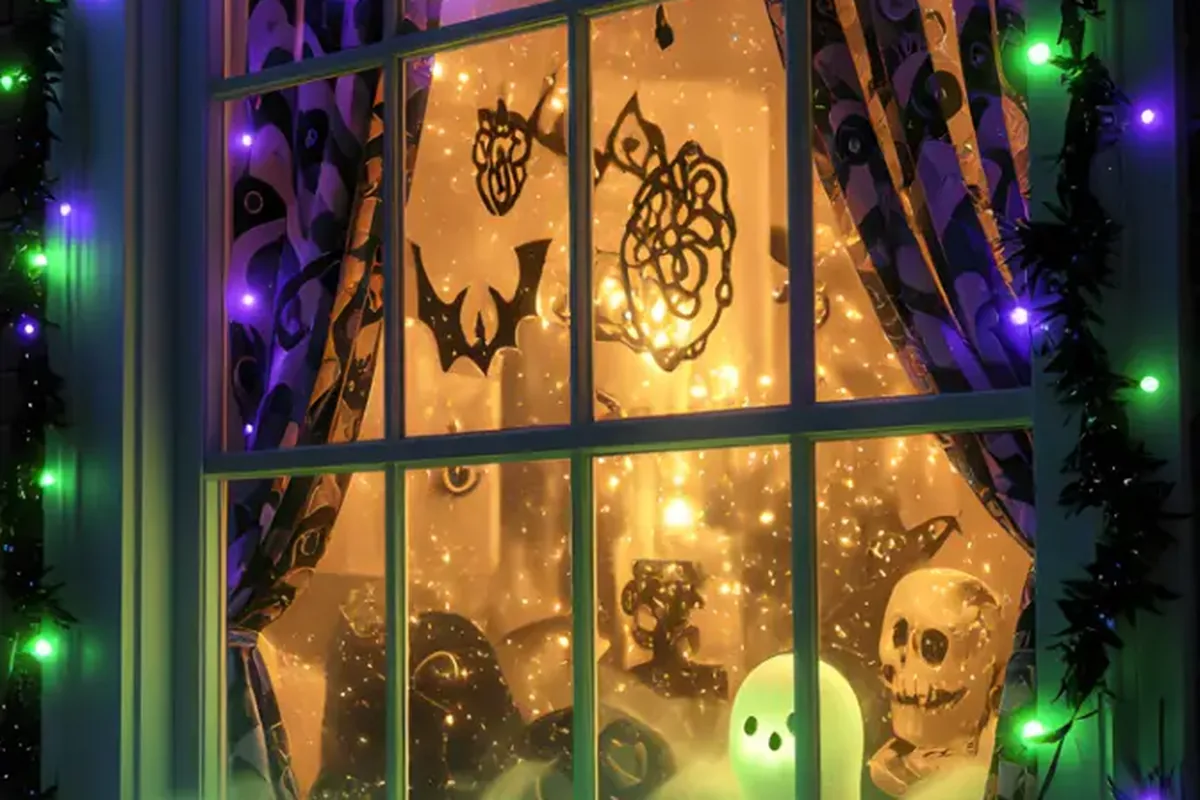
Flameless candles with built-in timers are worth every penny: set them once and they glow every evening without you lifting a finger, and there’s zero fire risk near curtains. Nestle the candles among faux autumn leaves, mini pumpkins, or a strand of fairy lights for a styled sill that looks intentional rather than random. If you’re planning your whole-home Halloween look, don’t miss our roundup of [this season’s biggest Halloween decor trends](https://dreaminspo.com/halloween-decor-idea-the-seasons-biggest-trends/) to tie everything together.
How Do You Decorate Windows for Halloween Without Damaging the Glass?
This is the question we hear most, and the good news is that almost every idea on this list is completely glass-safe. Static-cling decals need only water to stick and peel off cleanly. Painter’s tape, mounting putty, and suction cups hold paper decorations without leaving residue. Chalk markers wipe away with a damp cloth, and washable window paint rinses off with warm soapy water. The golden rule is simple: avoid anything with strong adhesive — no duct tape, no hot glue directly on glass, no permanent markers.
For renters or anyone decorating a home they don’t own, stick to the removable heroes: clings, painter’s tape, suction cups, and decorations hung from the curtain rod or tension rod instead of the glass itself. Test any new product on a small corner of the window first, and always clean the glass before you start — decorations stick better and look sharper on a clean surface.
You May Also Like
Keep the inspiration going with these related ideas:
- 23 Halloween Door Decor Ideas To Try This Year
- 27 Easy DIY Outdoor Halloween Decorations To Try This Year
- 21 90s Halloween Decor Ideas To Try This Year
Final Thoughts
From silhouette cats and paper bats to glowing eyes and flickering candles, your windows might just be the hardest-working part of your whole Halloween display. The ideas here range from five-minute decals to weekend family crafts, and the best part is how forgiving they all are — paper, tape, and markers are cheap, removable, and endlessly rearrangeable until the scene feels just right.
So pick the one that made you smile — or combine three or four for a full haunted-house window — and carve out an afternoon to make it happen. Before you know it, your house will be the one glowing on the street, the one kids point at, the one that feels like Halloween the moment October arrives. Happy decorating, and have a wonderfully spooky season!