How To Paint Pumpkins: A Step-By-Step Guide For Beginners

Carving pumpkins is a classic fall tradition, but let’s be honest: it’s messy, the designs start to wilt within days, and it’s not exactly kid-friendly. Painting pumpkins, on the other hand, is cleaner, safer, and your creations can last for weeks instead of days. If you’ve ever wondered how to paint pumpkins and actually have them look good, you’re in the right place.
This beginner-friendly guide walks you through every step of the process — from picking the perfect pumpkin at the patch to sealing your finished masterpiece. You don’t need any artistic experience. With the right supplies, a little patience, and a few simple techniques, anyone can create painted pumpkins that look like they came straight out of a boutique.
Whether you’re going for elegant gold-dipped pumpkins, spooky Halloween faces, or simple farmhouse white pumpkins, the steps below will get you there. Grab a pumpkin, pour yourself something warm, and let’s get painting.
Step 1: Pick Pumpkins With Smooth, Unblemished Skin
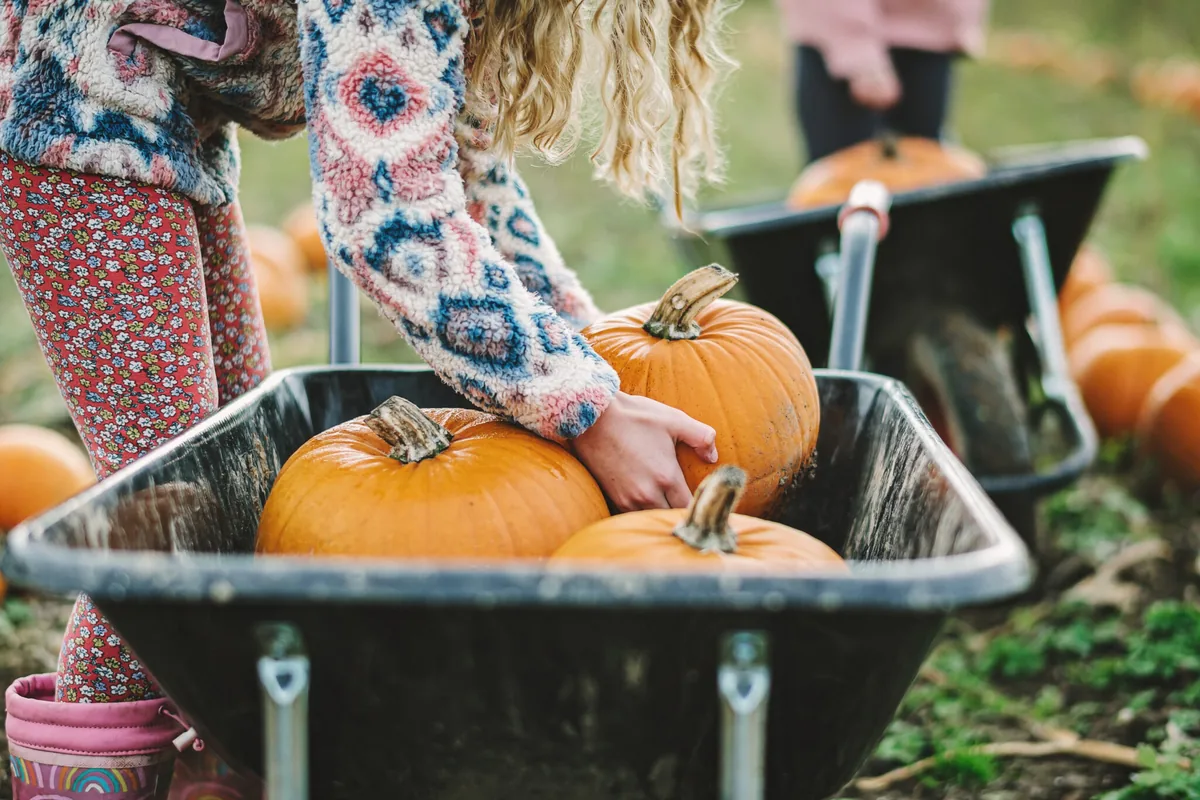
The secret to beautiful painted pumpkins starts before you ever pick up a brush. Look for pumpkins with smooth, firm skin and as few bumps, bruises, or soft spots as possible. A smooth surface gives your paint something even to grip, which means fewer streaks and a more polished finish. Give each pumpkin a gentle squeeze — it should feel solid and heavy for its size.
Variety matters too. Smooth-skinned varieties like Sugar Pie, Fairytale, or the classic orange field pumpkin tend to take paint best. If you’re going for an elegant look, white or pale green heirloom varieties make gorgeous canvases because lighter base colors need fewer coats of paint to cover. Whatever you choose, pick a stem that’s intact — a sturdy stem makes the pumpkin easier to handle while you paint.
Step 2: Gather Your Supplies Before You Start
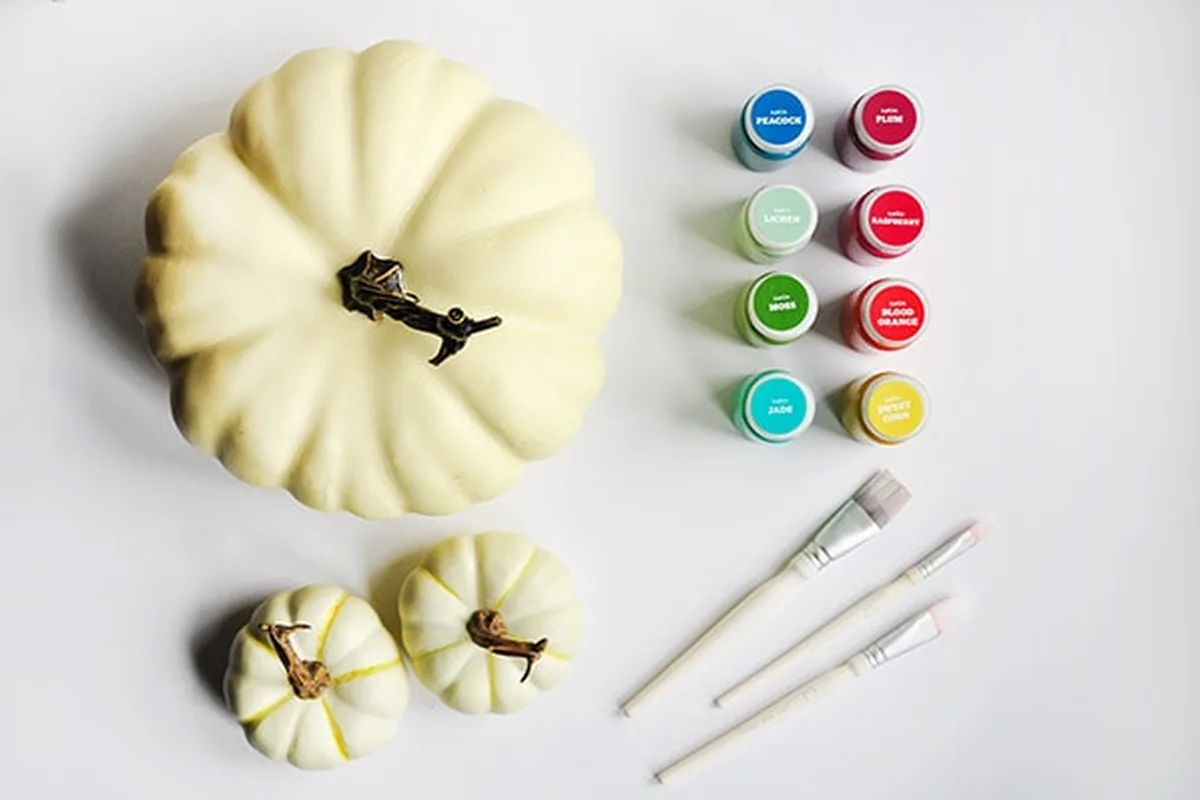
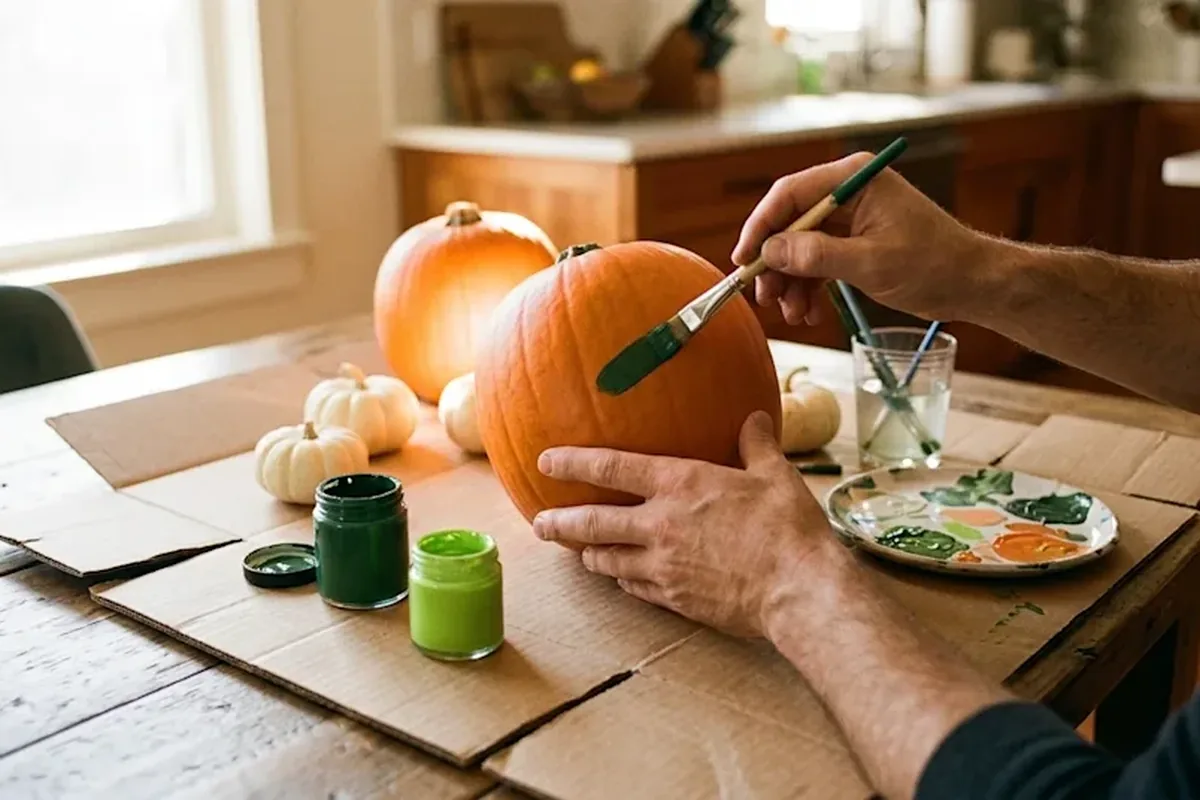
Before you sit down to paint, round up everything you’ll need so you’re not hunting for supplies with paint on your hands. The good news is that pumpkin painting requires very little: acrylic craft paint (the small bottles from any craft store work perfectly), a variety of brushes including a wide flat brush for base coats and small detail brushes for designs, a cup of water for rinsing, a palette or paper plate for mixing, and paper towels.
Acrylics are the best paint for pumpkins because they dry quickly, adhere well to the waxy skin, and clean up with water. Avoid washable kids’ tempera paint for the main design — it tends to crack and flake once dry. If little ones are joining in, have them use acrylics too, just with smocks on. You’ll also want newspaper or a drop cloth to protect your table, and optionally a hair dryer to speed up drying between coats.
Step 3: Wash and Dry Your Pumpkin Thoroughly
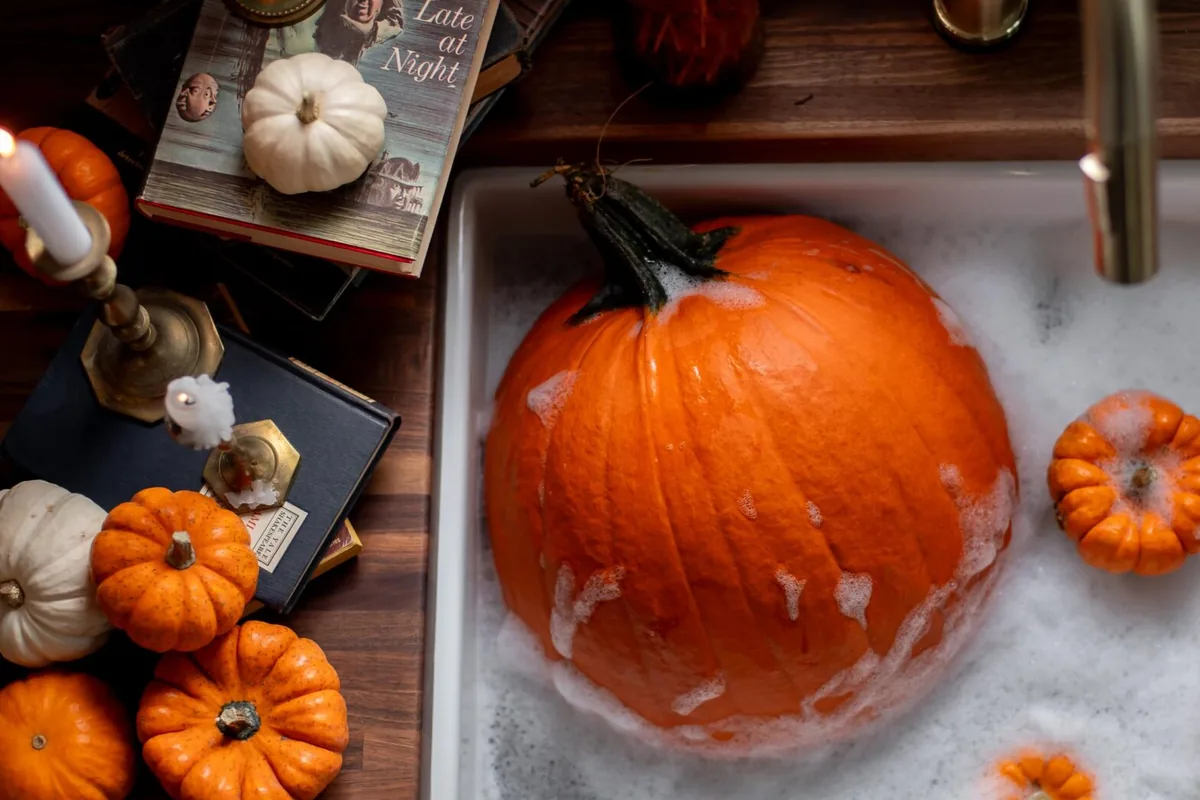
Pumpkins come from the field covered in dust and dirt, and paint won’t stick well to a dirty surface. Wash each pumpkin in warm water with a drop of dish soap, using a soft cloth or sponge to gently scrub away field grime. Don’t use anything abrasive — you don’t want to scratch the skin. Pay extra attention to the crevices around the stem, where dirt loves to hide.
After washing, dry the pumpkin completely with a clean towel and then let it air-dry for at least an hour. This step is more important than it sounds: any lingering moisture will cause your paint to bead up and slide off instead of adhering. While you wait, set up your painting station and lay out your colors. A fully dry pumpkin gives you a clean, grippy surface that makes every coat after this one go on more smoothly.
Step 4: Apply a Base Coat (Optional but Worth It)
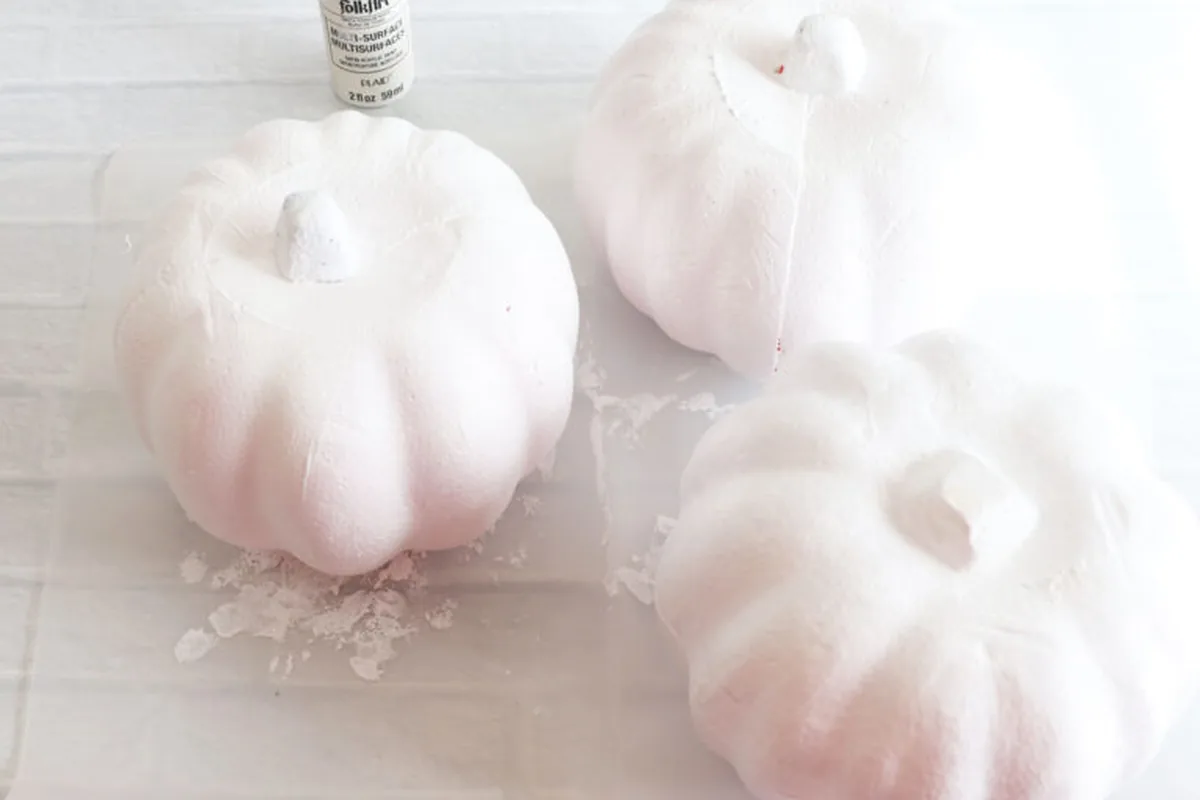
A base coat is the difference between a pumpkin that looks hand-painted and one that looks professionally finished. If you’re painting over an orange pumpkin with light or pastel colors, brush on one to two thin coats of white or cream acrylic first. This covers the orange undertone so your final colors look true instead of muddy. For dark or jewel-toned designs, a black or navy base coat creates rich, dramatic depth.
Use your wide flat brush and work in long, even strokes, following the pumpkin’s natural ribs. Keep coats thin — thick paint takes forever to dry and can crack as the pumpkin naturally loses moisture. Let each coat dry completely (about 20–30 minutes, or a few minutes with a hair dryer on low) before adding the next. Two thin coats will always look better than one thick, gloppy one.
Step 5: Sketch Your Design Lightly in Pencil
Here’s the step most beginners skip — and the one that makes the biggest difference. Before you touch paint to pumpkin, lightly sketch your design with a regular pencil. The graphite shows up just enough to guide you on light base coats, and it’s easy to erase or paint over. For dark base coats, a white chalk pencil or a light-colored crayon works the same way.
Keep your sketch loose and simple. Map out the main shapes — where faces, stripes, dots, or lettering will go — rather than drawing every detail. If you’re painting a face or an intricate pattern, getting the placement right on paper first saves you from lopsided features later. And if freehand drawing feels intimidating, trace a printed design with carbon paper, or check out our guide on [how to draw a face step by step](https://dreaminspo.com/how-to-draw-face-step-by-step/) to practice the fundamentals before you start.
Step 6: Paint Thin Coats and Let Each Layer Dry
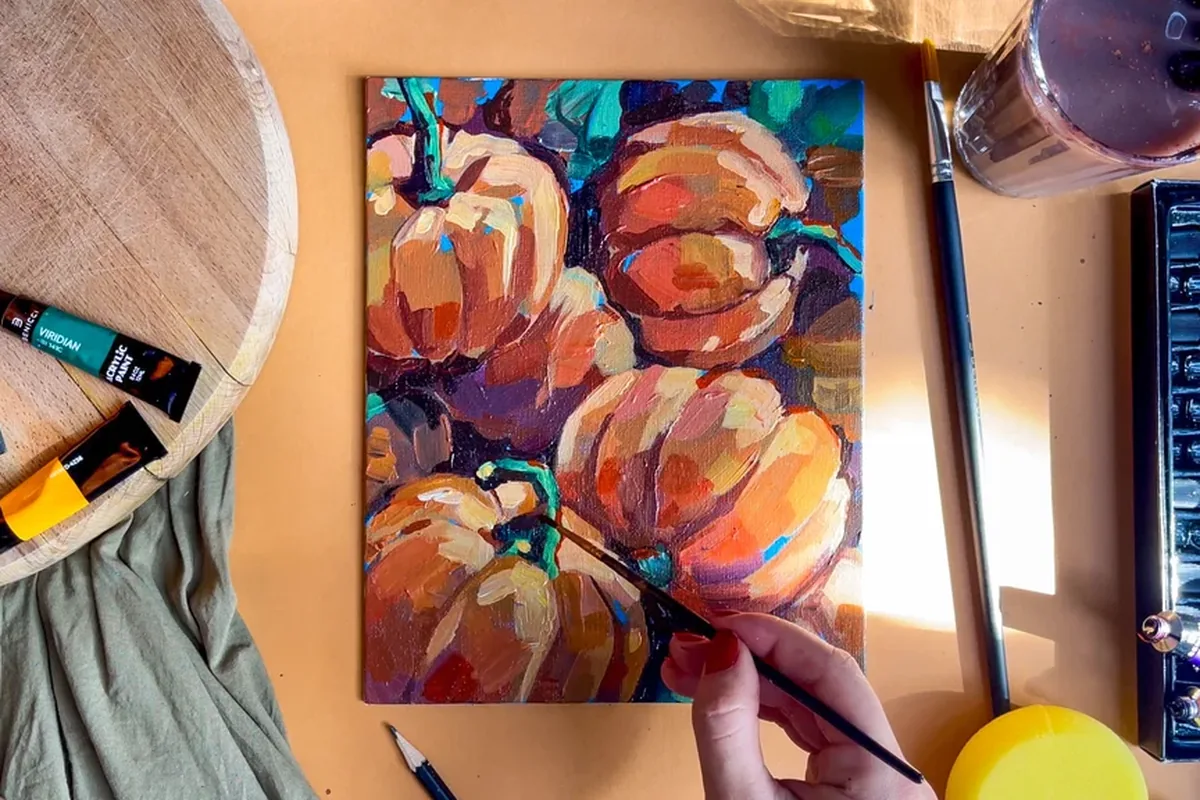
Now for the fun part. Load your brush lightly and paint in thin, even layers, always letting each coat dry fully before adding the next. This is the golden rule of painting pumpkins: patience between coats prevents the smudging, peeling, and muddy colors that frustrate beginners. Most designs need two thin coats of each color for solid, even coverage.
Work from the top of the pumpkin down so you don’t drag your hand through wet paint, and rotate the pumpkin as you go rather than reaching across it. If you’re painting a detailed design, start with the largest areas of color first and save small details for last — it’s much easier to add a tiny dot or line over a dry background than to paint around one. Keep a damp paper towel handy to wipe your brush between colors so your shades stay clean and bright.
Step 7: Add Details, Patterns, and Embellishments
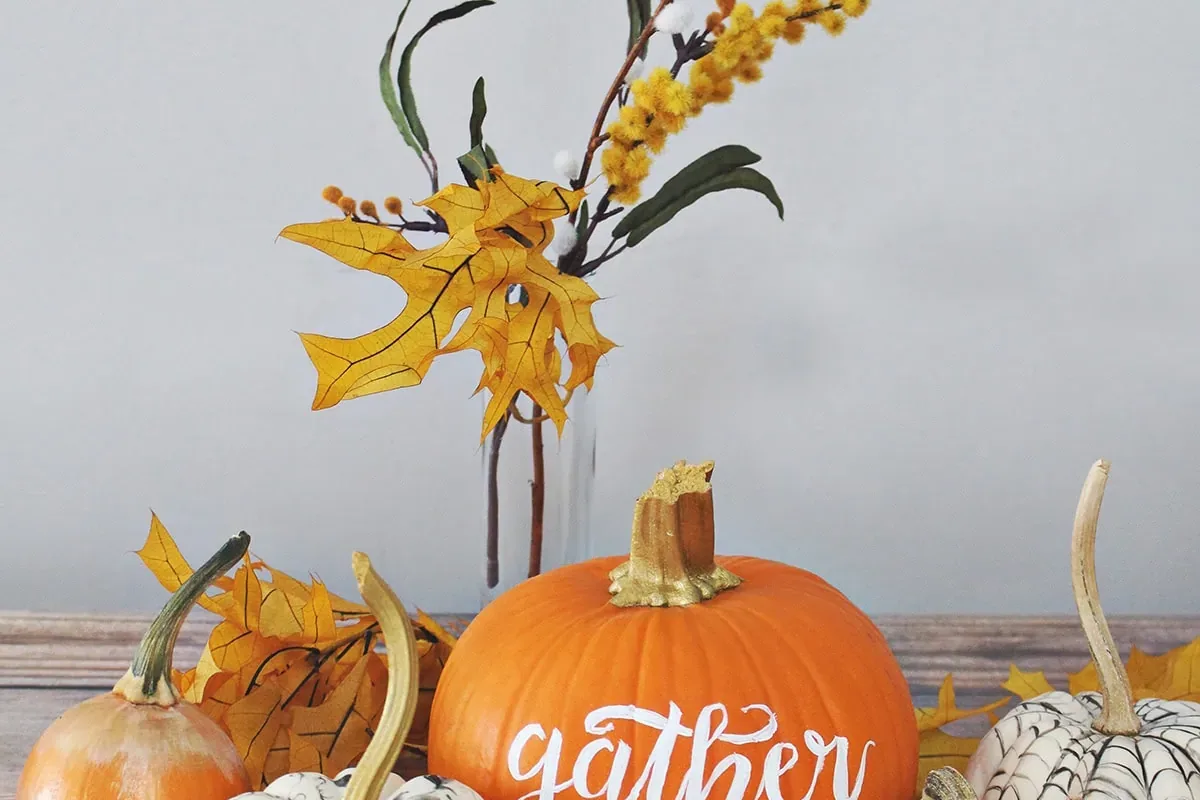
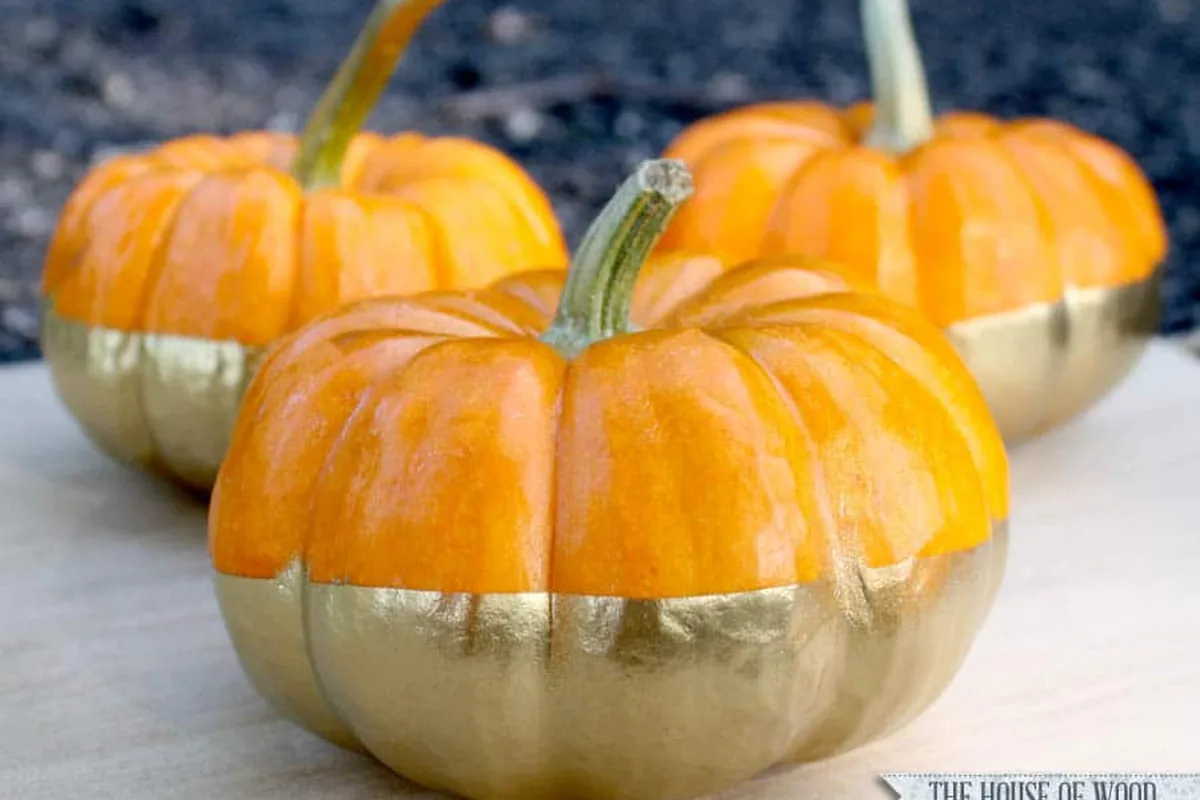
Once your base colors are dry, it’s time for the details that make your pumpkin special. Metallic gold or copper paint on the stem, stripes, or polka dots instantly elevates a simple design — a gold-dipped bottom or gold leaf accents look incredibly elegant with almost no effort. Fine-tipped brushes or even paint pens are perfect for lettering, delicate vines, or spider webs.
Don’t be afraid to mix techniques. Try stenciled patterns, splatter effects, or ombre blending from one color to another. For a Halloween look, paint classic jack-o’-lantern faces, ghosts, or bats — no-carve spooky designs are having a major moment, and you can see what’s trending in our roundup of [this season’s biggest Halloween decor trends](https://dreaminspo.com/halloween-decor-idea-the-seasons-biggest-trends/). A tiny bit of glitter glue or a clear-drying adhesive with gold flakes can add the perfect finishing sparkle.
Step 8: Fix Mistakes and Touch Up Edges
Made a wobbly line or painted outside your sketch? Don’t panic — acrylic paint is wonderfully forgiving. While the paint is still wet, simply wipe away mistakes with a damp cloth or cotton swab. If it’s already dry, paint right over the mistake with your base-coat color, let it dry, and redo that section. Nobody will ever know.
Once your design is complete, do a final touch-up pass. Crisp up edges with a small detail brush, fill in any thin spots where the base coat peeks through, and check your pumpkin from every angle — including the back, which is easy to neglect. This is also the time to add a second coat to any colors that look streaky. A careful touch-up session is what separates a cute craft from a pumpkin that looks store-bought. For more no-carve inspiration to try next, see no-carve pumpkin decorating ideas.
Step 9: Seal, Cure, and Display Your Pumpkin
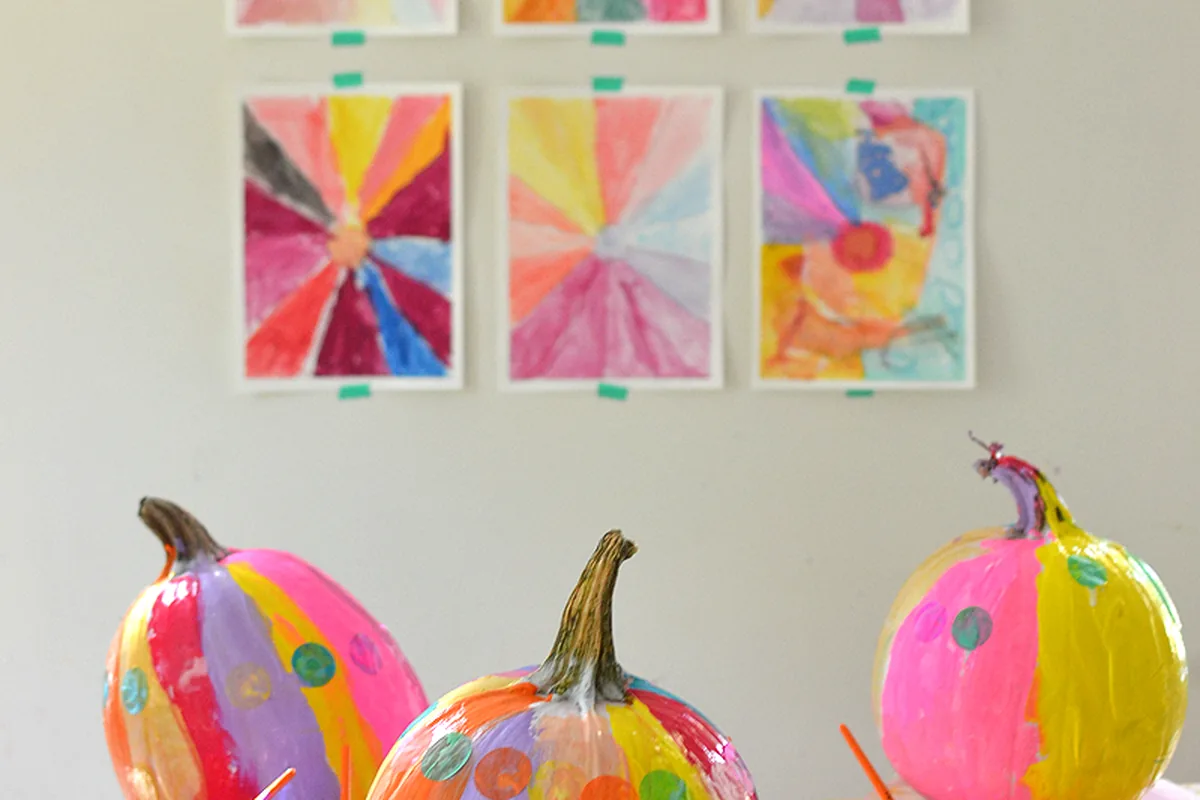
To protect your hard work, seal the finished pumpkin with a clear acrylic sealer or a light coat of Mod Podge once the paint is fully dry. A matte sealer keeps colors looking natural, while a gloss sealer makes them pop. Hold the spray can about 8–10 inches away and apply one even coat — two light coats are better than one heavy one. Let the sealer cure for a full 24 hours before handling or placing the pumpkin outside.
Now the best part: showing it off. Painted pumpkins look beautiful grouped on a porch, lined along a mantel, or clustered on a coffee table with candles and fall foliage — if you need styling ideas, our [fall coffee table decor](https://dreaminspo.com/fall-coffee-table-decor/) guide is full of them. Keep finished pumpkins out of prolonged direct sun and rain to make the paint last, and bring them indoors during heavy storms. With a good seal, your painted pumpkins can look fresh for three to four weeks.
What Kind of Paint Works Best on Pumpkins?
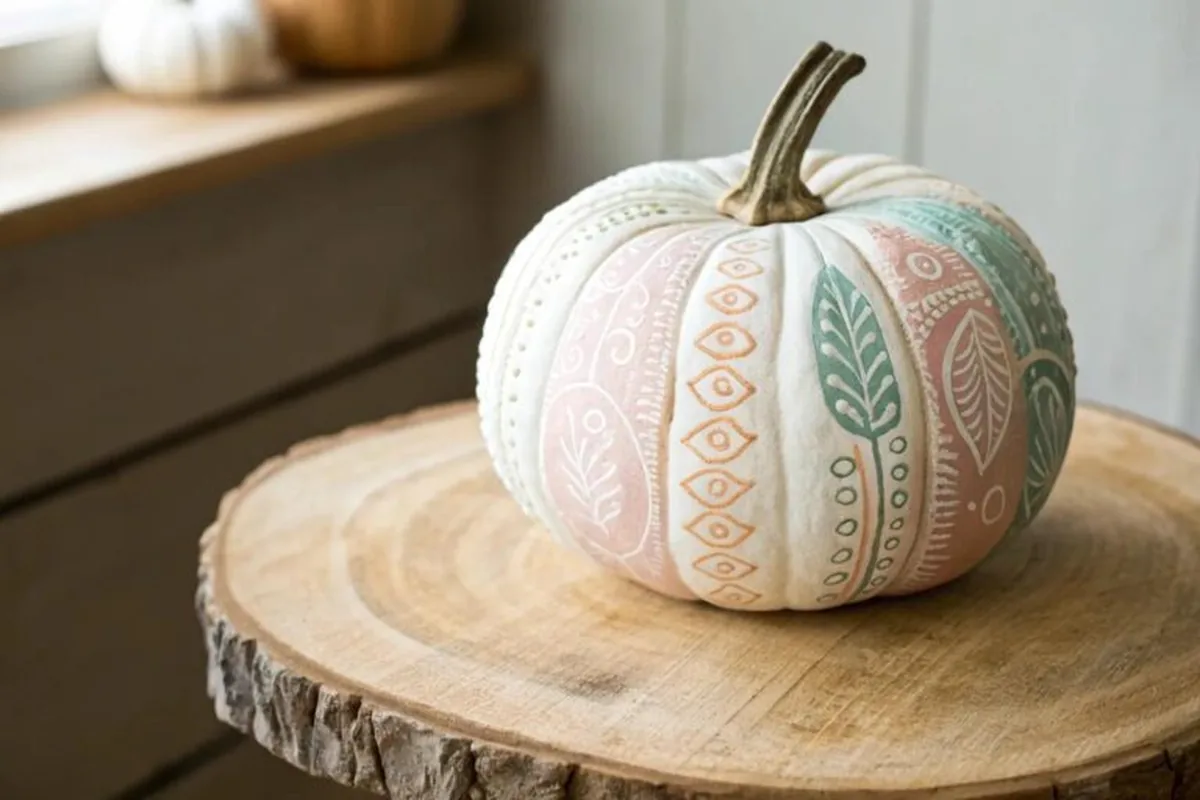
The most common question beginners ask is which paint to use, and the answer is simple: acrylic craft paint. It adheres well to pumpkin skin, dries fast, comes in every color imaginable, and cleans up with water. The small bottles sold at craft stores are perfect — you don’t need artist-grade paint for this.
Avoid spray paint as your main medium unless you’re experienced with it, since overspray is hard to control on a round surface (it’s fine for a base coat outdoors, though). Skip washable tempera paints, which crack and flake on pumpkin skin, and skip oil paints entirely — they take days to dry and never fully cure on a waxy surface. For fine details, acrylic paint pens are a beginner’s best friend: they give you the control of a marker with the durability of acrylic.
One more tip: if you’re painting pumpkins with kids, stick with non-toxic acrylics and look for the AP (Approved Product) seal on the label. Set younger painters up with chunky brushes and a limited palette — three or four colors is plenty — so the project stays fun instead of overwhelming. And keep a bowl of warm soapy water nearby for quick hand cleanups; acrylic washes off skin easily while it’s still wet, but it’s stubborn once dry.
You May Also Like
Keep the inspiration going with these related ideas:
- 23 Dollar Tree Halloween DIY Ideas To Try This Year
- 19 Pinecone Craft Ideas To Try This Fall
- 21 90s Halloween Decor Ideas To Try This Year
Final Thoughts
Painting pumpkins is one of those rare crafts that’s genuinely as easy as it looks — no special skills required, just a good pumpkin, the right paint, and a little patience between coats. The steps above take you from a bare pumpkin to a finished piece of fall decor in a single afternoon, and the results last far longer than anything you could carve.
So grab a few pumpkins this weekend and give it a try. Start simple with a solid base coat and one accent color, then get bolder with each pumpkin you paint. Before you know it, you’ll have a porch, mantel, or table full of handmade fall decor that looks like it took a professional — and all it took was a brush, some paint, and this guide.