How to Make a Squishy at Home: Easy Step by Step Guide


Squishies have been popular for years, and it is easy to see why. They are soft, satisfying to squeeze, and fun to collect. What most people do not realize is how simple they are to make at home with just a few basic supplies from a craft store.
You do not need any special training or expensive equipment. All it takes is some foam, a bit of paint, and patience while things dry. Once you get the hang of it, you can make squishies in any shape you like, from fruit and animals to your own original designs.
What Is a Squishy
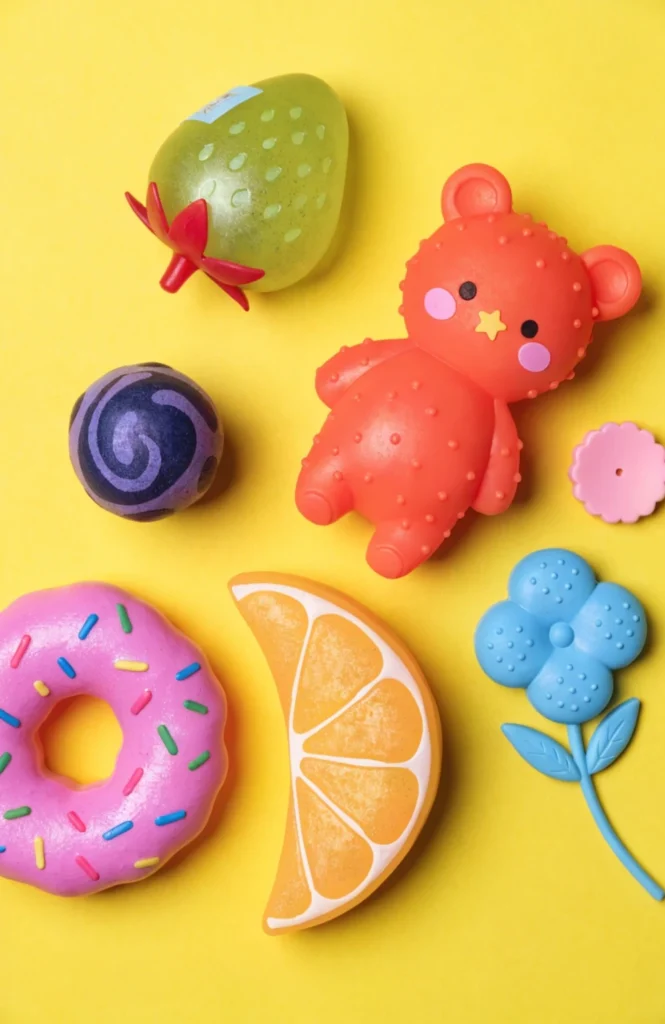
A squishy is a soft toy made from polyurethane foam that slowly springs back into shape after you squeeze it. That slow recovery is what makes squishies so satisfying to hold. Store bought versions usually come as animals, food, or cartoon characters, but making one yourself means you get to pick the exact shape, color, and even the scent.
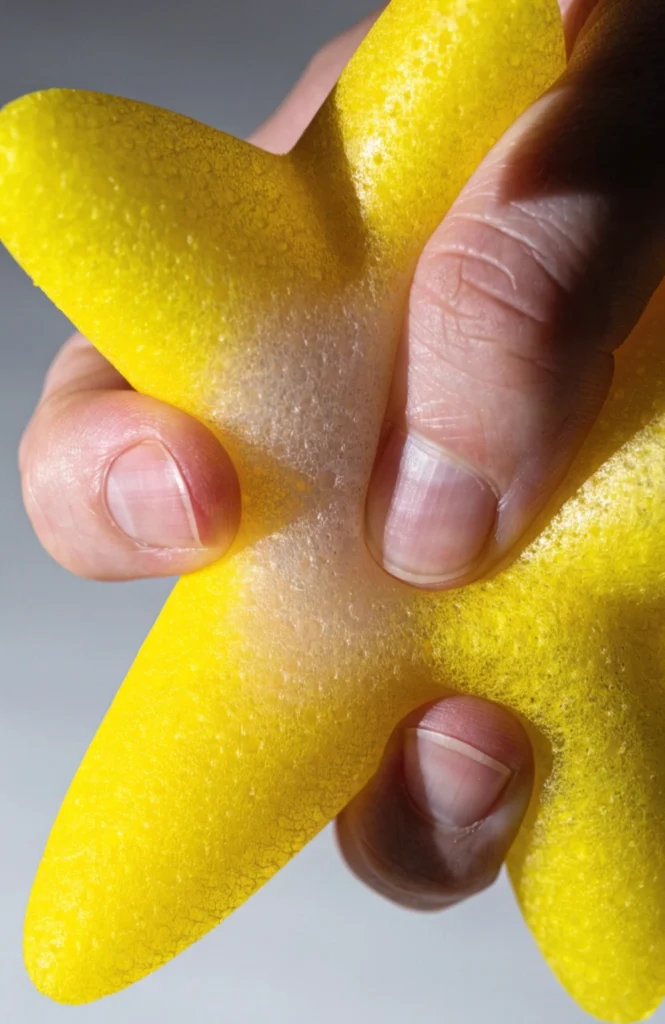
Image Prompt 1: A close up photograph of a hand squeezing a soft yellow star shaped squishy toy, showing the foam slowly expanding back to its shape, with bright studio lighting in a macro photography style.
What You Will Need
Here is everything to gather before starting.
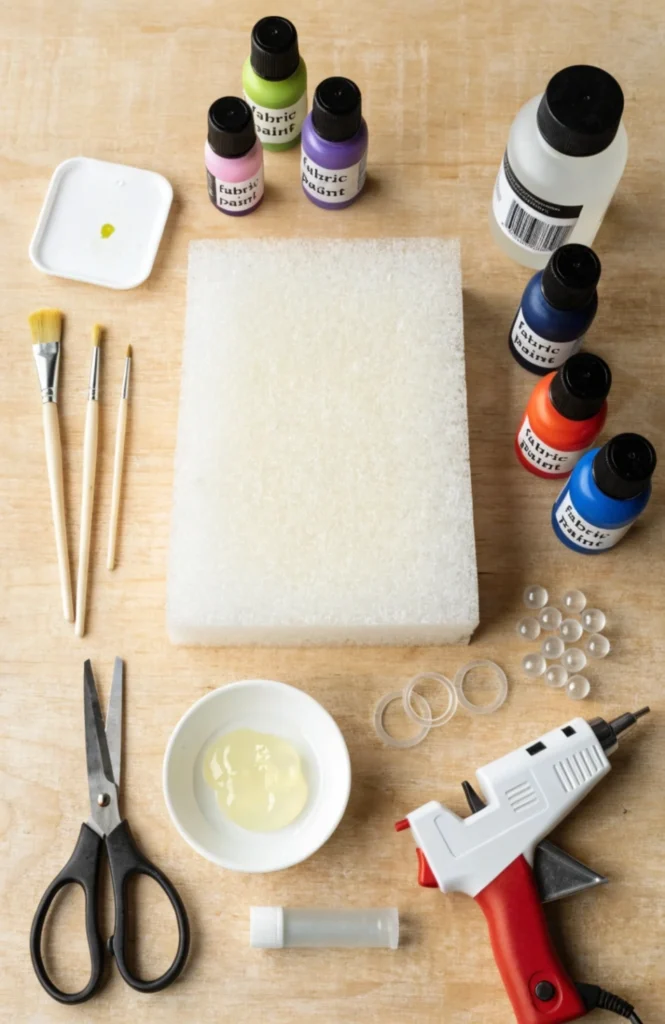
Polyurethane foam or a foam base Fabric paint or acrylic paint Paintbrushes in fine and medium sizes Fabric glue or a hot glue gun Scissors and a craft knife Fine grit sandpaper Sealant spray in matte or glossy finish A pencil or marker for outlining Optional extras such as scented oil, glitter, or fabric scraps
It helps to lay everything out ahead of time. Stopping halfway through to search for a missing item usually slows down the whole project and can dry out paint you already mixed.
Making Your Squishy Step by Step
Step 1: Pick a Shape
Decide what you want to make. Fruit, animals, and simple food shapes are the easiest to start with because their outlines are forgiving. Draw a rough sketch on paper first so you have something to look at while you work with the foam.
Step 2: Carve or Prepare the Foam
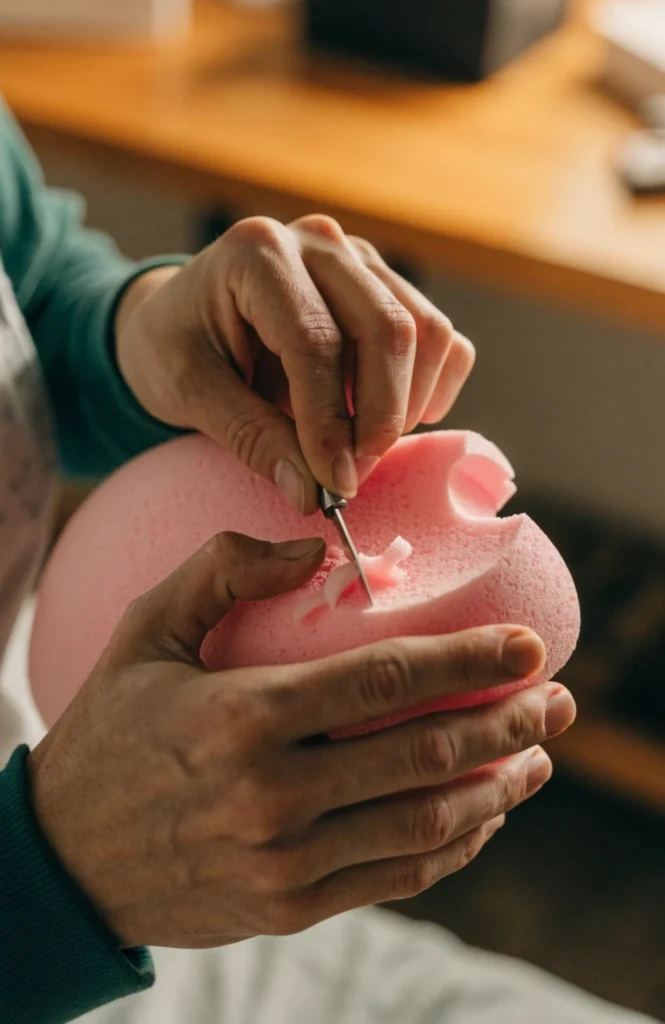
Take your craft knife and cut small sections at a time rather than trying to shape the whole thing at once. Foam is easy to cut but hard to fix once you have removed too much, so slow and careful cuts work better than fast ones. If carving feels intimidating, pre cut foam blanks are sold online and take the guesswork out of this step.
Step 3: Smooth It Out
Once the shape is roughly right, go over it with fine grit sandpaper. Rough spots left in the foam will show up under paint, so this step matters more than it seems.
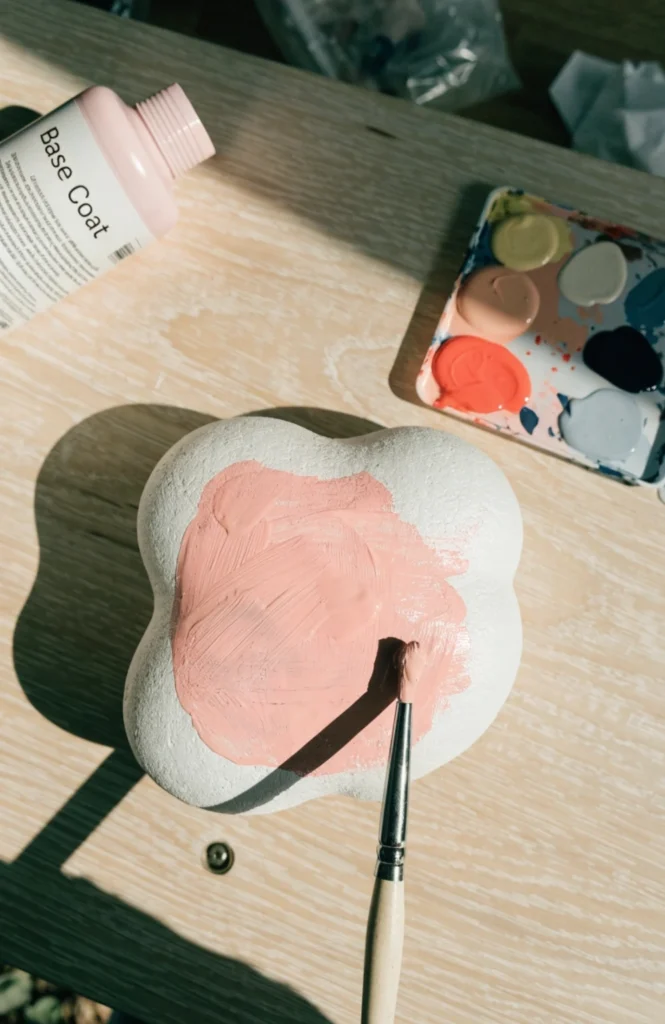
Step 4: Add a Base Coat
Mix fabric paint with a bit of fabric medium and apply a thin layer over the whole squishy. Let it dry fully before going over it again. Two thin coats almost always look better than one thick one.
Step 5: Paint the Details
This part takes the longest but it is where your squishy really comes to life. Use a small brush for eyes, patterns, or any fine lines. Wait for each color to dry before adding the next one, otherwise colors bleed into each other and the details get muddy.
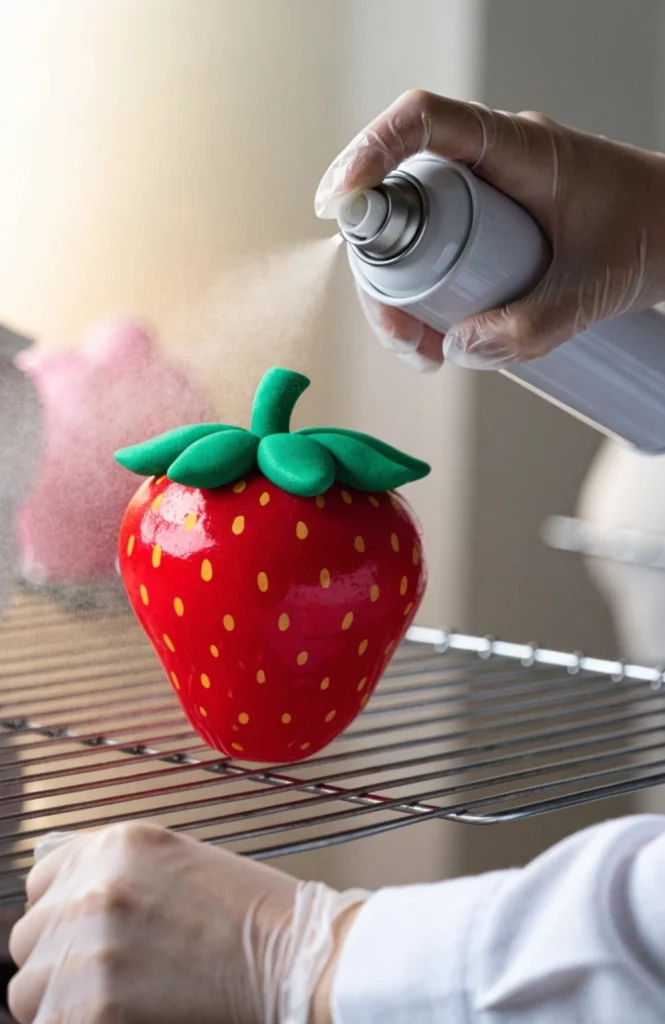
Step 6: Seal It
Spray on a sealant once every layer of paint is completely dry. A matte finish looks soft and natural, while glossy gives more of a store bought shine. Either way, sealing keeps the paint from chipping or cracking with regular use.
Step 7: Give It a Squeeze
Once everything is dry, squeeze your squishy and watch how it responds. A good one should compress easily and rise back slowly over a few seconds. If it snaps back too fast, it usually means too much paint or glue soaked into the foam.
No Foam? Try This Instead
Foam is not always easy to find, especially if you are making something quickly with kids. A balloon works as a decent substitute.
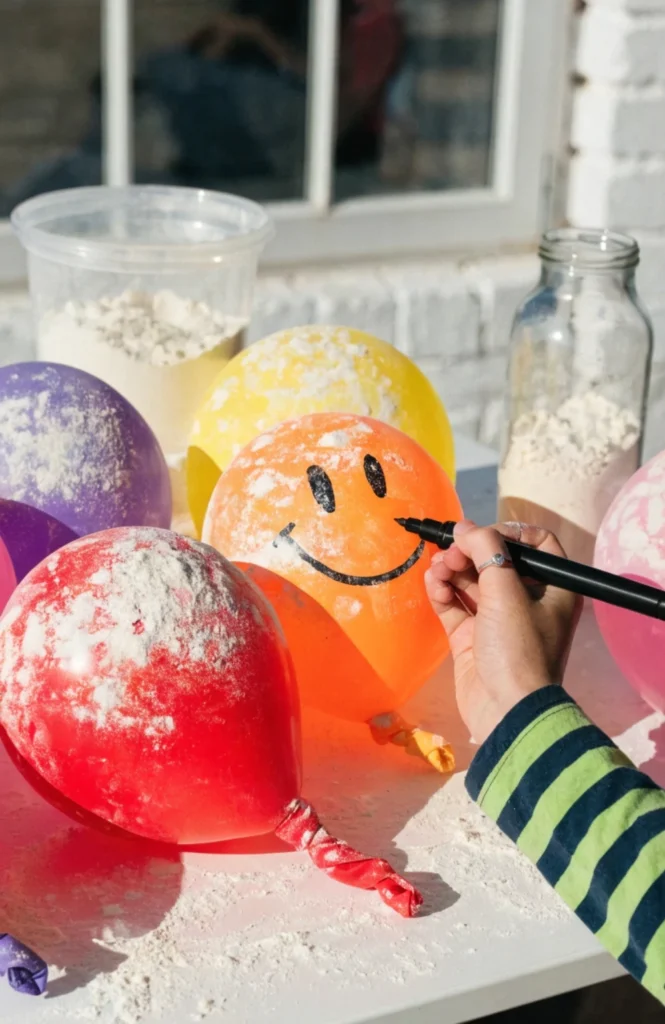
Fill a balloon with flour, cornstarch, or hair gel using a funnel, then tie it off and decorate the outside with a permanent marker. It will not have the true slow rise feel of a foam squishy, but it squeezes and stretches in a similar way, and it takes far less time to put together.
A Few Things That Help
Keep paint layers thin so the foam does not lose its softness. Mix in a drop of scented oil if you want a squishy with a nice smell. Test your technique on scrap foam before committing to your final piece. Bright colors tend to photograph better and make nicer gifts. Do not rush the drying time between steps. This is where most people lose patience and it usually shows in the final result.
Mistakes Worth Avoiding
Piling on too much paint, which stiffens the foam and ruins the squish Skipping sandpaper, which leaves visible bumps under the paint Forgetting to seal it, which leads to cracked paint down the line Cutting the foam too thin, which weakens how well it bounces back
Most of these come down to patience rather than skill, so slowing down usually fixes the problem.
Common Questions
What foam works best
Polyurethane slow rise foam is the standard choice. It gives that classic texture and slow bounce back that people expect from a squishy.
Do I need a mold
Not necessarily. Plenty of people carve their squishy by hand with just a craft knife. A mold or pre cut blank just saves time if you are short on patience or experience.
How long does the whole process take
Somewhere between two and four hours from start to finish, mostly because of drying time between coats rather than active work.
Why does my squishy bounce back too fast
Too much paint or glue has likely soaked into the foam and stiffened it. Thinner layers usually solve this.
Can I actually sell these
Yes. Plenty of people sell handmade squishies online or at local craft markets once they have their process down.
Final Thoughts
Making a squishy is one of those projects that looks harder than it actually is. Once you carve your first shape and get through the painting and sealing steps, the process becomes second nature. Take your time, let each layer dry properly, and do not be afraid to experiment with different shapes and colors. Before long you will have squishies that hold up just as well as anything you would find in a store.